 I’ve been looking for a new notebook; I write down everything that I need to do or remember. I’ve tried using iPhone apps for my daily notes, quotes, and lists, but there is just something about manually writing it all down that better helps me.
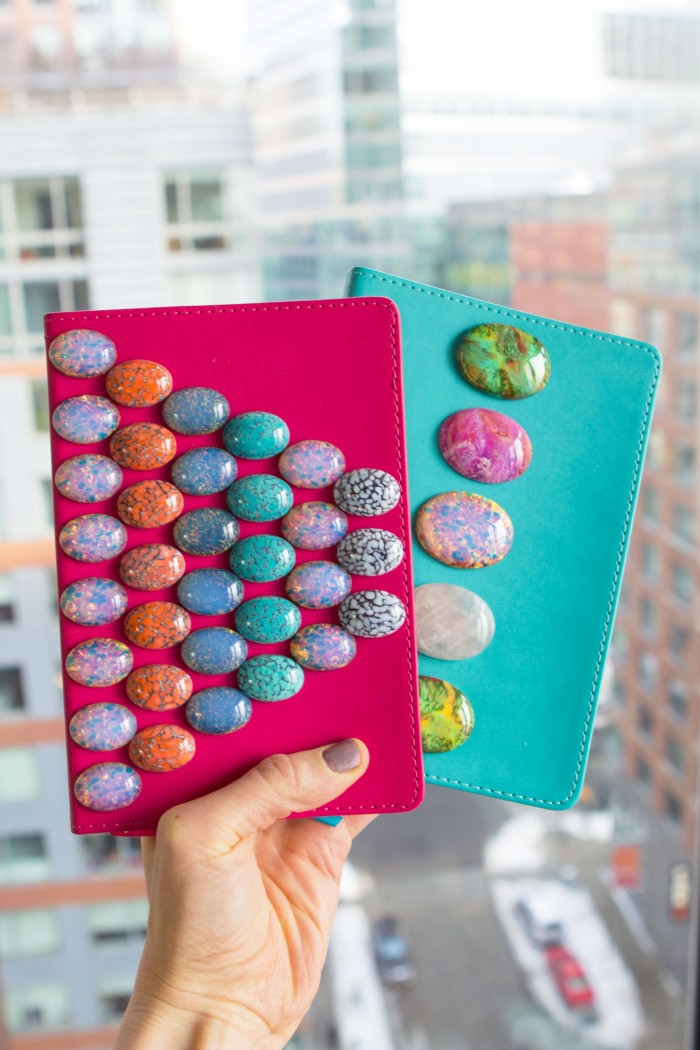
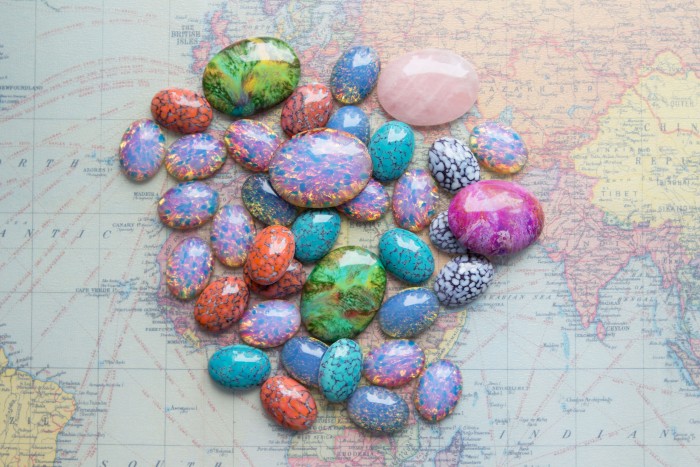
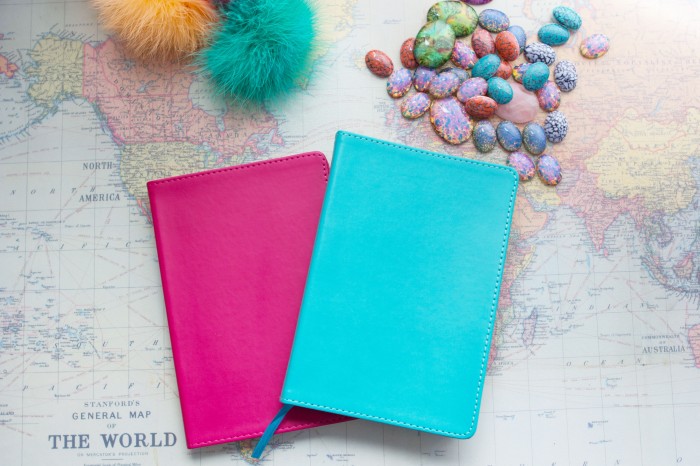
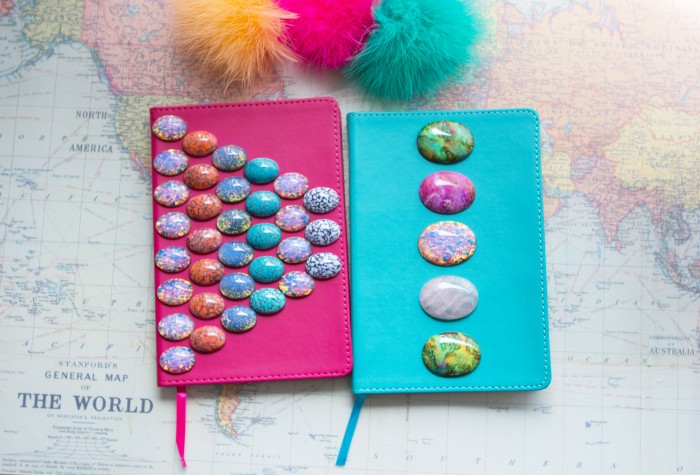
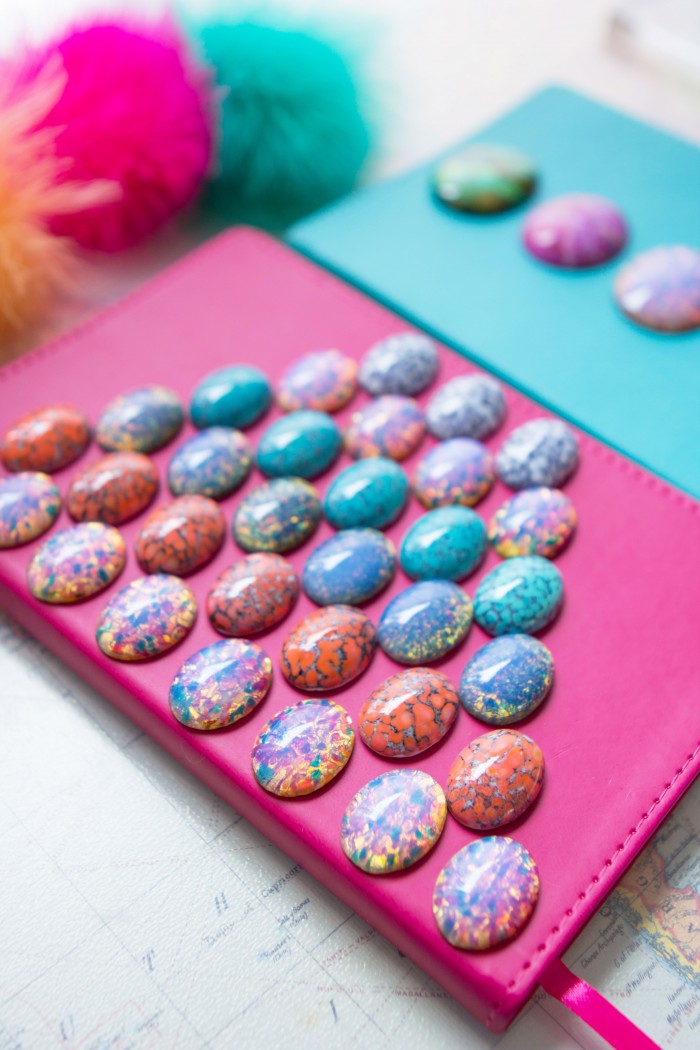
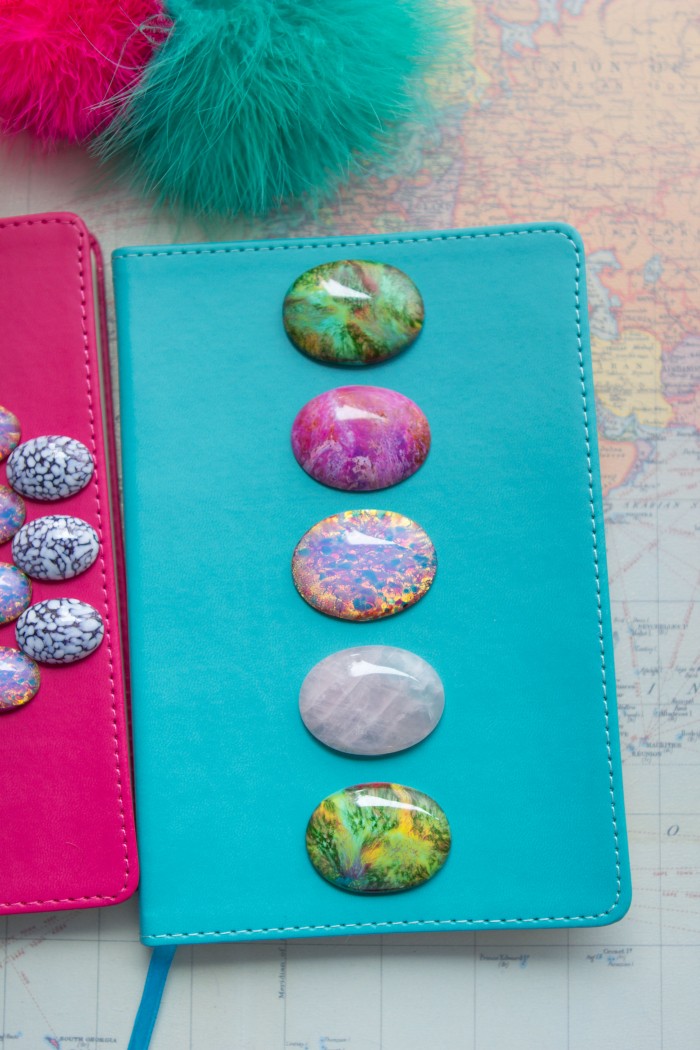
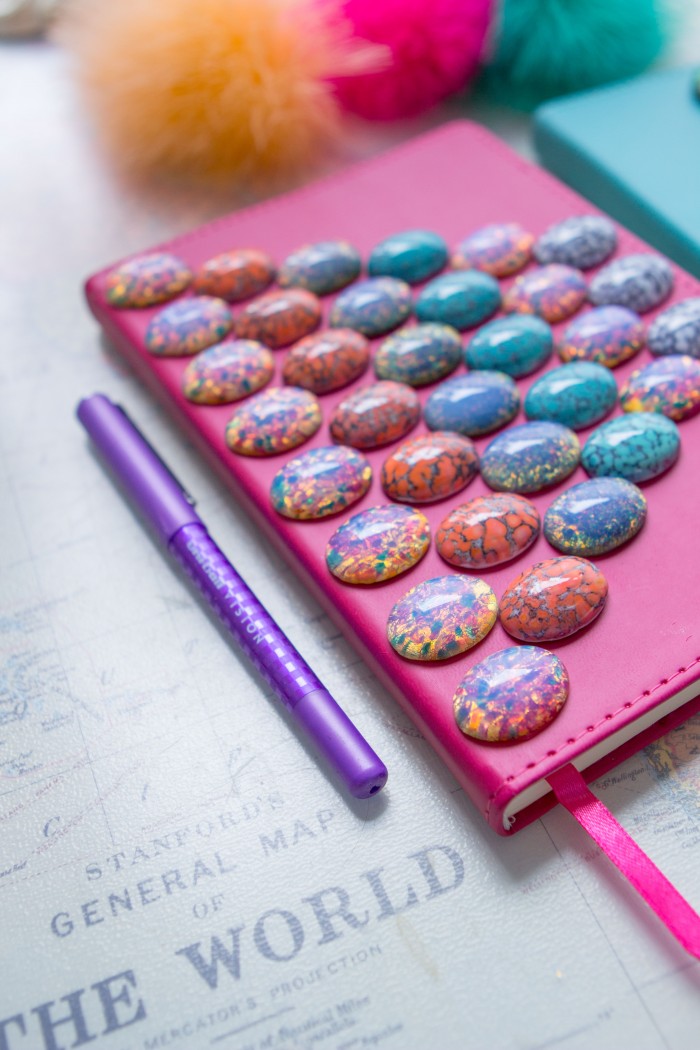
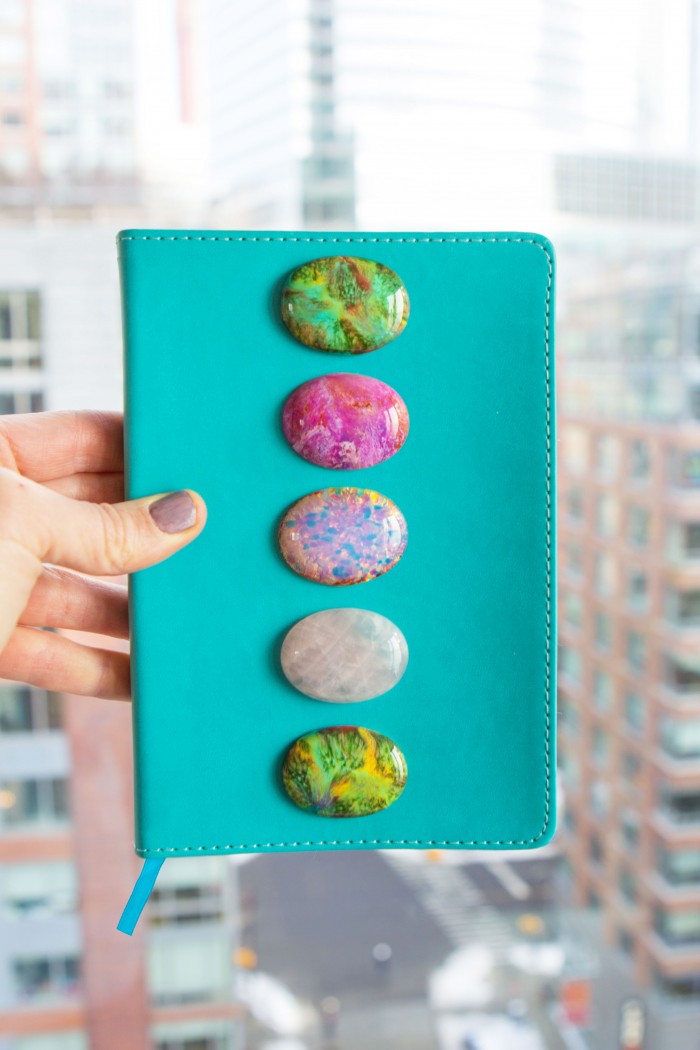
I came across Eccolo journals the other day. I love their bright, clean covers–but I wanted to spruce them up to make them more unique. I’m attached to my notebook to guide me through my work days, I might as well give it a makeover, right? As you may know, I’m a jewelry designer, so I have a plethora of flat back cabochons laying around. I love how the final look turned out! This project is quick and easy, once you have the right supplies.
WHAT YOU NEED
Flat back cabochons (check my SISOOsupplies shop for endless options!)
Notebook (preferably one without any writing or logos on the cover)
Ruler & flat surface
 THE INSTRUCTIONS
 THE INSTRUCTIONS
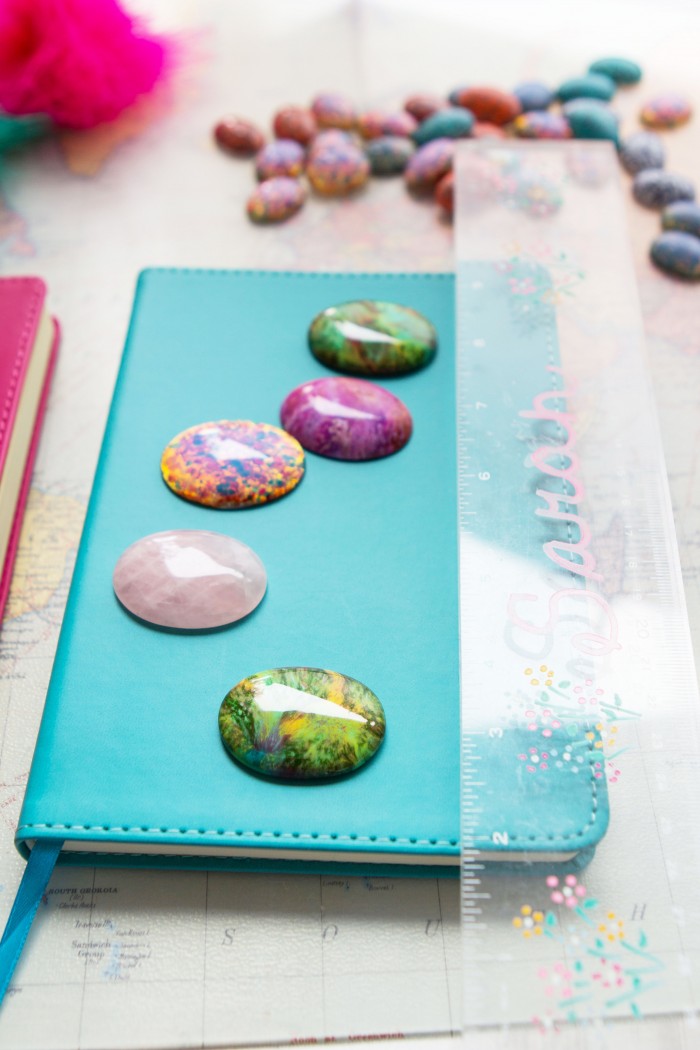
If the cover of your notebook is curling up, place a ruler on the edge to keep it flat while you arrange your design. (Do you like my “Sarah” ruler? I’ve had that thing since I was 8!)
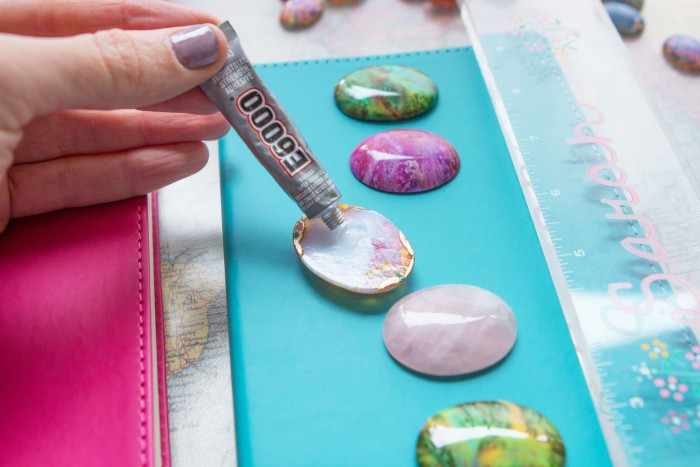
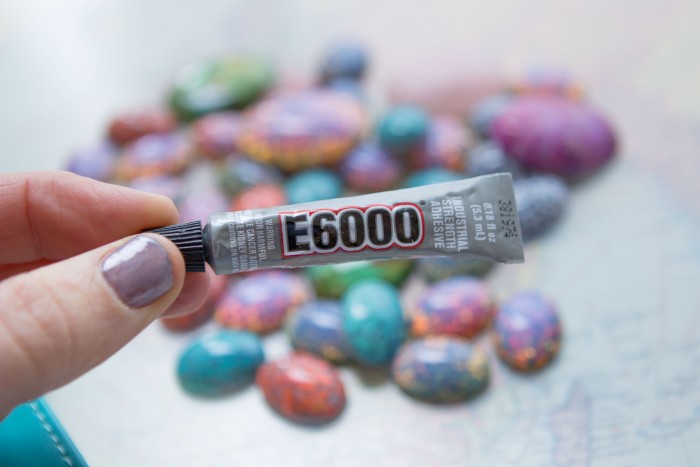
Once you decide the layout of your design, place a generous dot of E6000 glue on the back side of each cabochon. Press firmly onto the cover. You’ll have a few minutes to adjust until the glue dries. Keep the ruler on the cover’s edge while the glue dries.
Give the notebooks about 20-30 minutes to dry. And voila! It’s as easy as that. These make great gifts too!

This post may contain affiliate links, which means I'll receive a small commission if you purchase through my link. Please read full disclosure here.