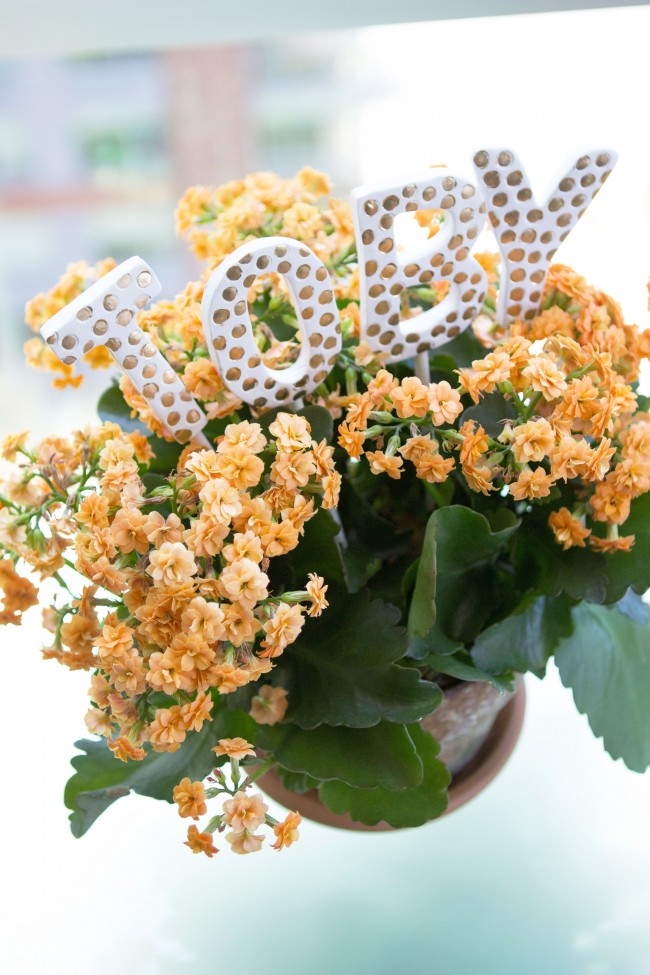
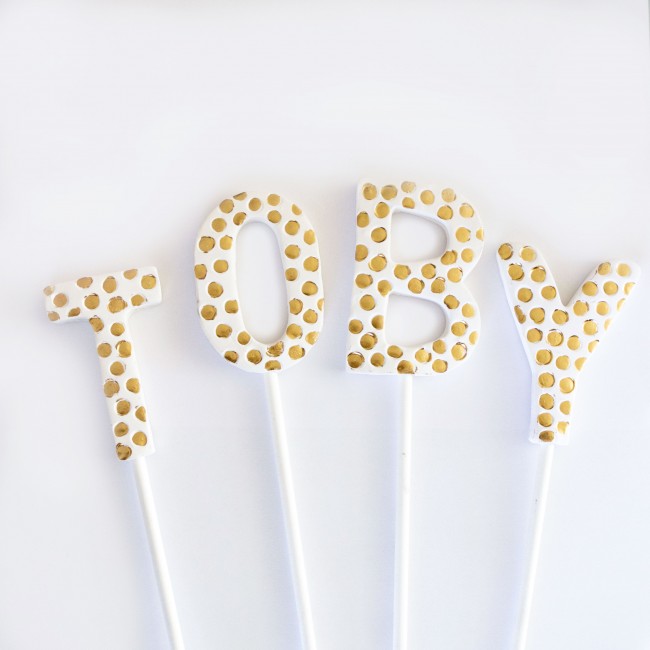
 It is my dear sister Toby’s birthday weekend! I spent last week ordering flowers for centerpieces and figuring out how to make flower crowns in preparation for her big celebration dinner that happened Saturday night at her favorite restaurant. I also made these clay gold polka dot letter toppers to celebrate all the kinds of wonderful that she is, that can be used in a cake or planter. I love how they turned out! And they couldn’t be easier to make.
WHAT YOU NEED
Sculpey clay in whatever color(s) you like
Stainless steel cookie cutter letter set
New pencil
Q-tips
Smooth jar for rolling
Scissors
THE INSTRUCTIONS
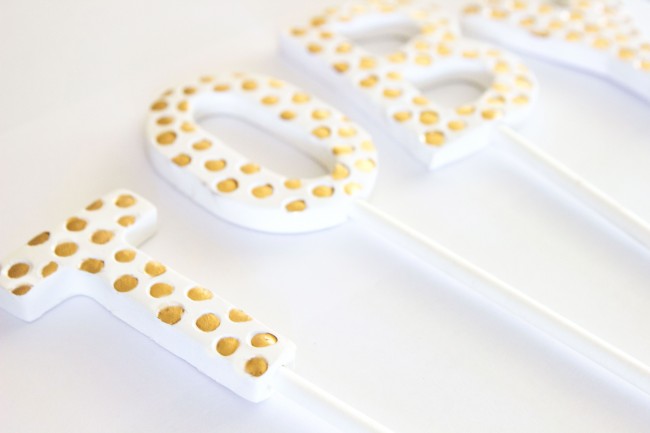
Take a large amount of clay and work in your hands until it’s soft and smooth, and forms a ball. Use a large jar, glass or vase to roll flat until it’s 1/4″ thick. Cut out your letters with the cookie cutters. Take the eraser end of a new pencil and push imprints all over each letter, just hard enough to leave an outline, but not too hard that it changes the shape of your unbaked clay. Take your cookie stick and at the center bottom of each letter make an imprint. With the tip of your scissors, and in a 180 degree motion, scoop out a bit of clay so that your cookie stick will fit into the bottom of each letter about 1/4″ deep. Place letters carefully on a cookie sheet lined with parchment paper, and bake for as long as your clay instructions recommend. (Sculpey bakes at 275 degrees for 30 minutes for 1/4″ thickness.) Let cool. Dip a Q-tip into the gold liquid gilding and carefully fill in the eraser imprints. Once the gilding is dry, put a dot of E6000 glue on the end of the cookie sticks and place in the hole you created at the bottom of each letter. Let dry for 4-6 hours.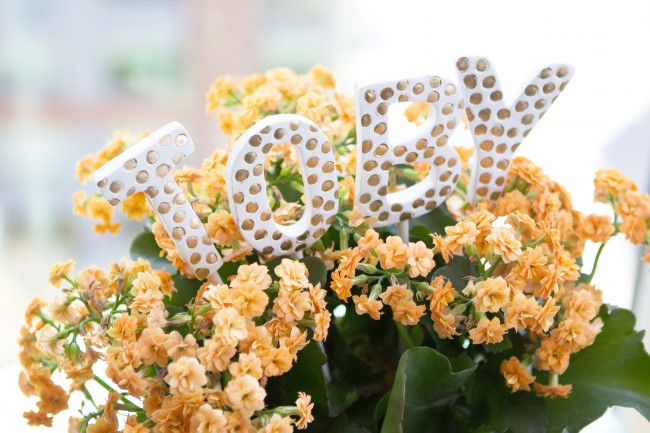
Your toppers are ready to go! These are an adorable way to personalize a planter, or make a cake or pie extra special for loved one’s celebration. The toppers are re-usable, I would clean with a damp cloth immediately after use. The letter, clay color and texture possibilities are endless…I hope you have fun with this project!
Please tag me in your creations. I love to see your end results!
This post may contain affiliate links, which means I'll receive a small commission if you purchase through my link. Please read full disclosure here.