 When I’m winding down at night, I love to light about 200 candles and climb into bed with some herbal tea. Ok, it’s only about 5 candles, but wouldn’t that be amazingly romantic if it was 200? I love lighting them all at once because of the warm coziness that I feel from a pile-o-candles flickering in my bedroom. But when I light my stash all at once, I get a lot of different scents floating around. Which is confusing and overwhelming for le nez.
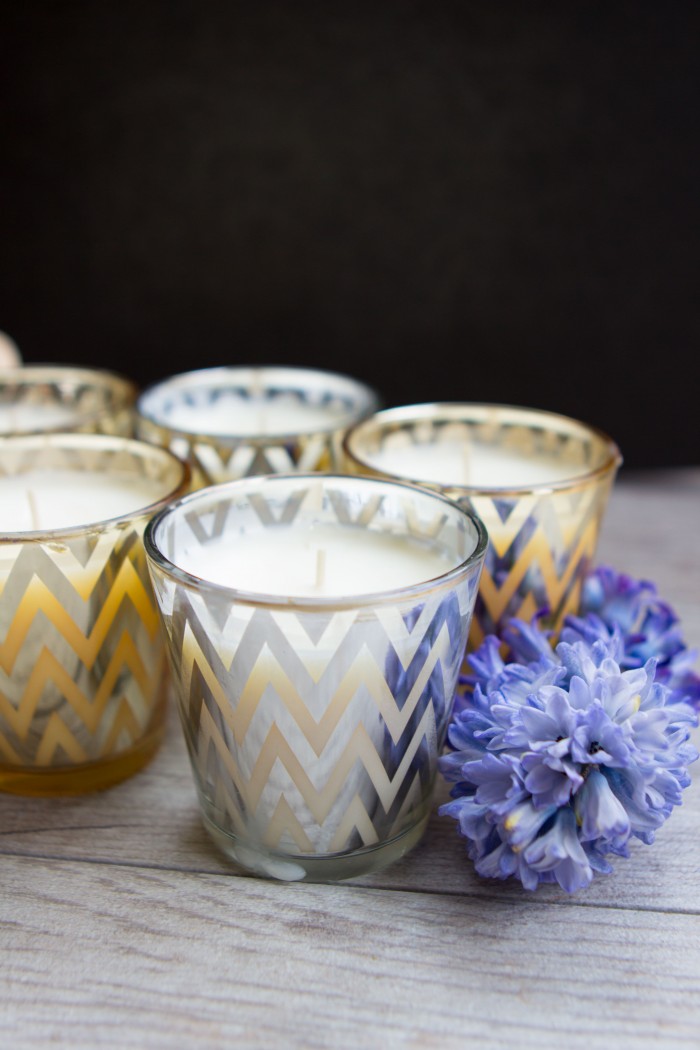
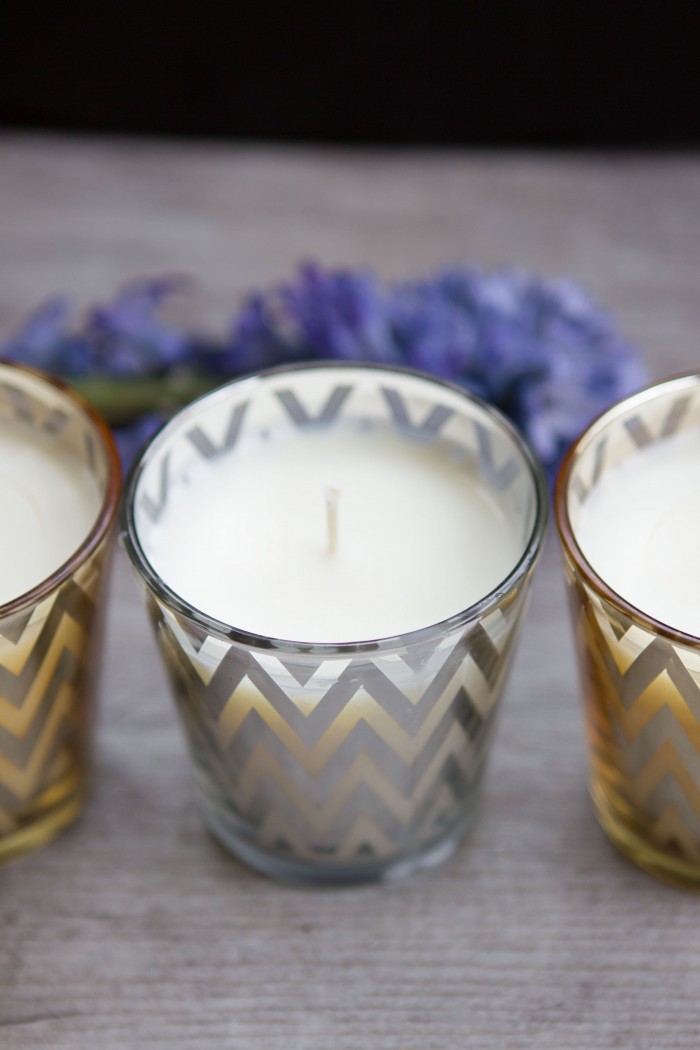
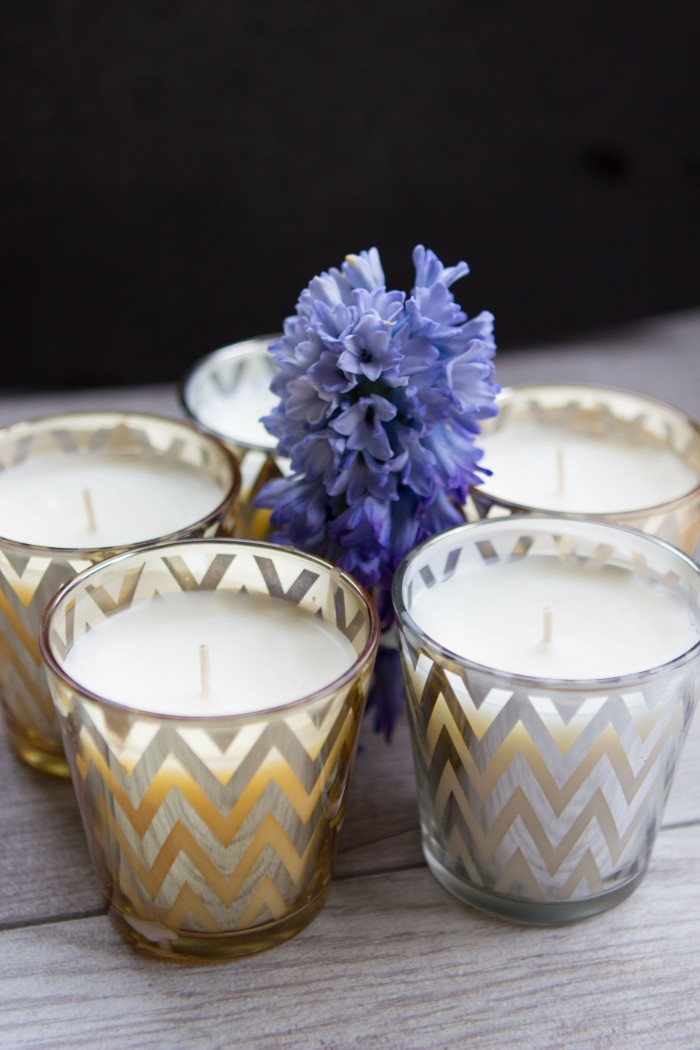
I also love lighting candles when I take a long leisurely bubble bath, but again, mixing a scented candle with a bath scent is just too much sensory overload for me. There are a lot of unscented candles out there, but I find they are often boring aesthetically. So this leads me to today’s DIY: a batch of unscented candles in pretty decorative votives. (If you want to add a fragrance to this DIY, it’s really easy, find the fragrance oil you like and add about 2% to your melted wax, before you pour into the candle container.)
WHAT YOU NEED
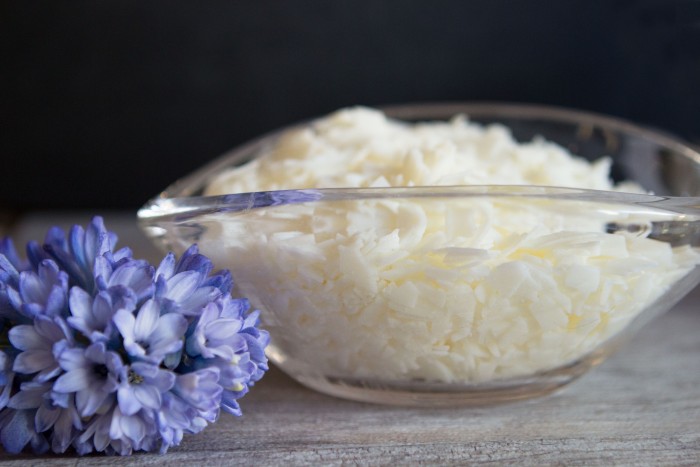
Wax (I’m using soy wax, any kind of candle wax will do)
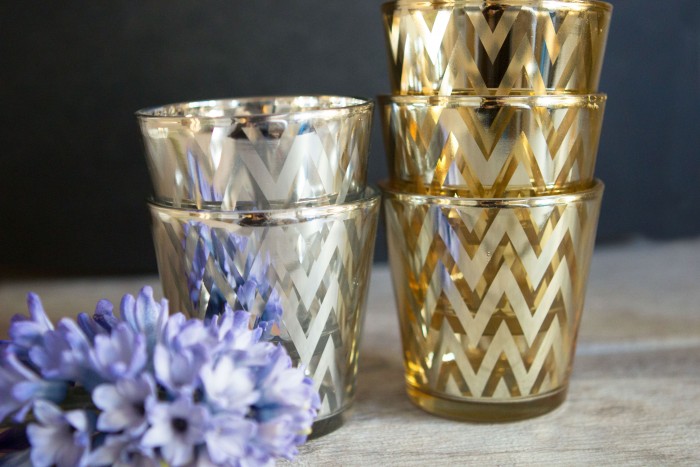
Votives (or any kind of candle container)
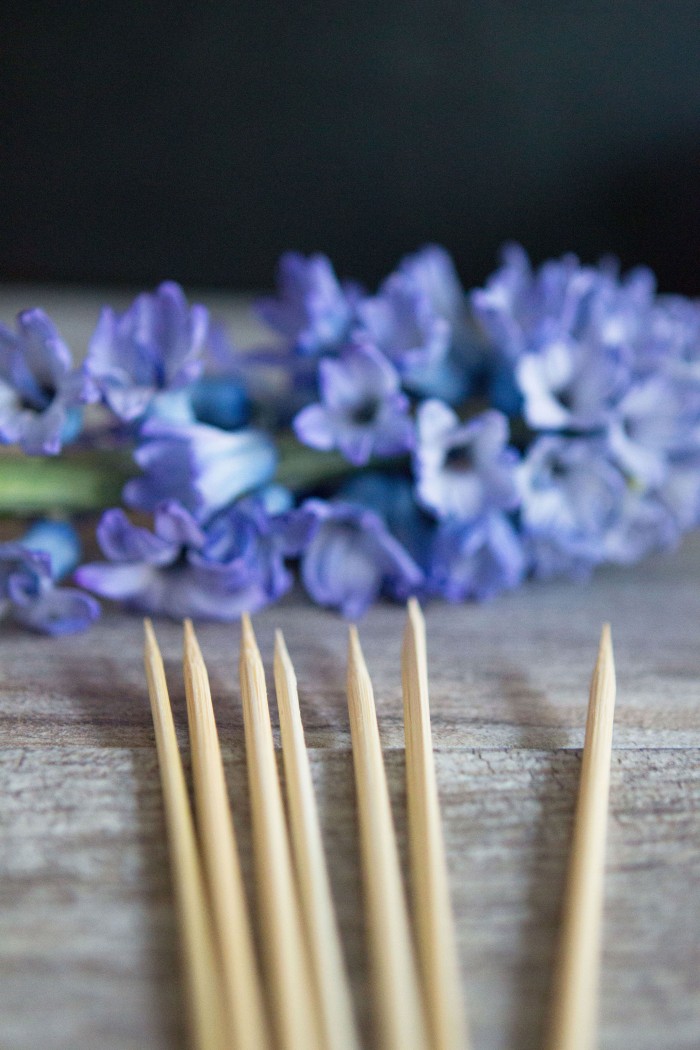
Skewers for stirring
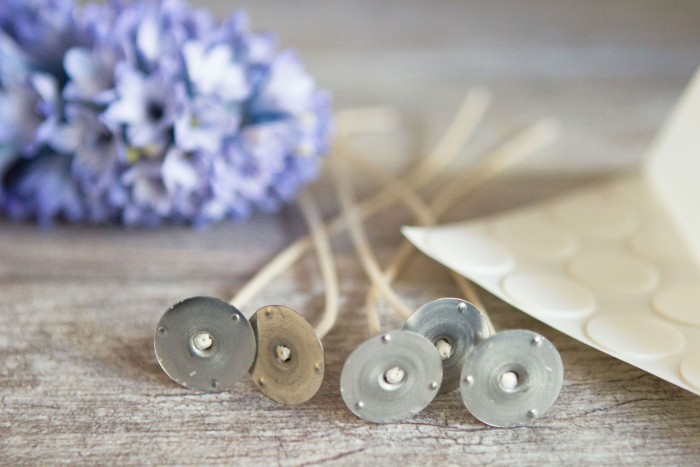
Candle wicks (be sure to get long enough ones!)
Candle wick stickers (or E6000 glue)
THE INSTRUCTIONS
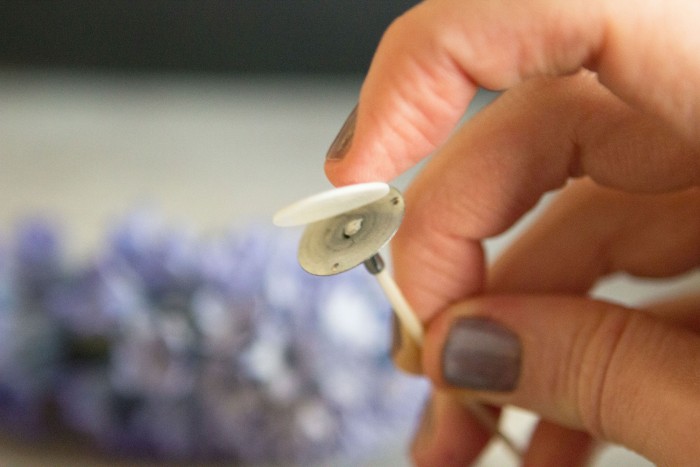
Stick the wick stickers to the bottom of each wick. If you aren’t using stickers, use a dot of E6000 glue. I highly recommend the stickers though–no drying time.
Once stickers are on, stick to the bottom middle of each votive and press down to make sure they are secure.
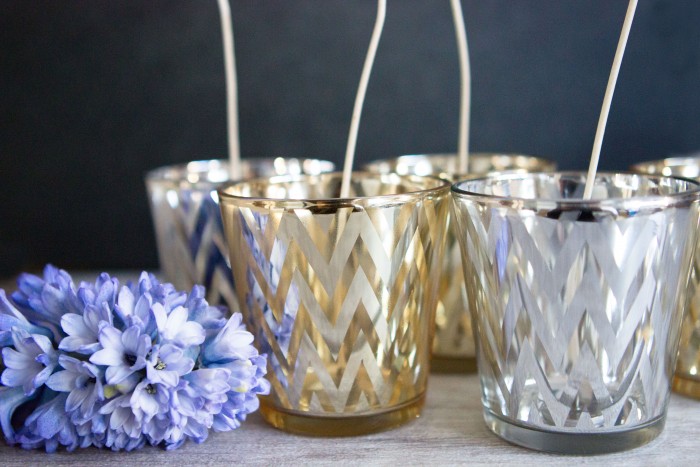
Pull each of the wicks upright and straight. They have a waxy residue on them and will take shape to however you form them.
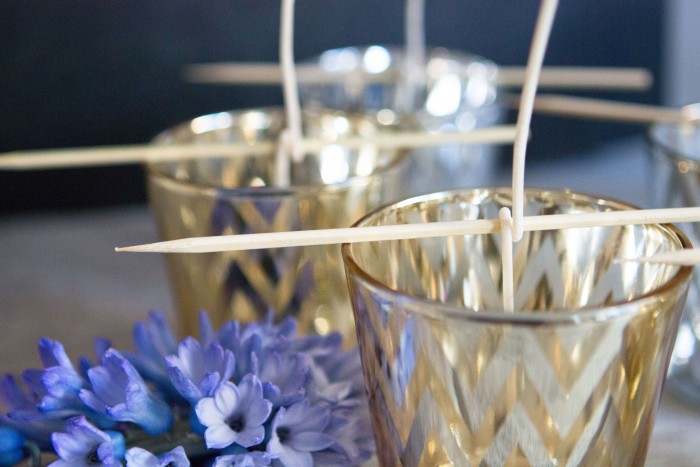
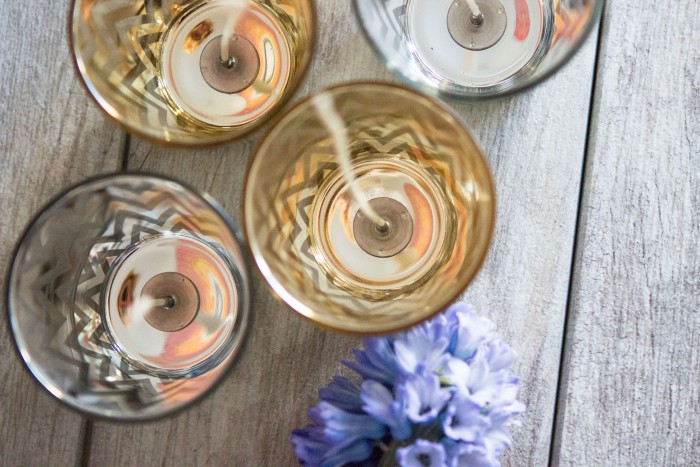
Once you pour hot wax into a votive, the wick will start to lean to one side, and you want your wick to be smack dab in the center of your candle. Take a skewer and wrap the wick once around it, position the skewer so that the wick rests in the exact middle of the candle.

Melt your wax either in the microwave or in a double broiler. (Here is where you should add your fragrance oil if you prefer to make scented candles). Stir with skewer until completely melted and smooth.
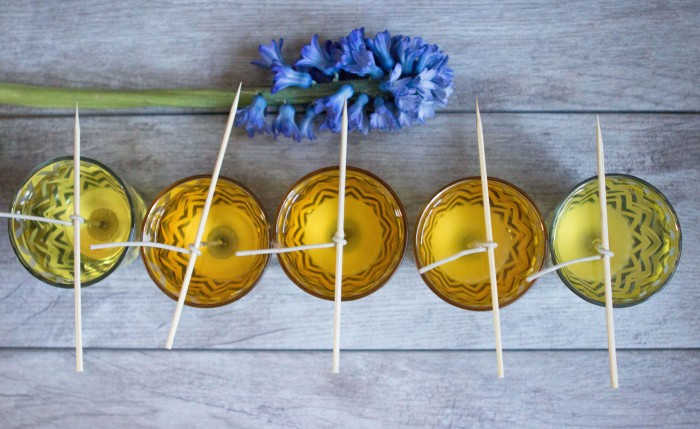
Pour melted wax into each votive. After you pour, be careful to check that each wick remains in the center of each candle. Adjust wicks that have shifted.
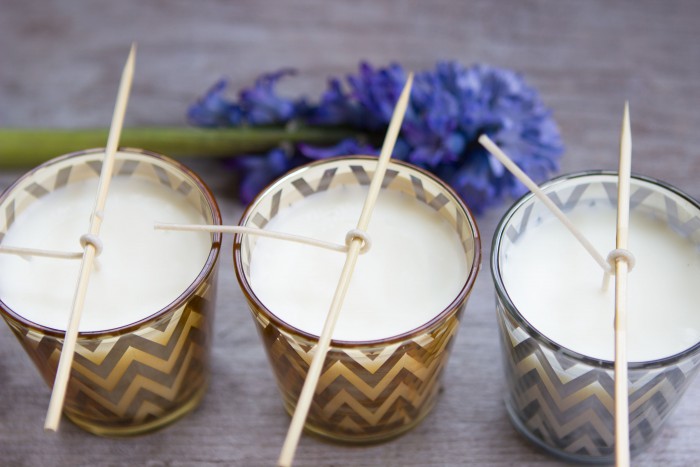
Allow the votives to cool. The wax will return to opaque once they are back to room temperature and solid. Trim the wicks to 1/4″. Your candles are ready to use.
This post may contain affiliate links, which means I'll receive a small commission if you purchase through my link. Please read full disclosure here.