Stud organization. How do you handle it? I’m constantly losing an earring stud, or I find the match to one rolling around the bottom of a drawer a year after I was looking for it. I was storing them in small clear baggies inside a box like this, but I found I never reached to wear them because it was too much of a hassle to get them out, especially when in a rush. This dilemma combined with my love for Sculpey oven bake clay manifested an easy DIY solution. See how quick and fun this project is below. Keep your studs organized and in one place once and for all!
WHAT YOU NEED
–Sculpey clay (amount depends on how big you would like your stand to be)
-smooth jar or rolling pin
-shape to trace (I used the lid to a gift box)
-toothpicks
-paint (optional, I used Behr Interior flat paint leftover from my painted mason jar scented candle DIY)
–Sculpey glaze (optional)
-parchment paper (optional)
 THE INSTRUCTIONS
 THE INSTRUCTIONS
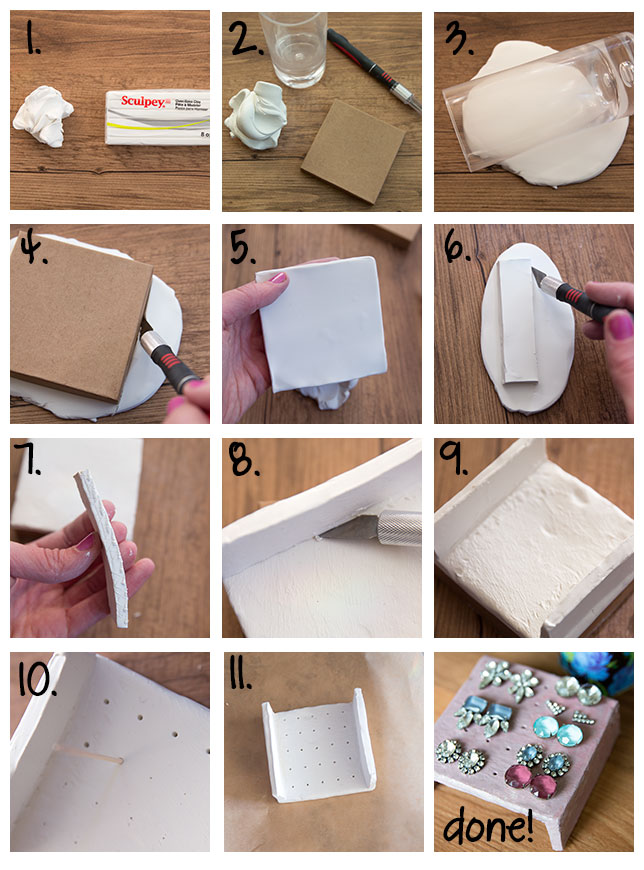
- Take your clay out of packaging and work it in your hands to make it malleable and soft.
- Locate a shape that you can trace that you like the size of, this will be the top of your stand.
- Roll a large piece of your clay out using your jar to less than 1/4″. Be careful not to leave the clay too thick because your earring posts should stick out to the other side of the clay, enough that you can stick the earring backing onto each stud.
- Using your shape, trace and cut out the piece of clay with your X-acto Knife.
- Be careful when removing from your flat surface that you don’t ruin its shape (it will need peeling up because you’ve rolled it flat, you can also use parchment paper underneath at the start for easier handling.)
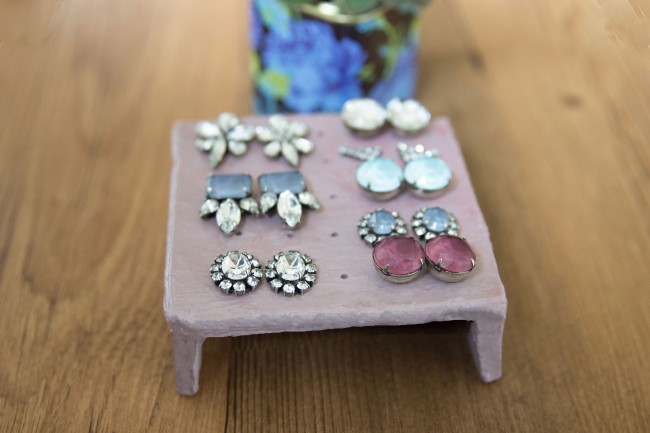
- Again using your tracing shape, cut out two legs the same exact width and about one third of the height.
- Score the edges of the two legs, as well as the bottom of the base of the stand. The texture will allow the clay to grip onto each other better when attaching the legs.
- Using the edge of your knife, blend the legs and the base together. Massage and smooth the clay together so the the legs are firmly attached to the base.
- Once the two legs are attached, let them rest and make sure they are sturdy and won’t fall inward or outward. Smooth out any lines or blemishes in the clay.
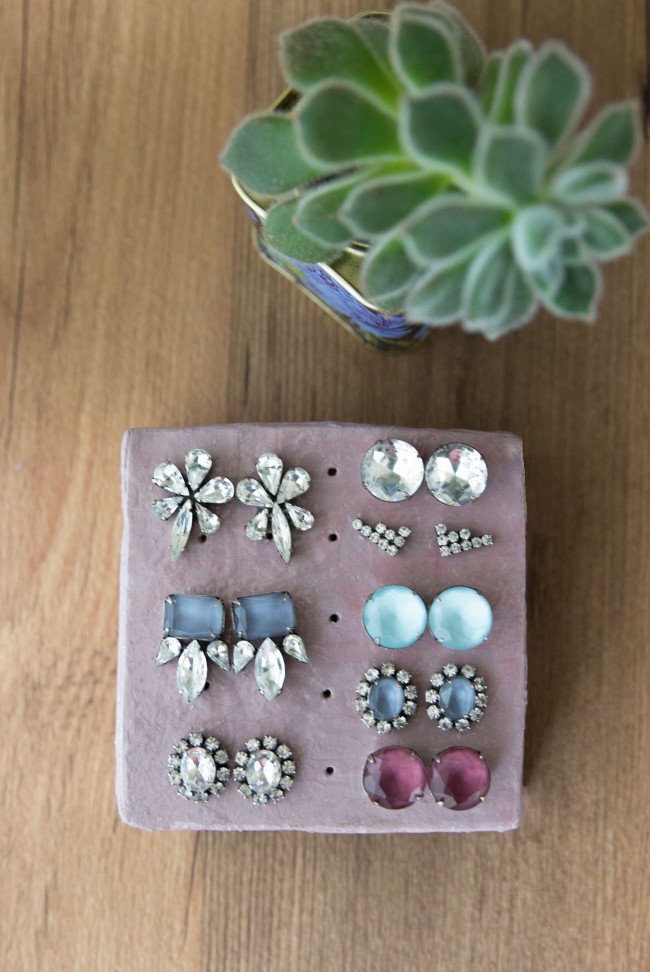
- Use a toothpick to plot out where you want the holes to go. First make tiny dots in a grid pattern. When you are happy with your hole placement, go back to each mark and push toothpick all the way through to the other side of clay. Wiggle around a little to open up the hole. Flip the base around and push the toothpick through the clay from the other side as well, to ensure the hole is big enough from both sides.
- Place on parchment paper and bake according to your clay’s instructions with the base laying flat on a baking sheet and the legs up. (Sculpey is 15 minutes at 275 degrees for 1/4″ thickness.)
- Remove from oven and let cool. If either of your legs did not stay attached for some reason, don’t worry! Use a little E6000 to glue them to the base, and wait about 30 minutes to dry.
- {OPTIONAL} Paint your stand, be careful to run your toothpicks through the holes after applying a coat of paint so that they stay open.
- {OPTIONAL} Apply a layer of Sculpey glaze after the paint has dried to give your stand a nice sheen and to protect the paint. Again, run toothpicks through the holes after applying each coat of glaze so the holes remain open.
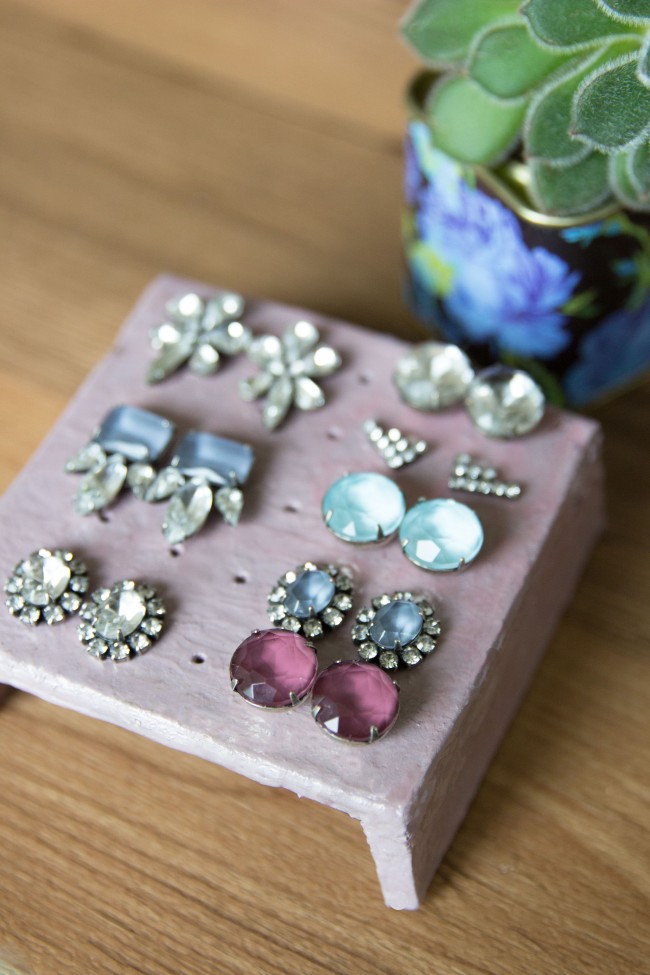
- Let dry…and done! Place your studs into the holes and store in a drawer or on a dresser top… and never lose an earring again!
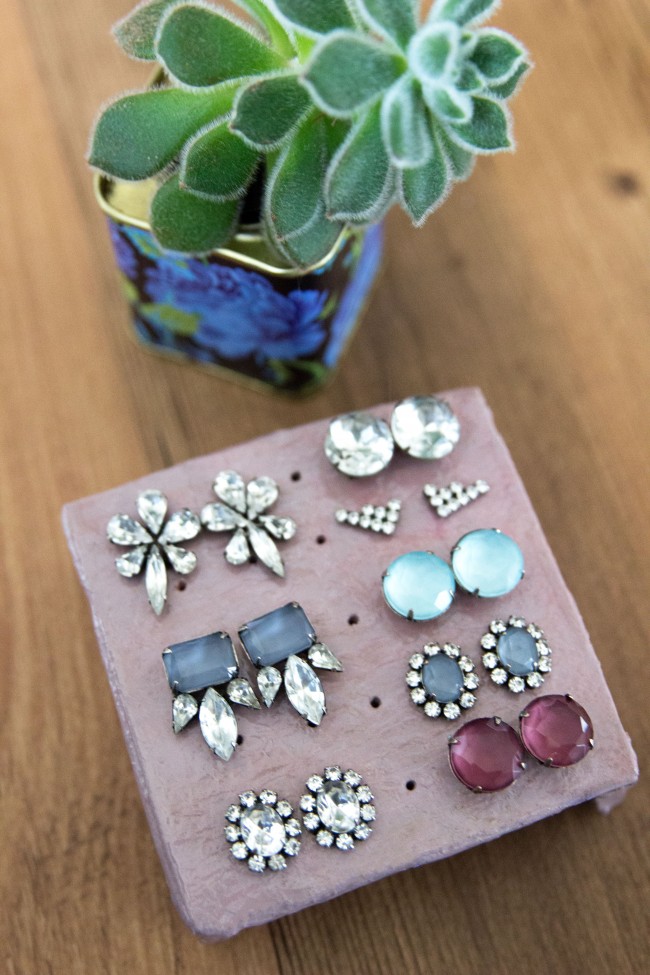
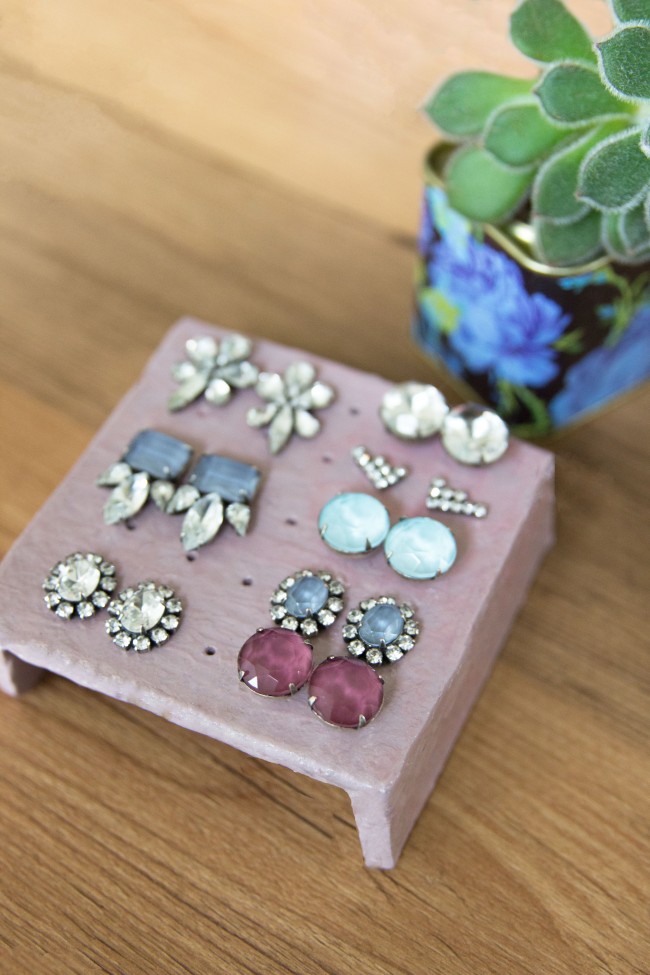
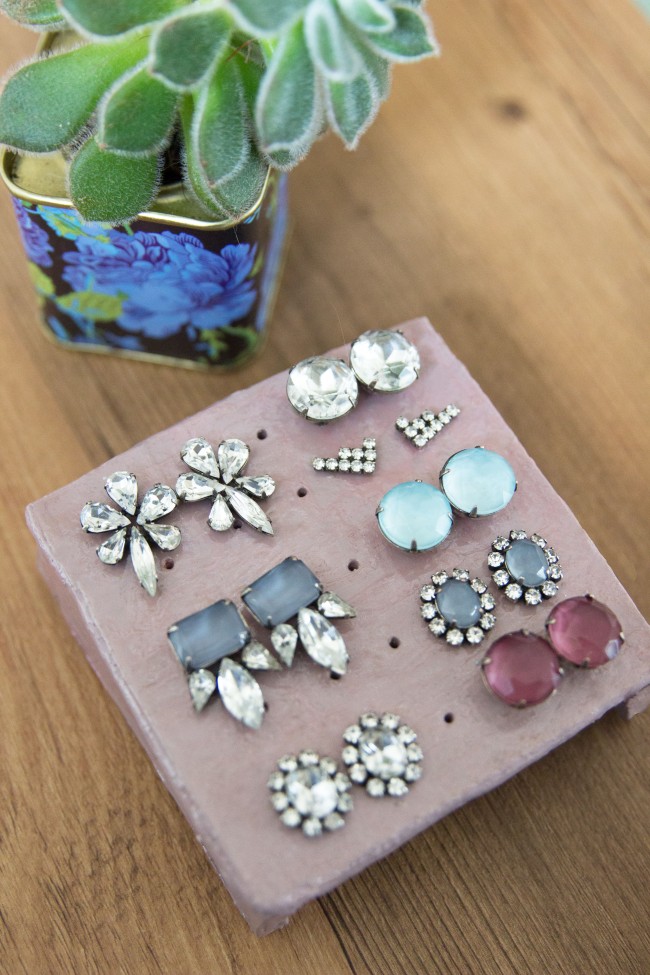
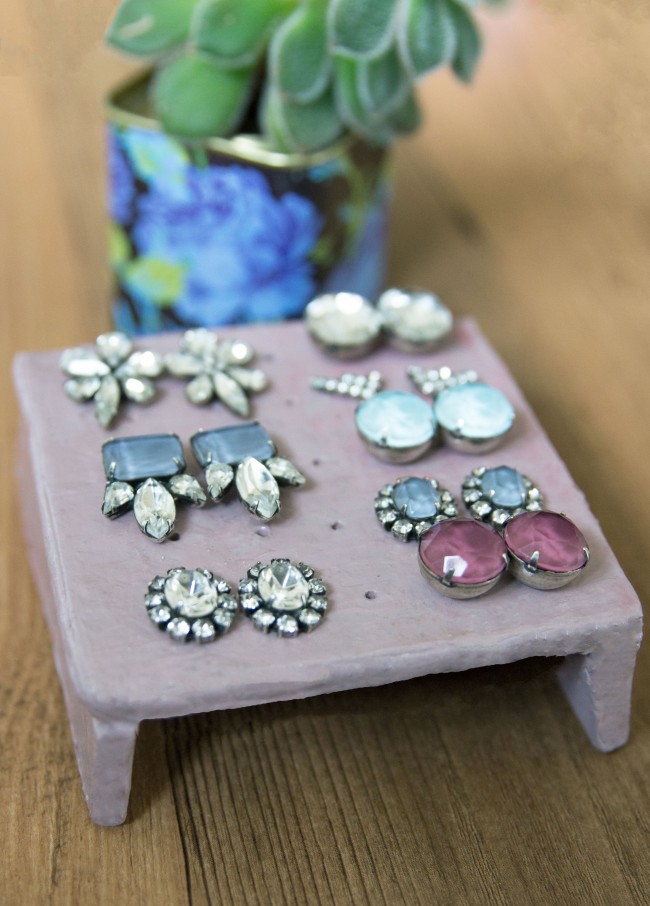
All studs shown in the stand are from my handmade Sisoo jewelry shop Waaaahooo! Please go take a peak, I think you will find something you can wear everyday and LOVE!
This post may contain affiliate links, which means I'll receive a small commission if you purchase through my link. Please read full disclosure here.