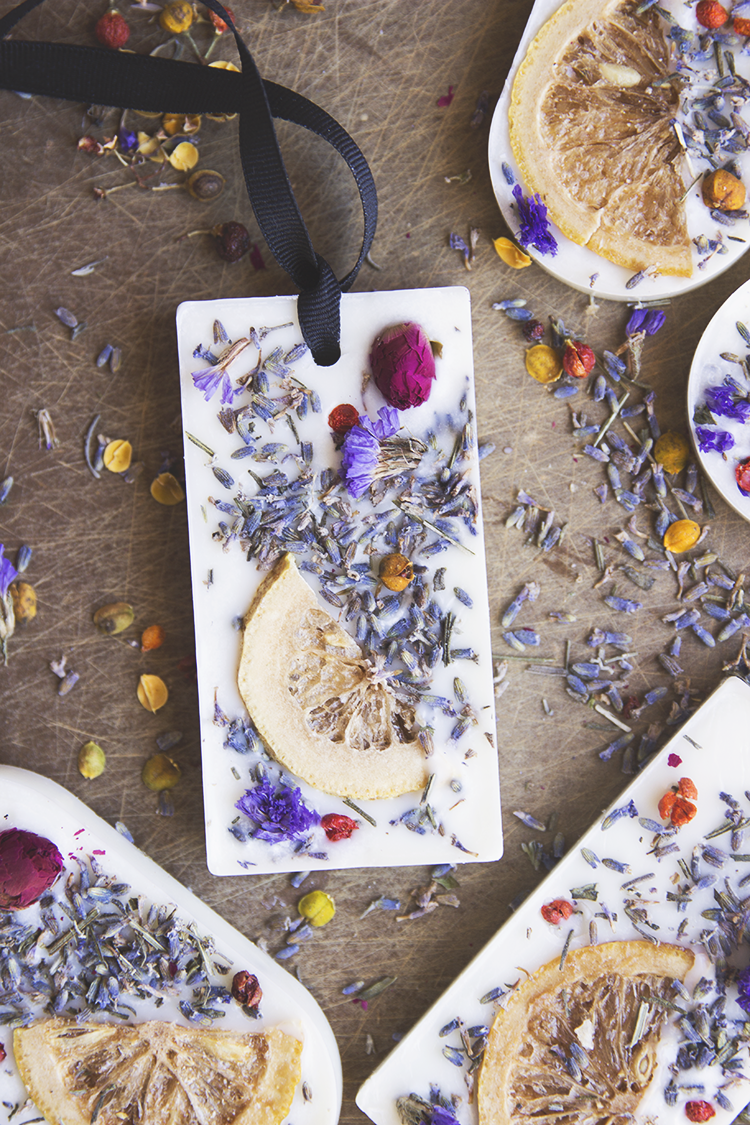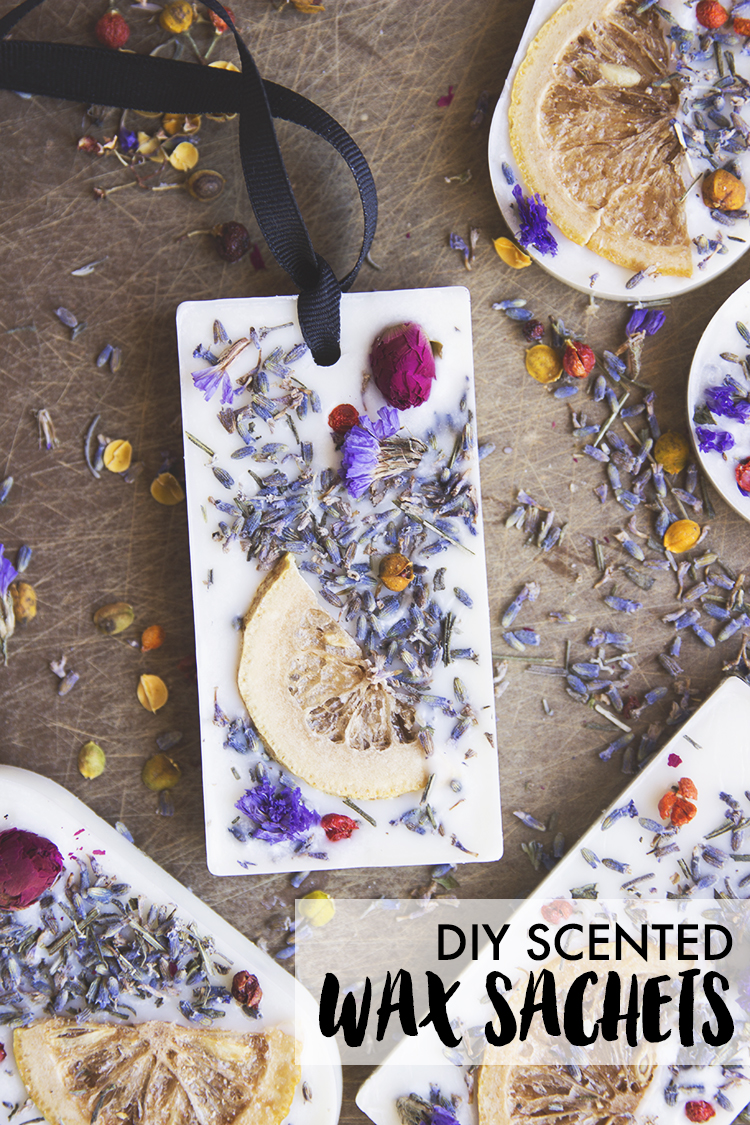

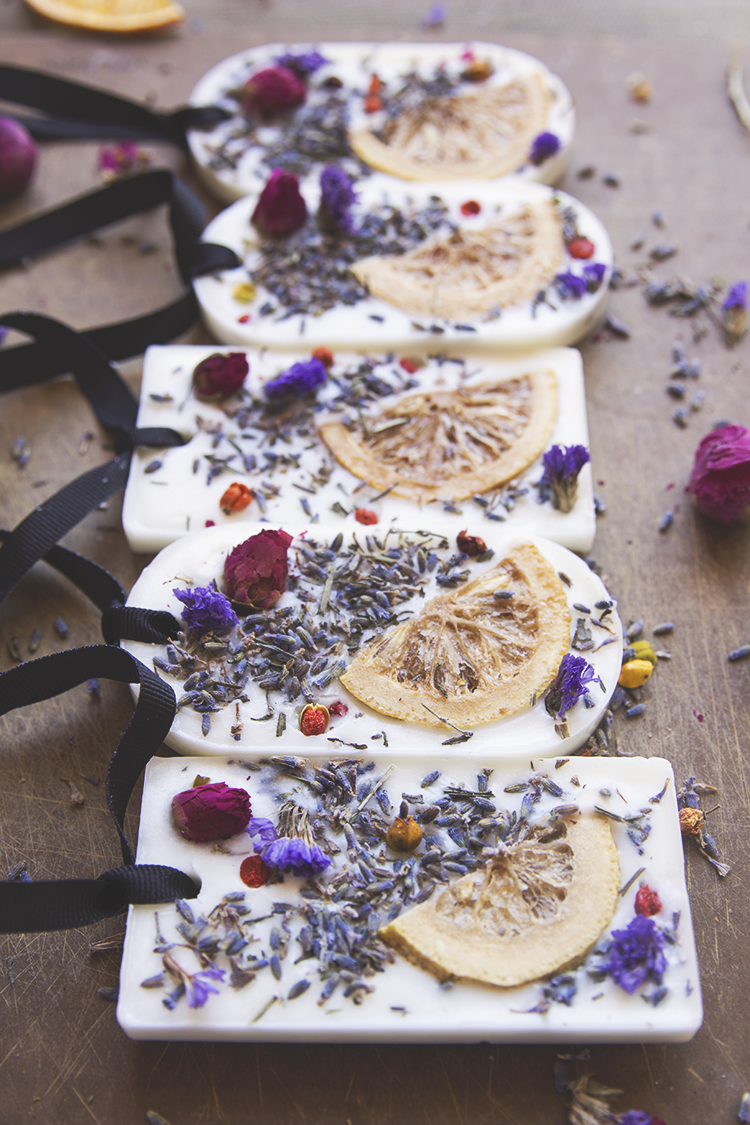

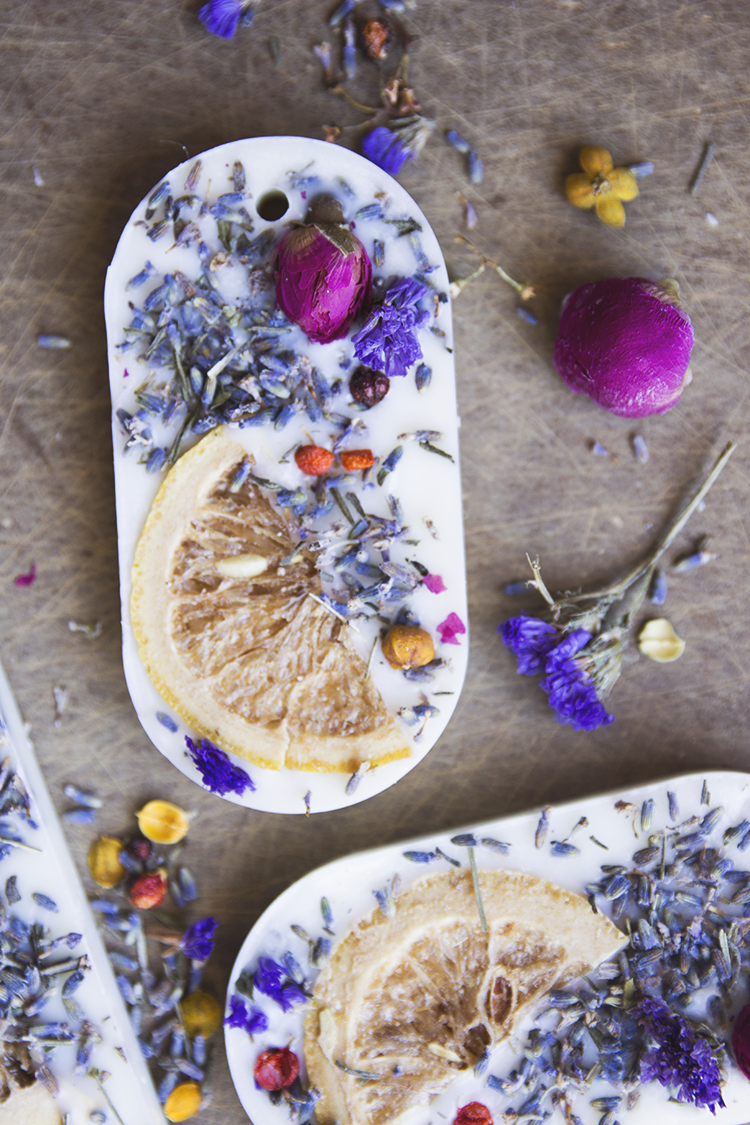
This delightful scented wax sachet DIY project makes a great weekend project with friends or kids, and they are the perfect housewarming or thinking-of-you gift.
PLUS wherever you end up hanging one will smell like heaven. Check out the simple DIY supplies and steps below.
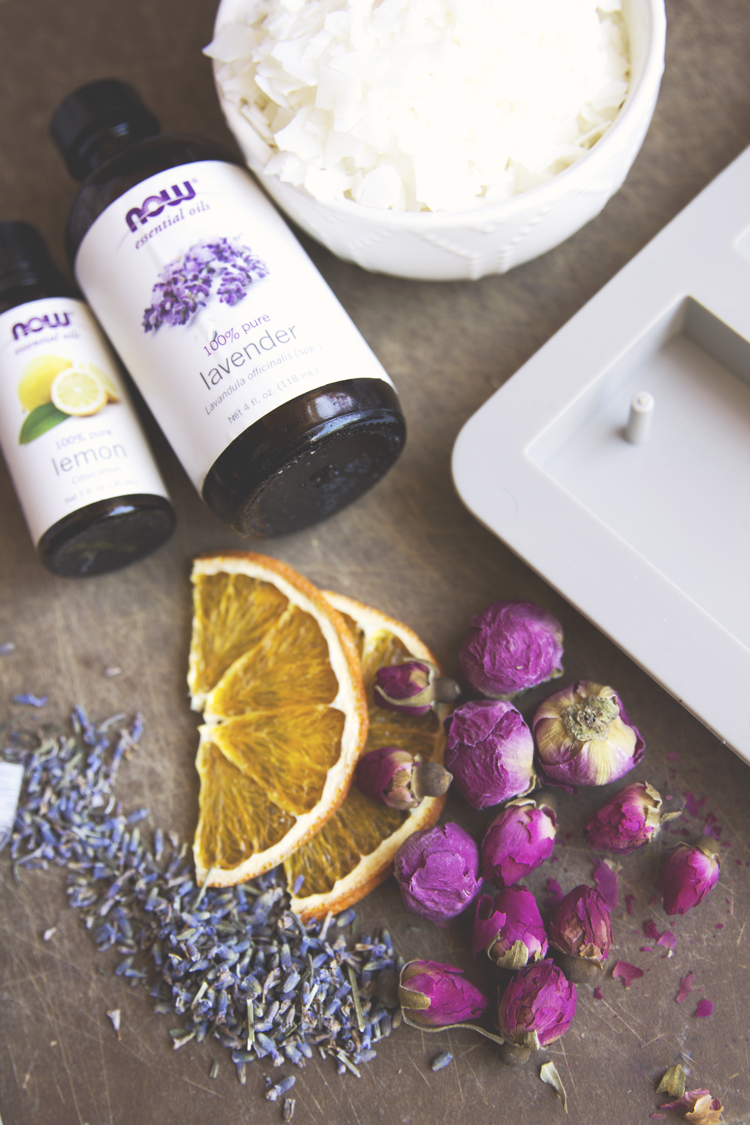
WHAT YOU NEED
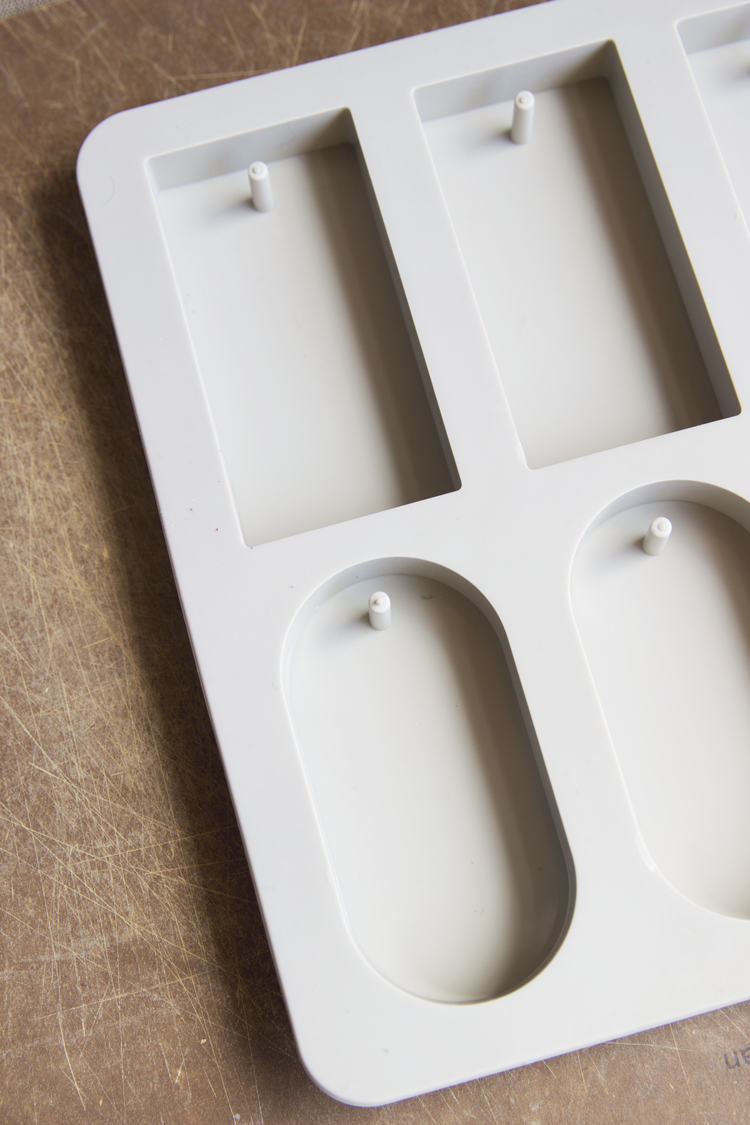
- this wax silicone mold (with holes for hanging)
- essential oils (I love this lavender one blended evenly with this lemon one)
- soy wax flakes
- dried flowers or lemons
- melting & pouring pot


THE INSTRUCTIONS
- Measure about 3 cups of wax flakes in a measuring cup, and dump into pouring pot.
- Fill up a second separate pot of water and bring to a boil.
- Place the pouring pot into the other pot of boiling water (double broiler style) and stir occasionally, allowing wax to completely melt.
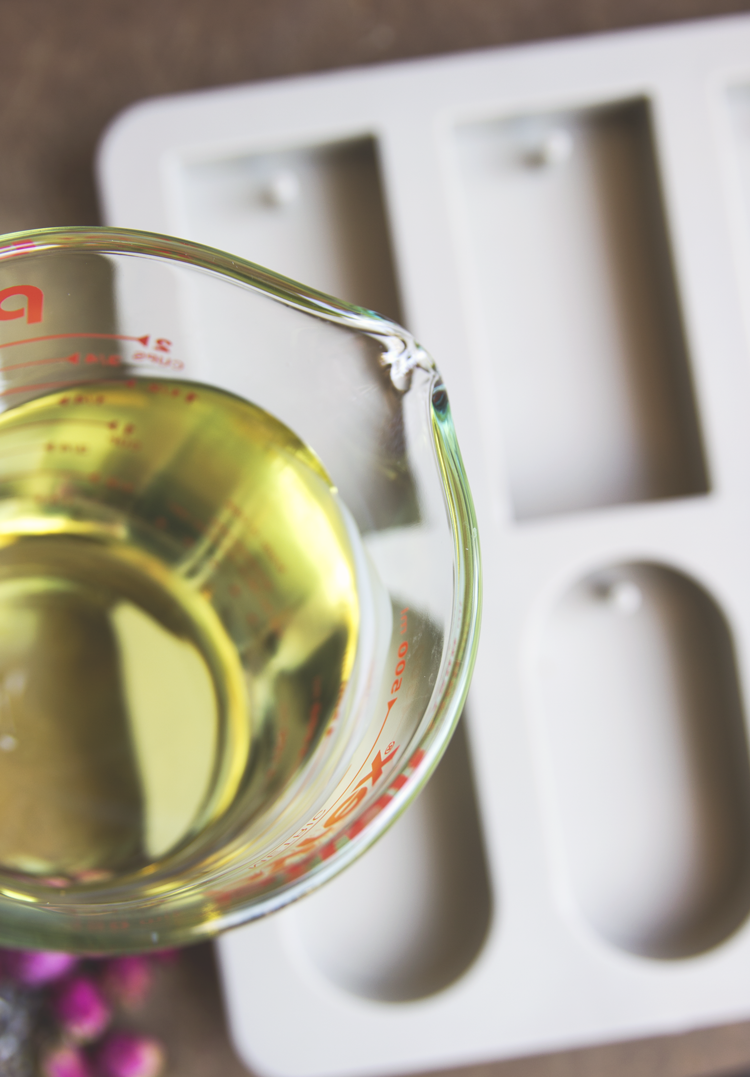
- Measure 1 cup of melted wax in a separate measuring cup. Add fragrance oil. Use about 50 drops of essential oil for every 1 cup of melted wax.
- Stir thoroughly.
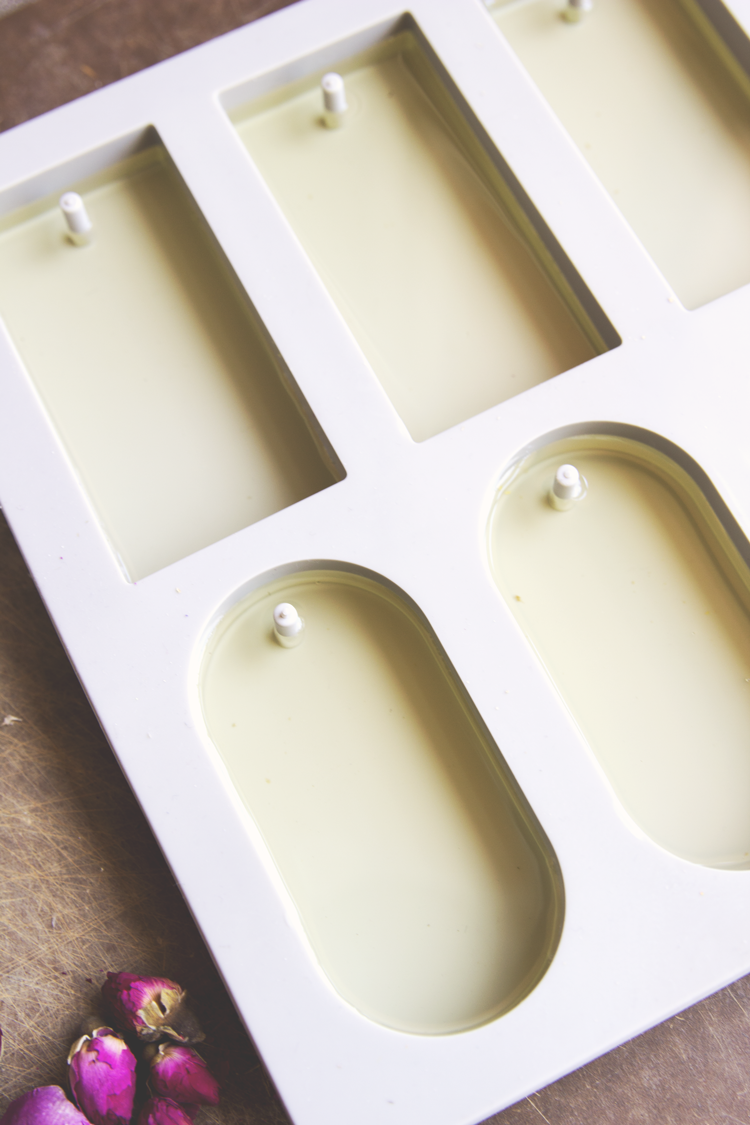
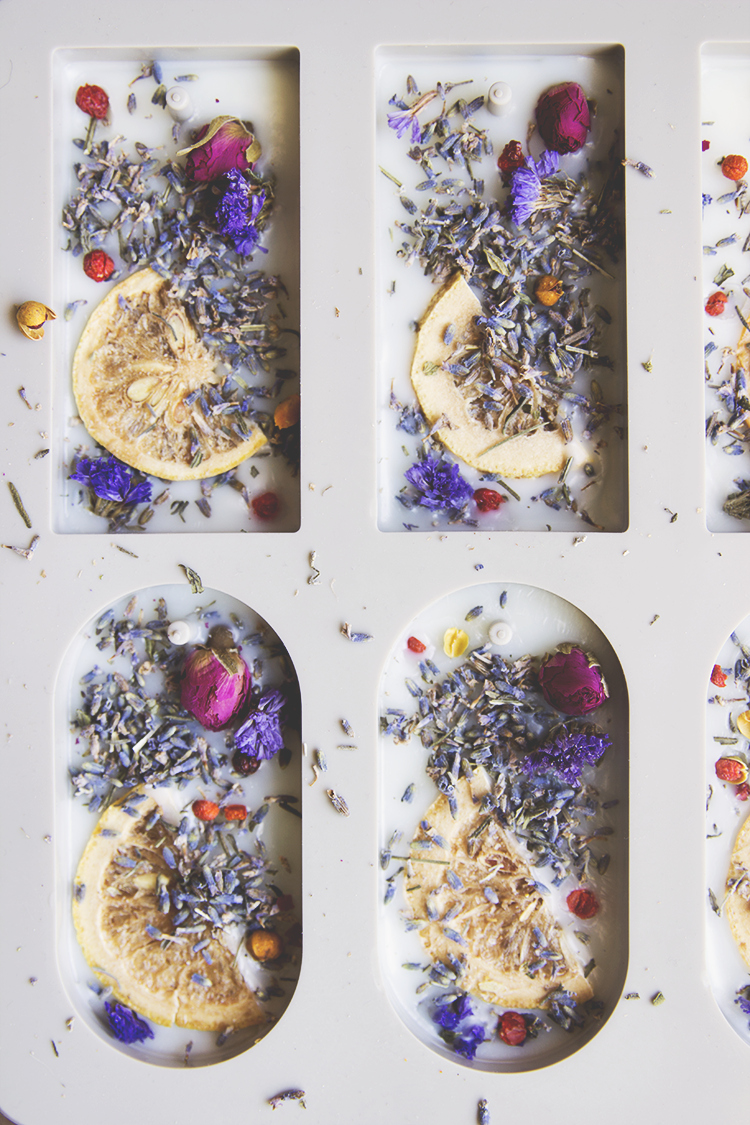
- Pour into molds, about 1/2″ deep.
- Let the wax sit for about 2-3 minutes and slightly cool. I like to add the dried flowers when a slightly cooled layer has formed on the top, so that the dried flowers sit more on top of the sachet and don’t sink down into the middle of the wax.
- Let cool and harden completely. Put in refrigerator to speed hardening process.
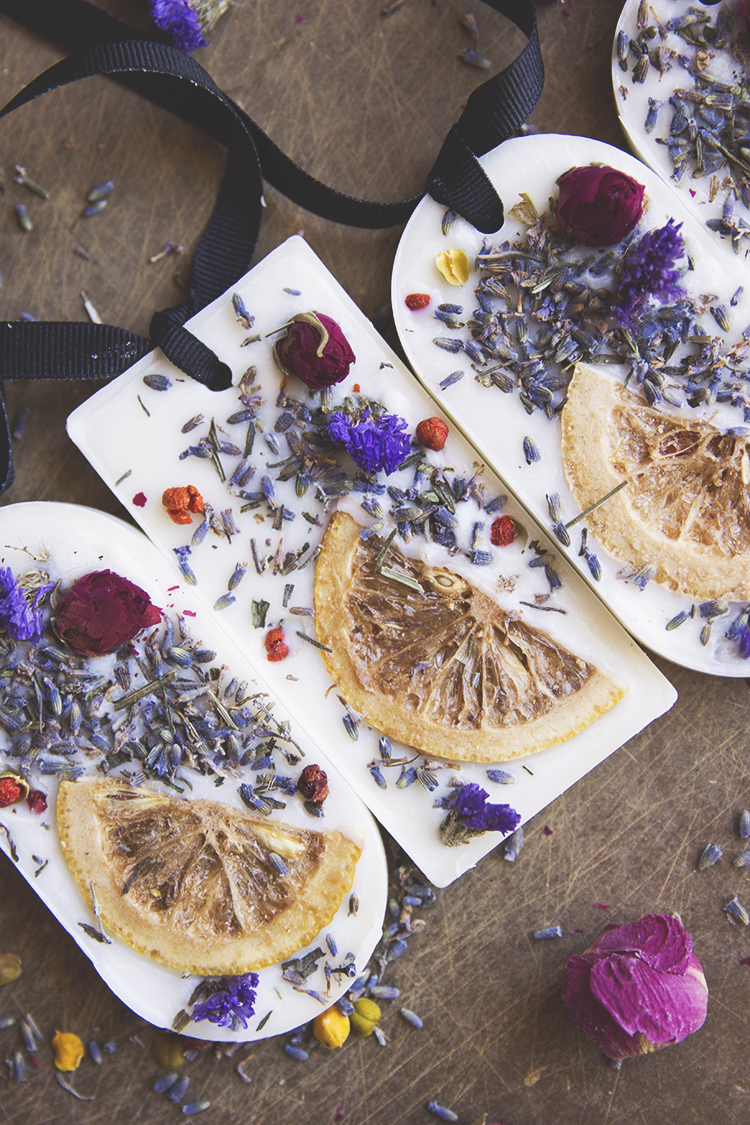
- Gently pop each sachet out of the mold and shake off excess florals.
- Cut a long ribbon, insert through the hole. Tie once at the bottom (near top of the sachet) to keep secure.
- Gift, hang, enjoy!







Be sure to check out more of my DIY projects!
This post may contain affiliate links, which means I'll receive a small commission if you purchase through my link. Please read full disclosure here.
