


 Ready for some paint organization?
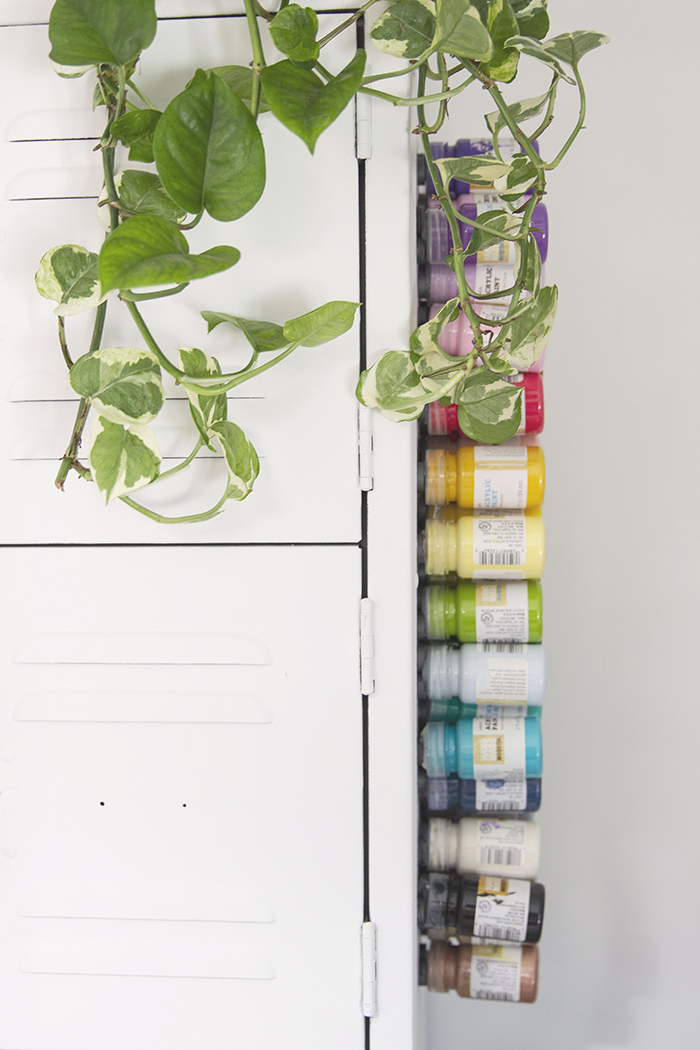
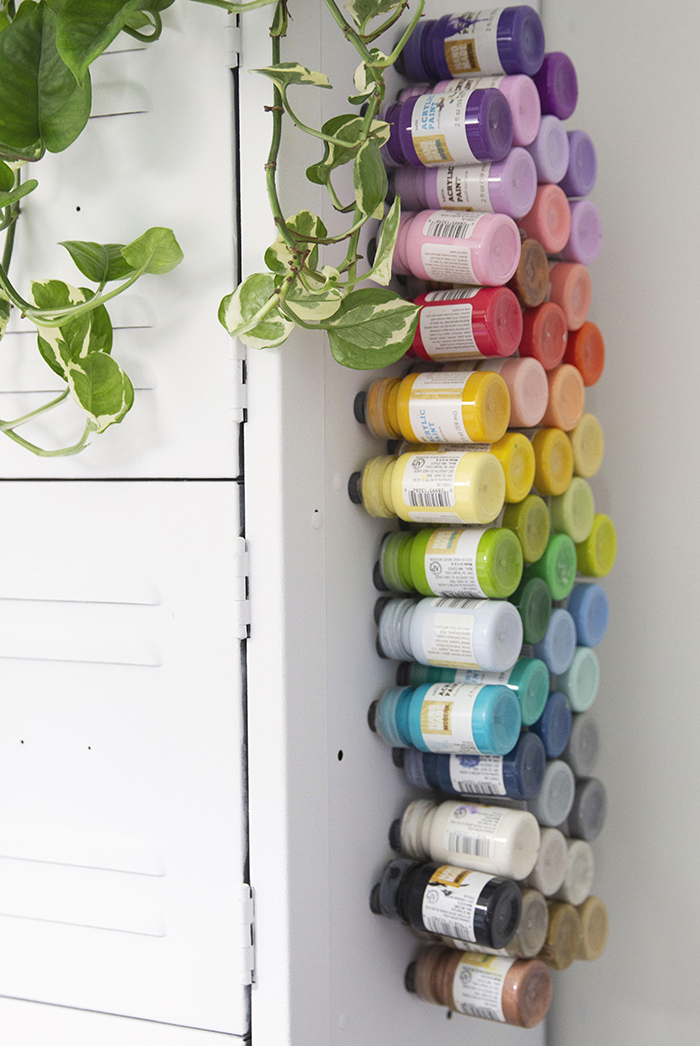
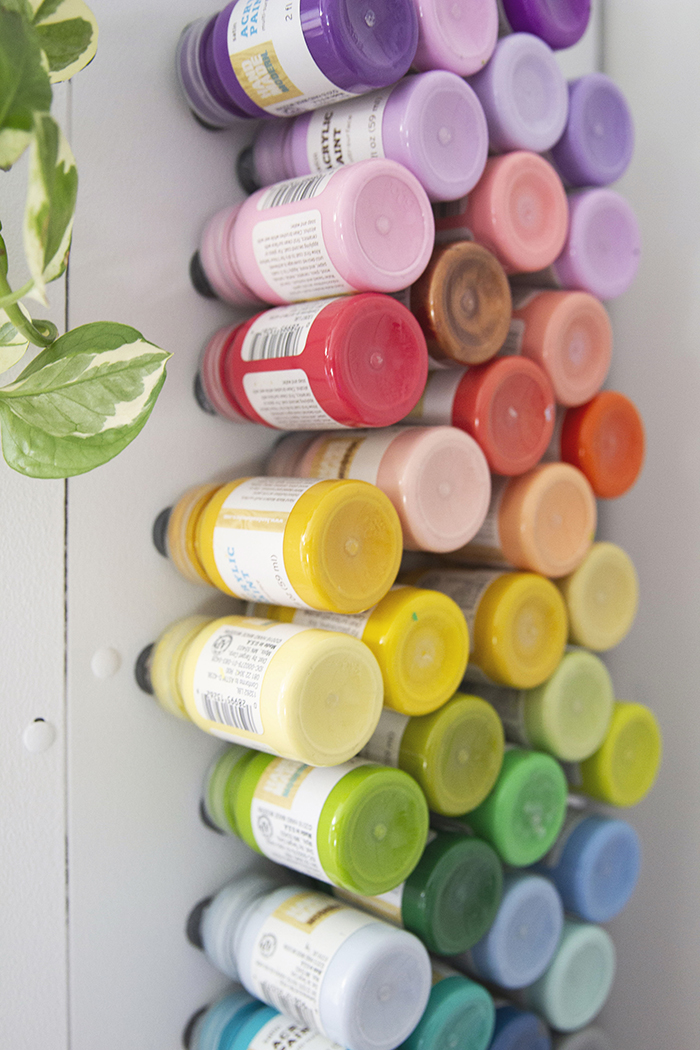
I have so many jars of acrylic paint (you can find all these jars and more here) it’s not even funny. There are many more jars stored in containers above these lockers, mostly in duplicate colors (what if I ran out of a color during the zombie apocalypse?!)
 Since moving into my new studio, I’ve been making an effort to organize all my crafts, supplies, tools & thingamabobs in a way that I can actually see them. If I can’t see something, I usually forget I have it and it never gets used.
 I wanted a way to quickly grab a paint jar and not have dig deep into storage (ok true confession–these were living in a storage bin at home under my bed before this DIY).
ALSO! I think the colors are so decorative and pretty to look at. So I wanted 1) a way to display them to enjoy their colors and 2) to access them with ease.
Enter of power of voodoo, who do? You do. Do what? MAGNETS.
 This might be one of the simplest DIYs on this website….provided you can operate a glue gun and you have a magnet-friendly surface.
WHAT YOU NEED
- Lightweight paint jars
- Glue gun
- Glue sticks for glue gun
- round disc magnets (I used these 18mm ones)
THE INSTRUCTIONS
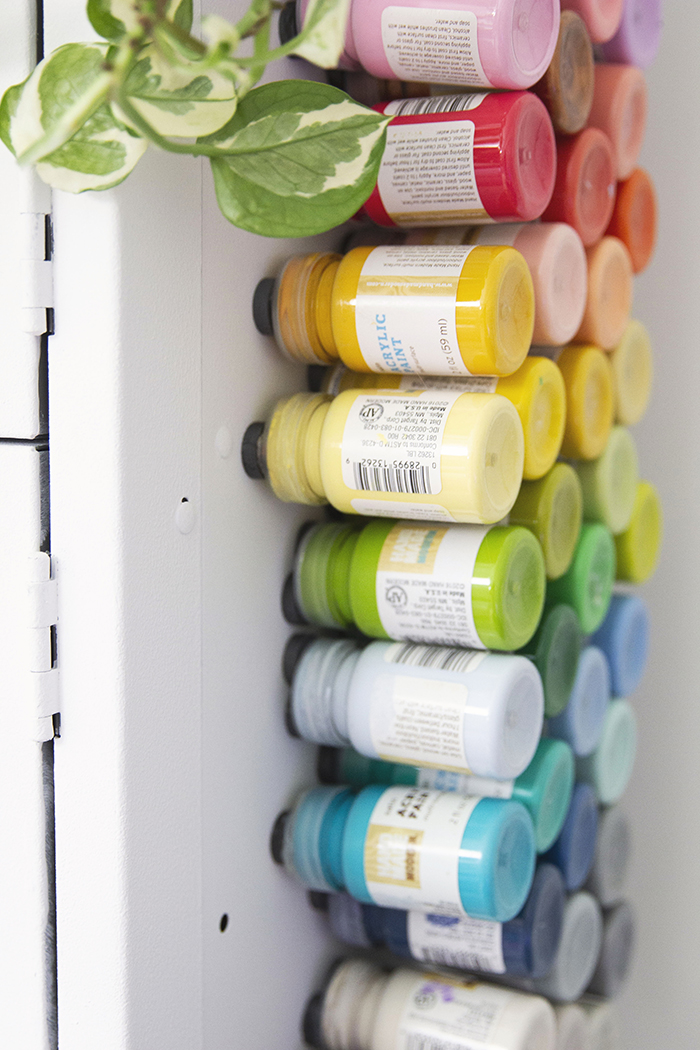
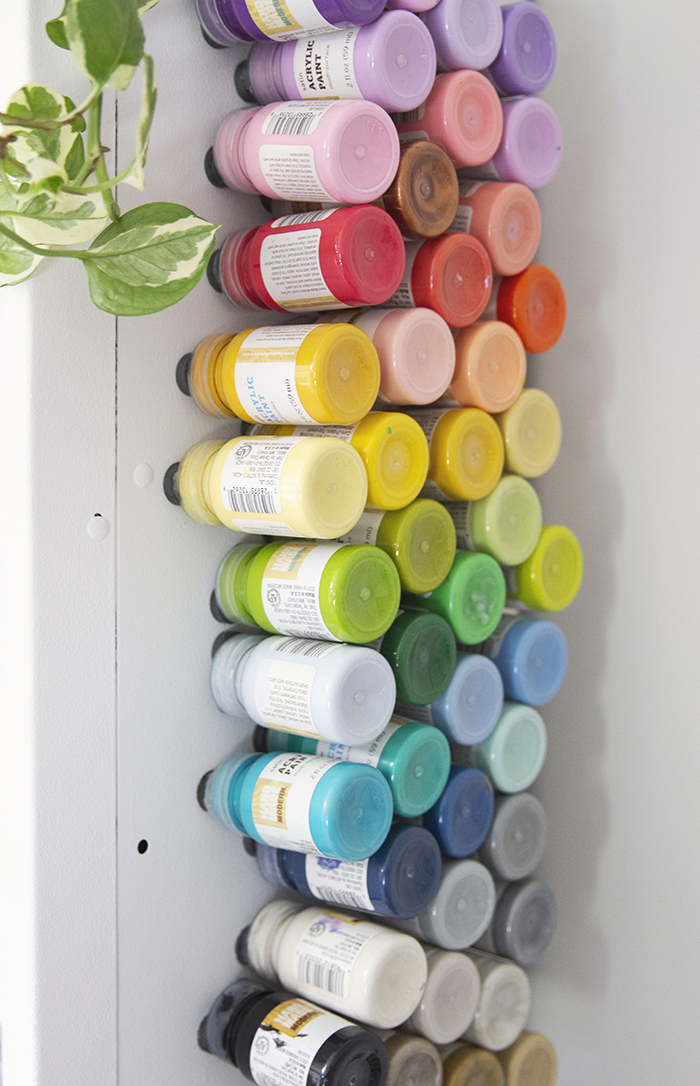
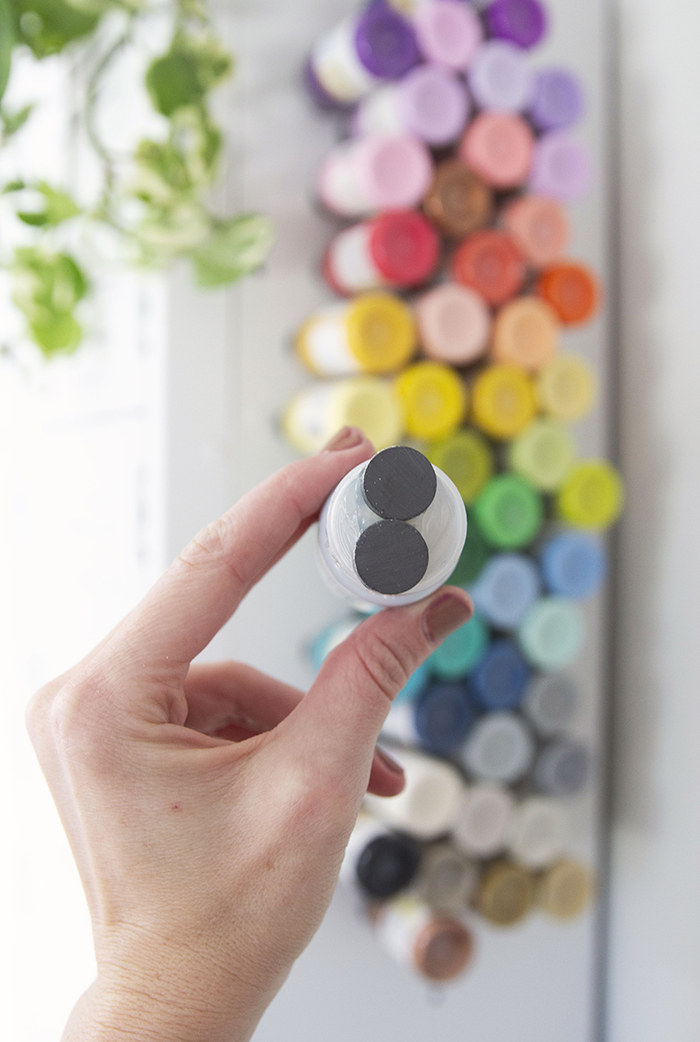
First things first. My paint jars have a label with the color name on the top of the cap. I learned the hard way, you will want to remove that label before glueing the magnets to the caps.
Some of them have been fine, but many of them (I’m guessing the fuller, heavier jars) fell off because the magnet was actually glued to the label (not the cap). So in a number of days after placing them on the locker, I arrived to the studio to find a graveyard of jars on the floor, with the magnets still on the locker, just attached to the labels.
I fixed this issue by removing the labels and hot gluing the magnets directly to the caps. No more falling jars!
(If you don’t want to forget the name of the color that is on the cap’s label, you could use a label maker and stick to the body of the jar.)
Once the labels are removed, place all the jars very close together. You will want to work fast because hot glue dries quickly. Just heat up your gun and place a generous amount of glue on 4 or 5 caps at a time.
Then grab two (yes two!) disc magnets and push them into the hot glue, side by side. I tried with a single magnet, but it wasn’t strong enough to hold up the jar on the locker. There may be stronger super duty magnets out there–I just used the ones I had and and doubling them up worked perfectly.
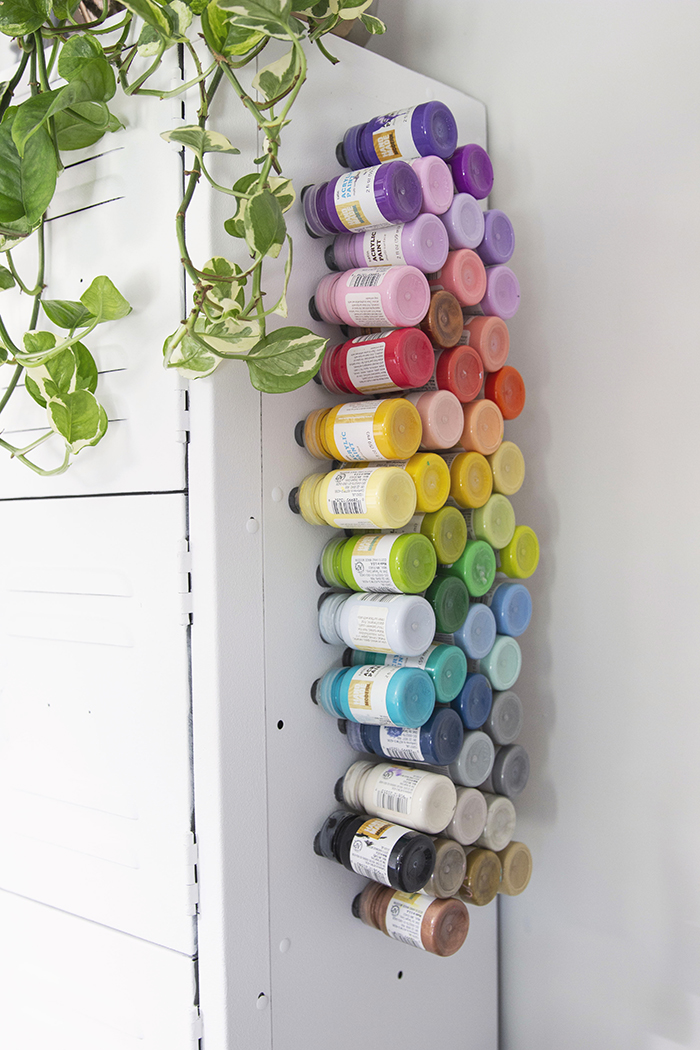
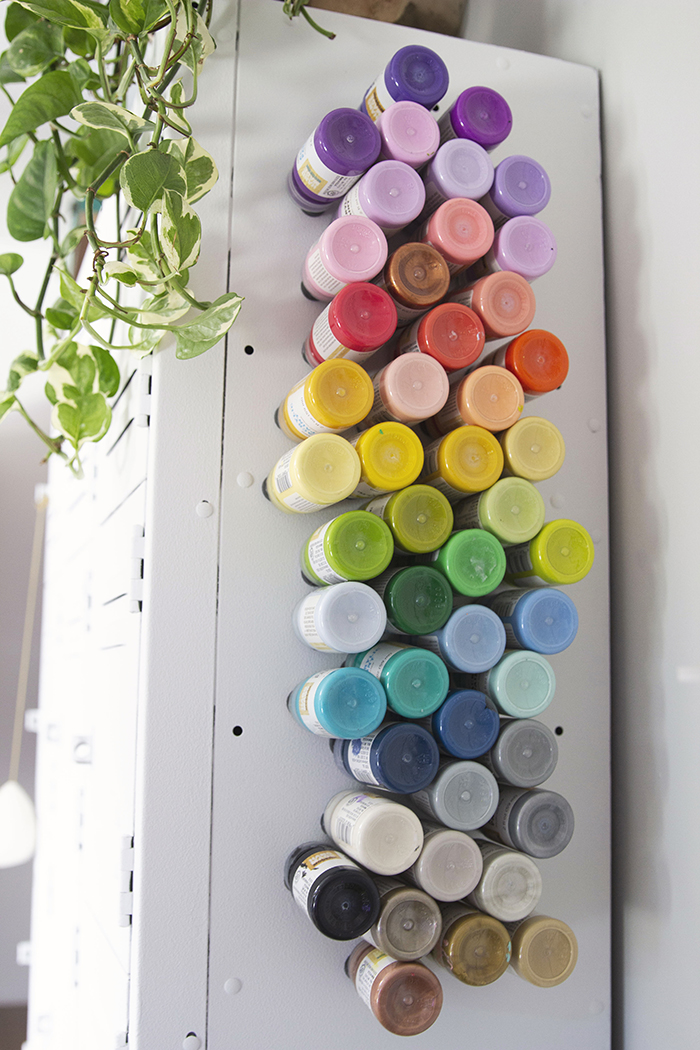
Allow ample time to dry. Arrange on a magnet-friendly surface. I got my metal lockers here (and painted them chalk white!) They are so storage friendly too.
Hope you enjoy this easy and pretty paint organization idea!
This post may contain affiliate links, which means I'll receive a small commission if you purchase through my link. Read the full disclosure.


