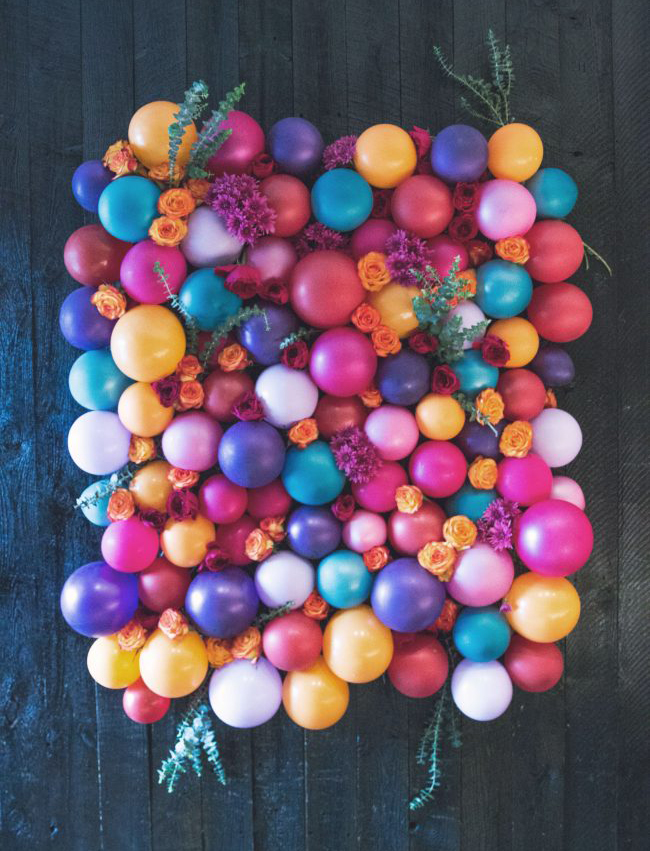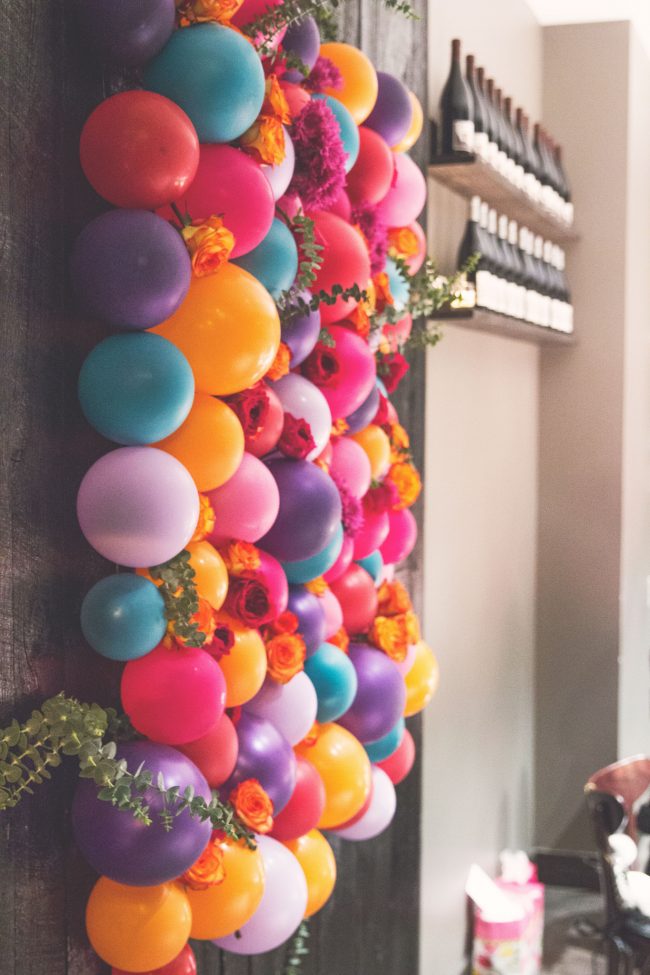
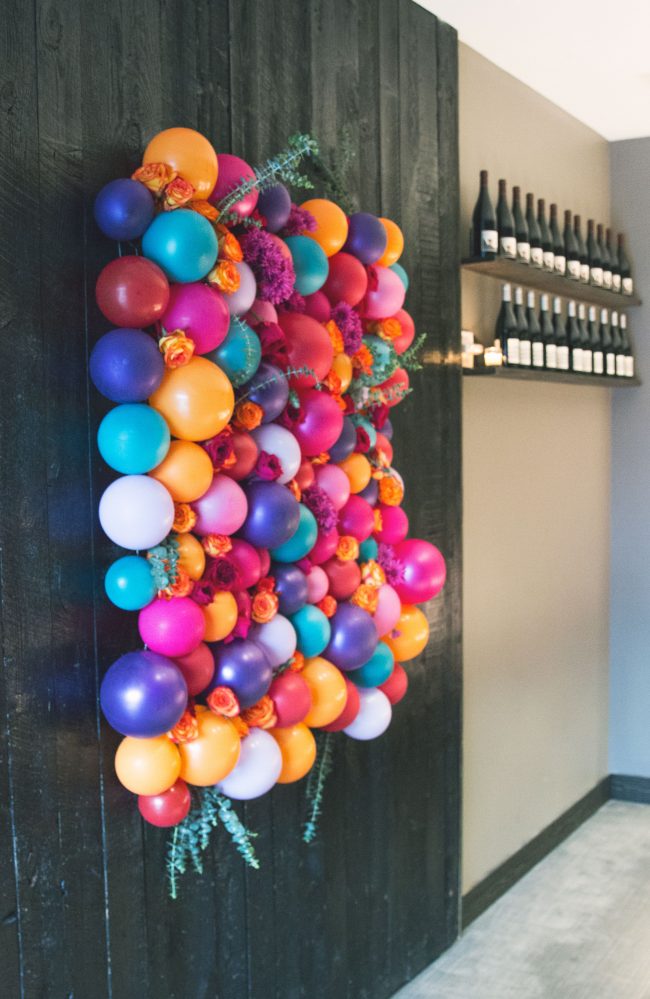
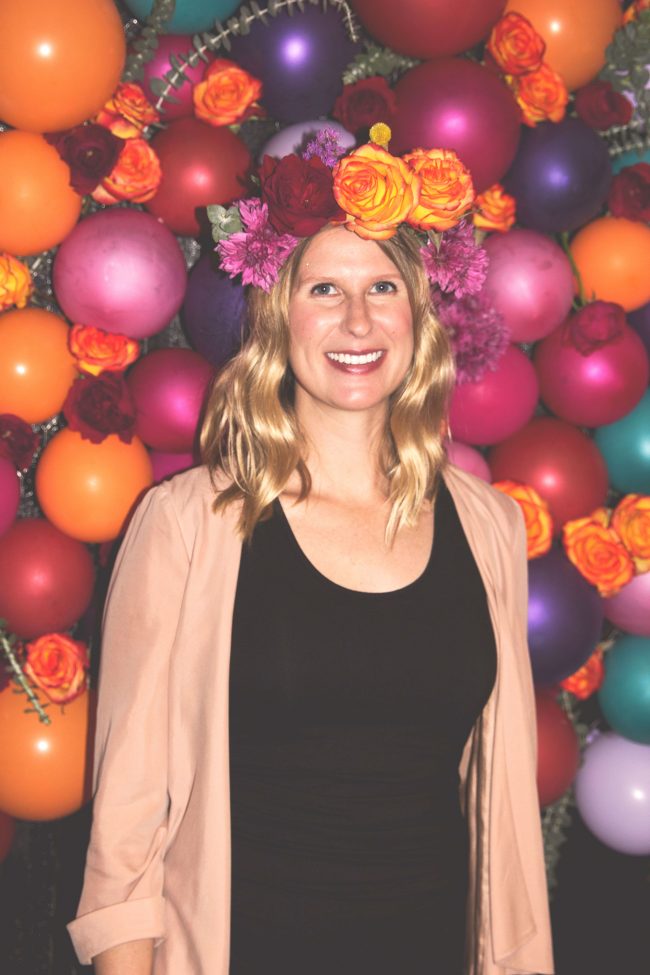
My. Favorite. Project. To. Date! I recently DIY’ed this floral-infused balloon backdrop for my sister’s birthday dinner at our favorite restaurant, North End Grill. (Ask for server Jairo, he’s the bessst!) We rented the private room in the back for her big dinner with about 15 friends. It’s a gorgeous space, with dark wood-paneled walls. I wanted to add a pop of color against the dark wood, so during pre-dinner champagne we could take some fun, memorable, festive birthday pictures. What can I say, I’m all about dat photo opp!
I wish you could have seen my friend Katie and me carrying about 30 dozen flowers and this balloon “structure” (for lack of a better word) down the street on a luggage cart to the restaurant in our heels. No big deal walking through the restaurant with all these balloons attached to a huge piece of chicken wire. Keep it moving, nothing to see here, people! I kept telling the staff at the restaurant, it doesn’t look like much now, just give me a few minutes and it will all come together, I promise. I think they thought I had been taking crazy pills, but I never doubted it would turn out pretty rad. It’s not the most difficult DIY, it just takes some patience, space, and a little bit of a budget–the flowers weren’t cheap.
WHAT YOU NEED
balloons (I used an array of colors and sizes)
balloon air pump (this is a LIFE saver, no way I could have blown up all those balloons myself)

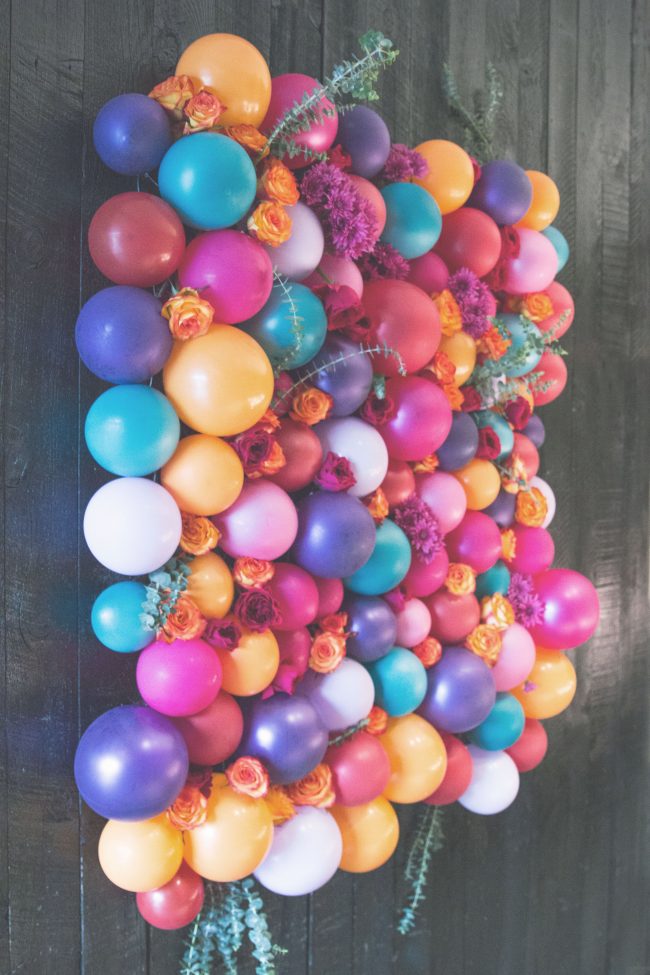
shit ton of flowers, stemmed and trimmed (I like this online flower wholesaler)My apartment smelled sooooo good!
THE INSTRUCTIONS
With your wire cutters, cut your poultry netting into your desired shape. Mine was rectangularish. The netting will be curled so it might take a little wrestling first, to smooth it out. Use your thumbtacks to secure the netting to a wall. Next, take your balloon air pump and blow up about 100 balloons (and watch your dog go nuts). I blew them up in different sizes to create a more interesting dimension in the end result. Once you have enough balloons to work with, take the clear mailing tape, and tape the knot side of the balloon around different parts of the poultry netting. Try to keep the balloons as close together as you can. Use the dots of glue for any balloons that are drooping–place a dot on the side of a balloon and it will grab onto the side of another balloon and stay more upright. Don’t worry about too many gaps you see at this point–you’ll fill those in with flowers later!
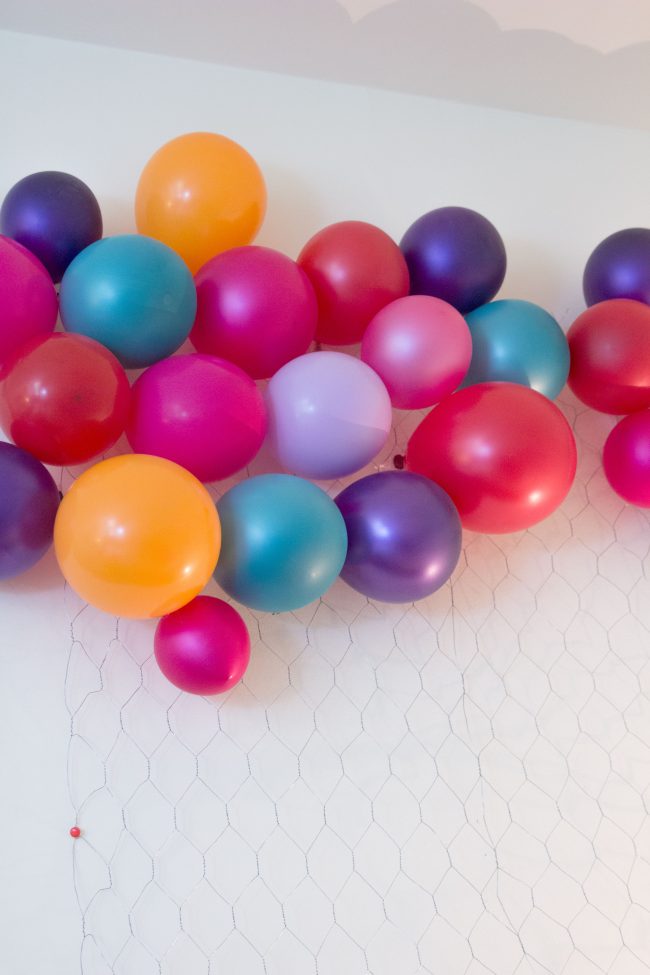
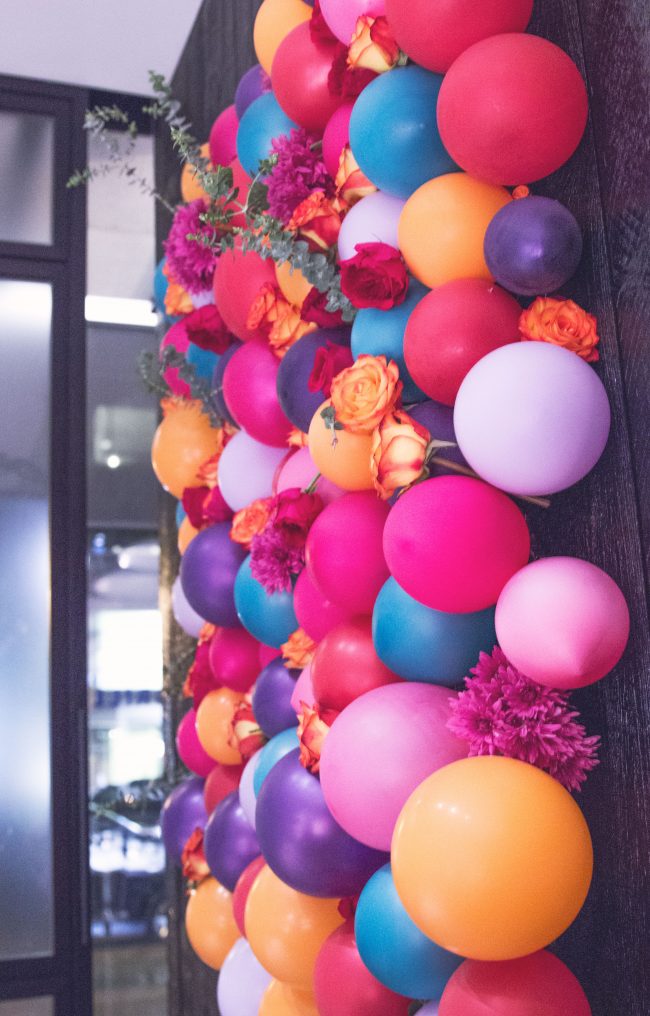
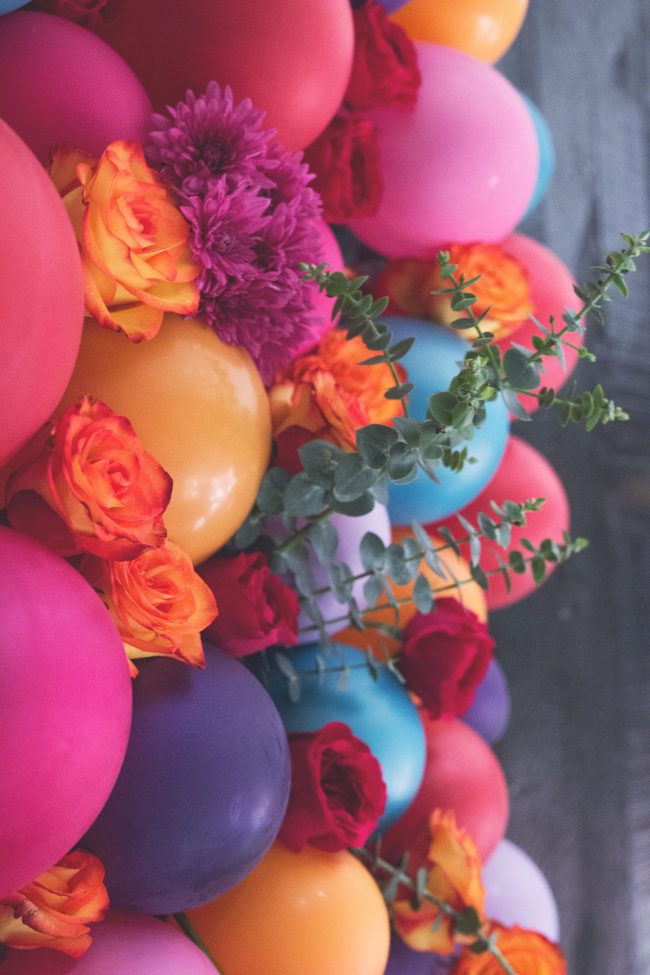
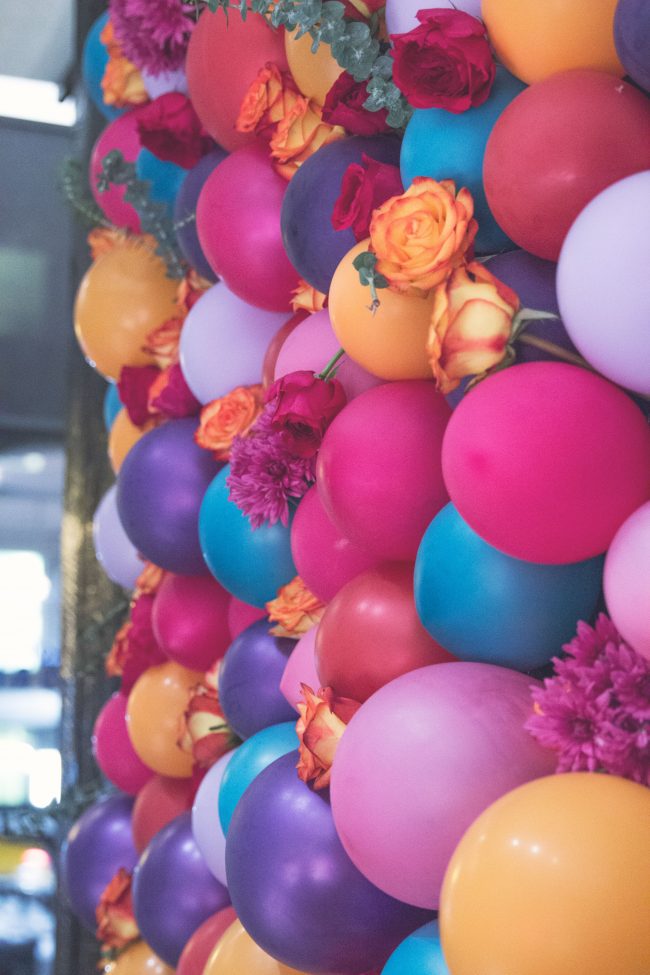
Cover the entire netting with the balloons. (I promise it goes fast if you have the balloons blown up beforehand.) Once the entire netting is covered, take trimmed and stemmed flowers and start nestling them into the gaps, so you can’t see any of the netting in between the balloons. You don’t want super long stems, because they get in the way or make it hard to get the flowers in far enough, but you don’t want no stems/too short stems because they will fall out of the backdrop. I’d say 7-9″ stems are ideal to work with. I simply placed them in between the balloons and used the netting as leverage to make them hold. I LOVE how the longer eucalyptus turned out–it gave it a more untamed, wild and free look. I used mostly full, large garden roses in both deep red and “sunset” colors, yellow billyballs, purple liatris, purple pompons, and baby blue eucalyptus. The flower placement was definitely the most fun part!
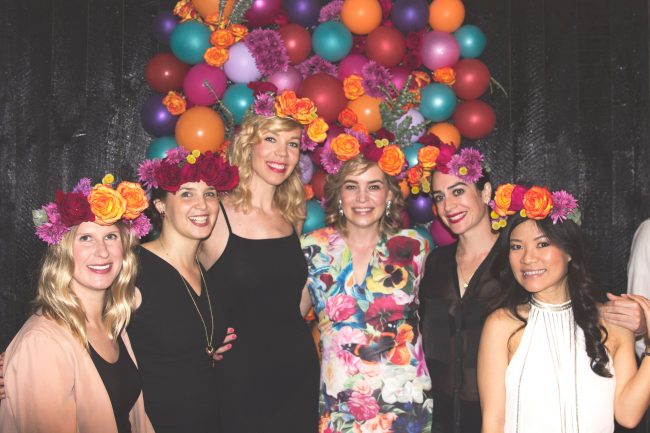
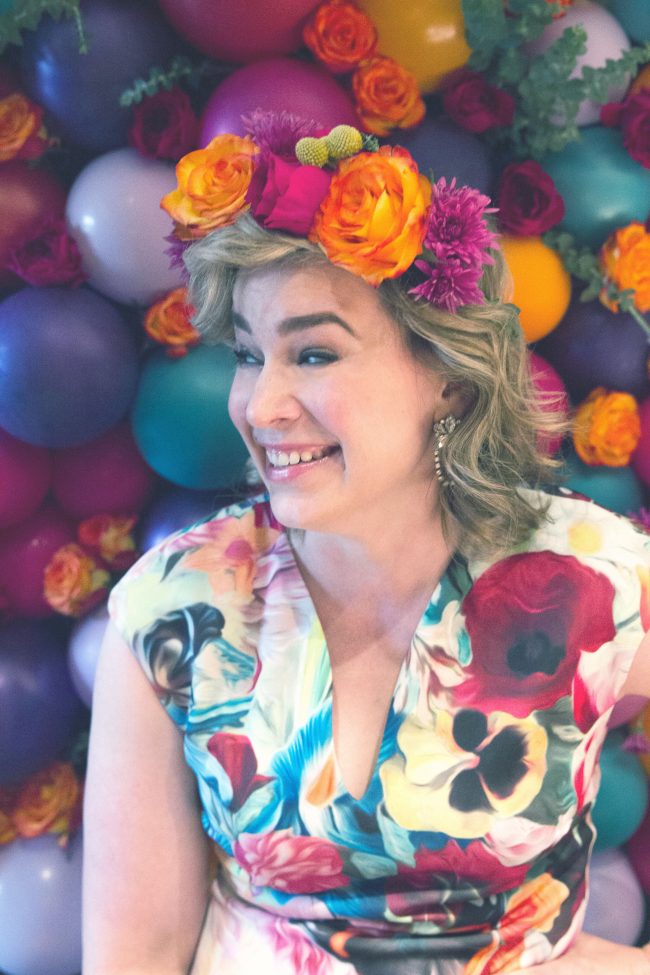

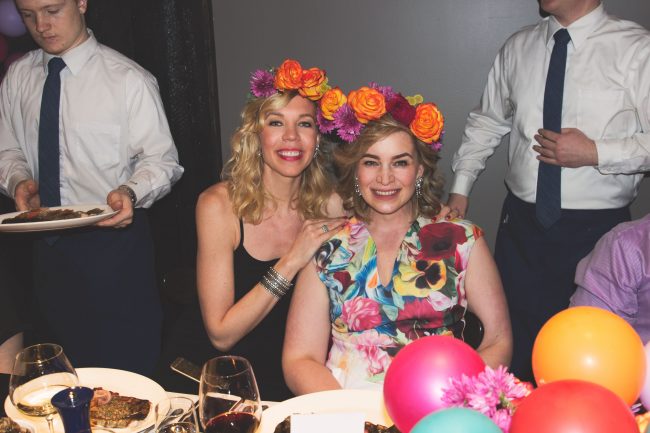
(I made flower crowns for the ladies too! I’ll share the DIY for those in a future post. So easy and fun to make.)The Birthday gal. How fabulous and #onbrand is her dress? psssst…It’s Ted Baker, and 40% off at Nordstrom right now!

My amazing and supportive sister has always believed in my creativity. Thank you Sissy, I love you!!
Hope you enjoyed this DIY. Please tag me if you create something inspired by this project, I’d love to see how it turns out!
This post may contain affiliate links, which means I'll receive a small commission if you purchase through my link. Read the full disclosure.
