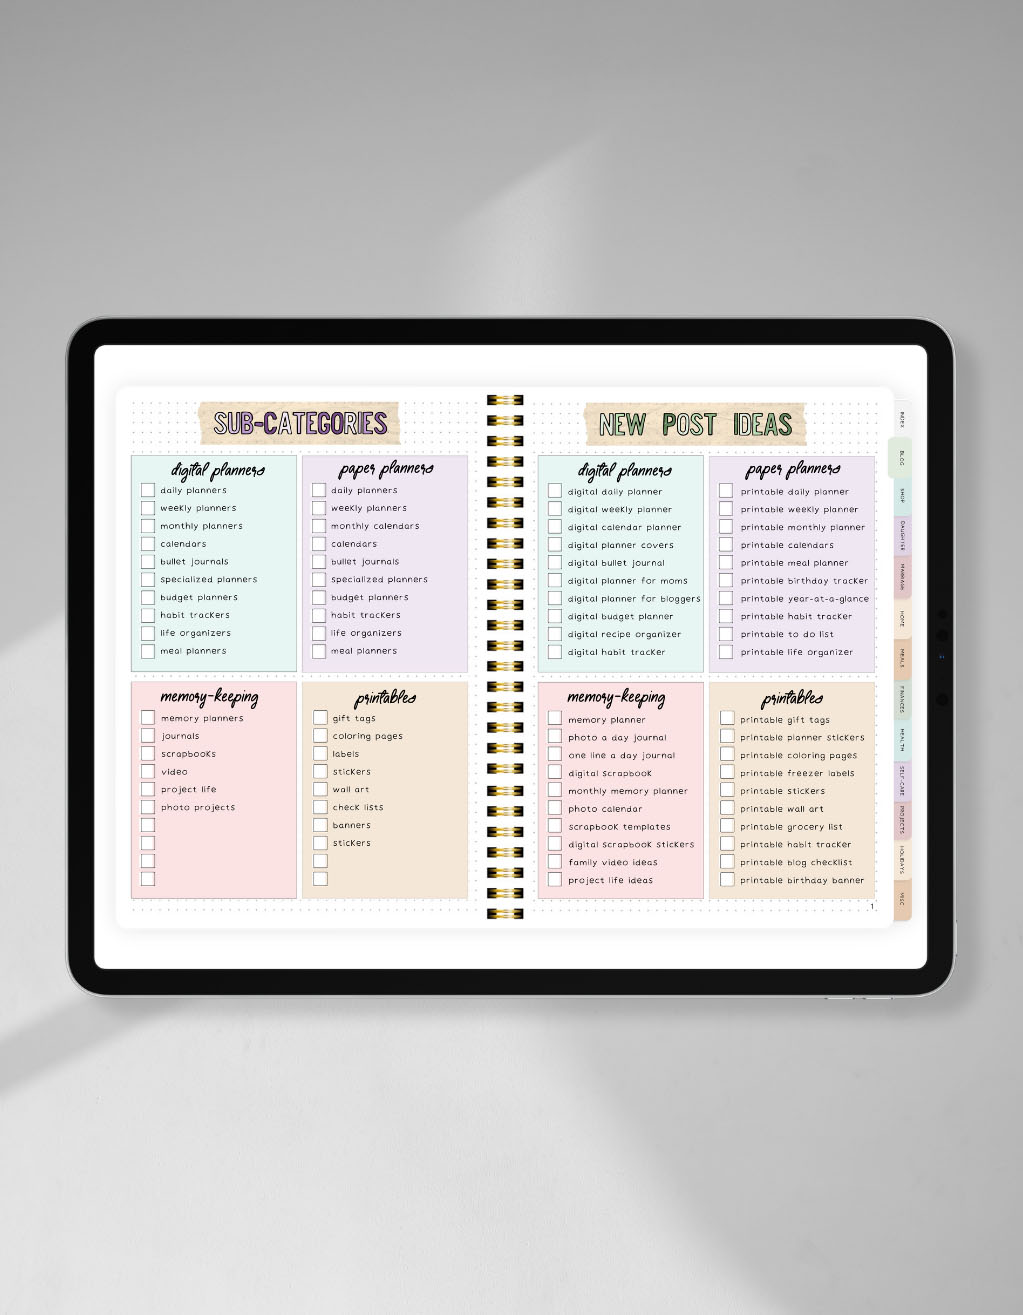
Being a work-from-home mama has required me to become a next-level planner and productivity nerd. I share digital and printable resources custom-designed to run my life, hoping they will help you run your life, too.
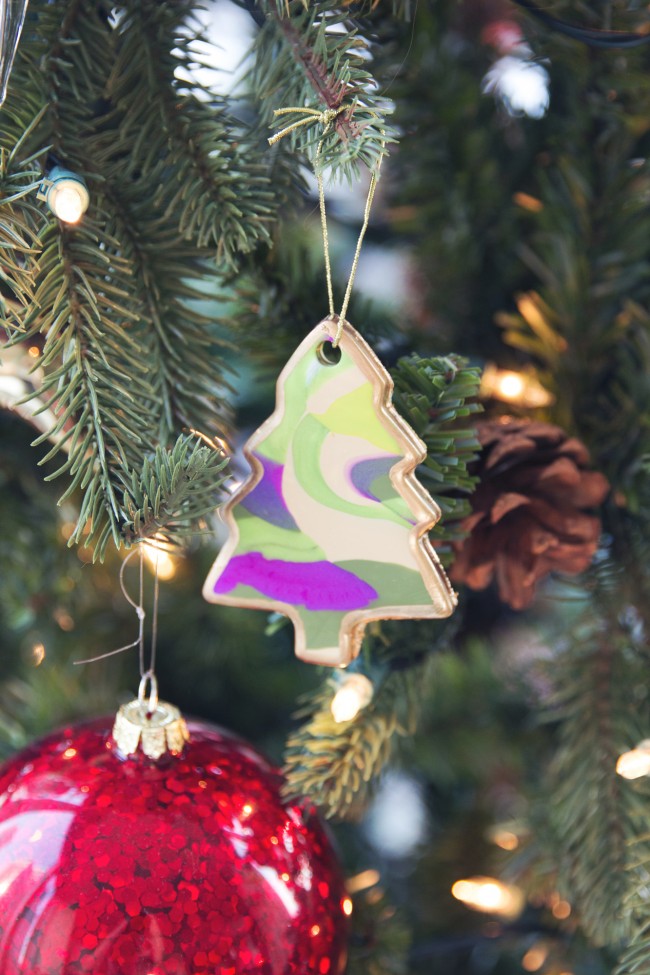
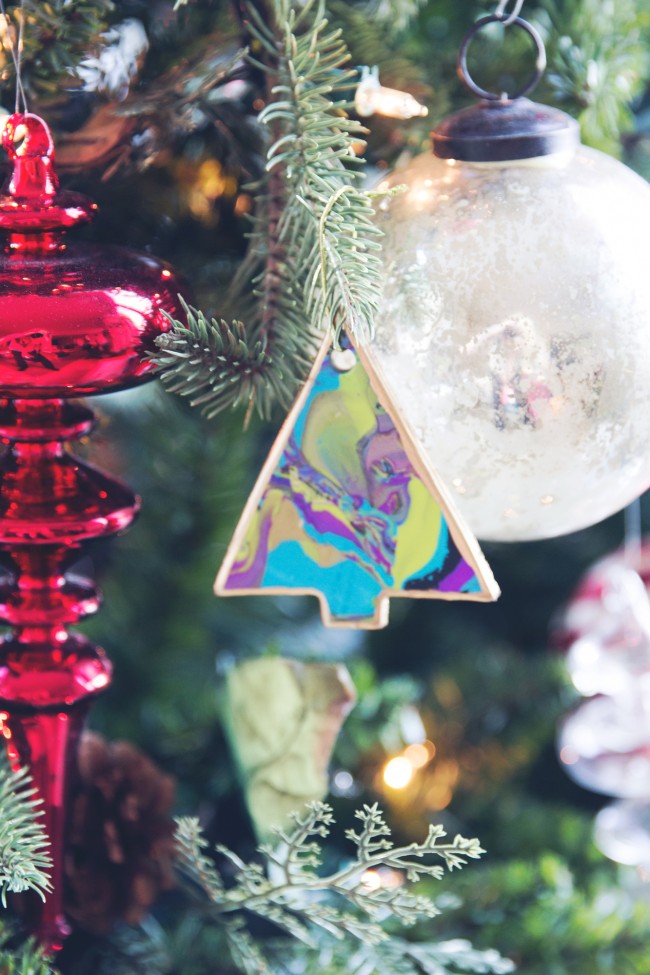
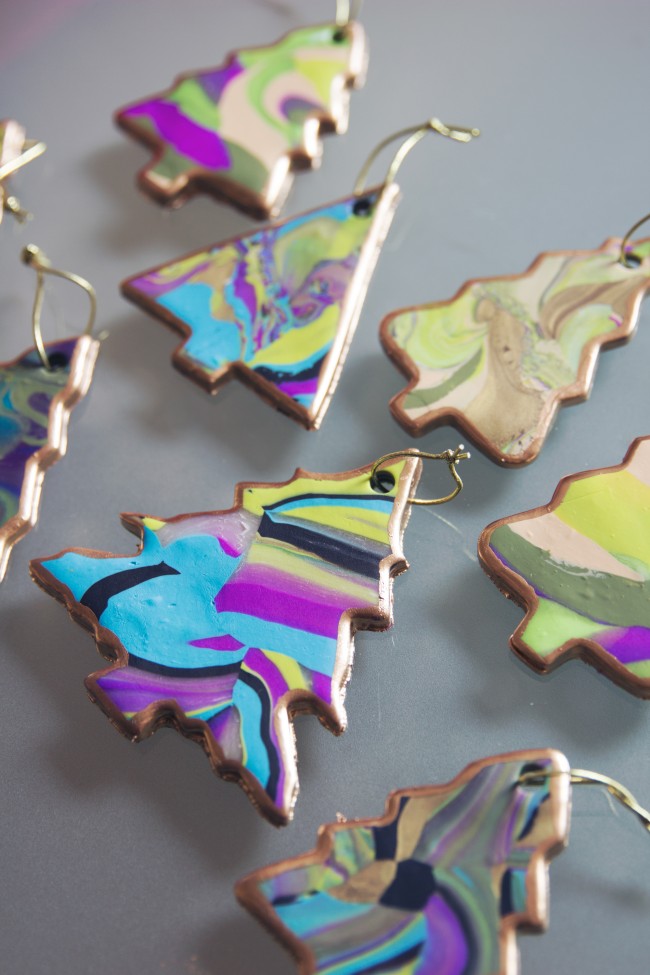
This marble Christmas tree clay ornament DIY was born from my most popular marble coasters post. (It’s going strong at over one hundred thousand views! Go check it out!) These DIY ornaments are easy and fun to make for your tree or to give as gifts.
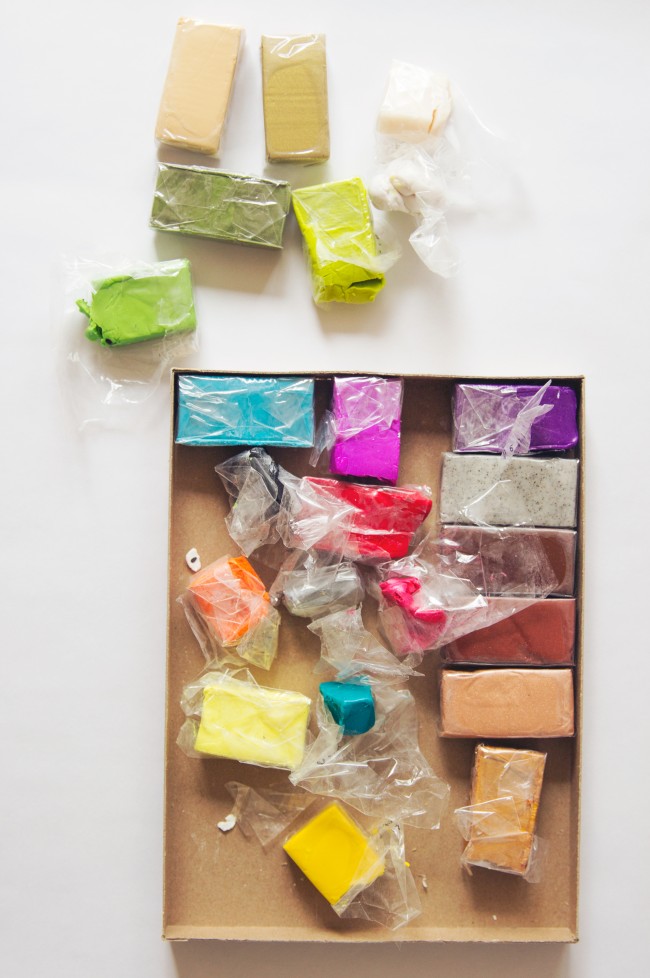
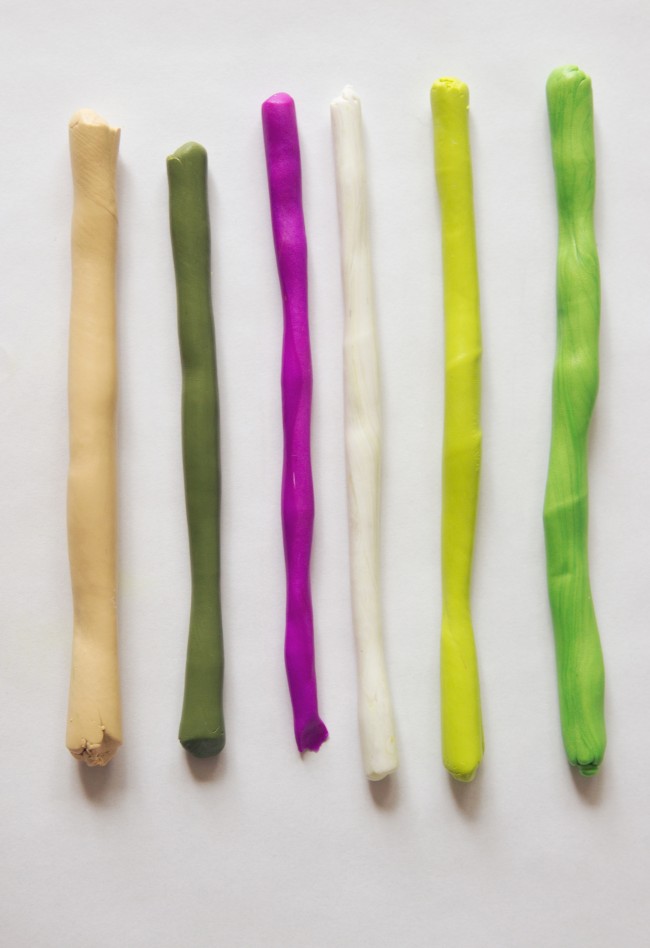
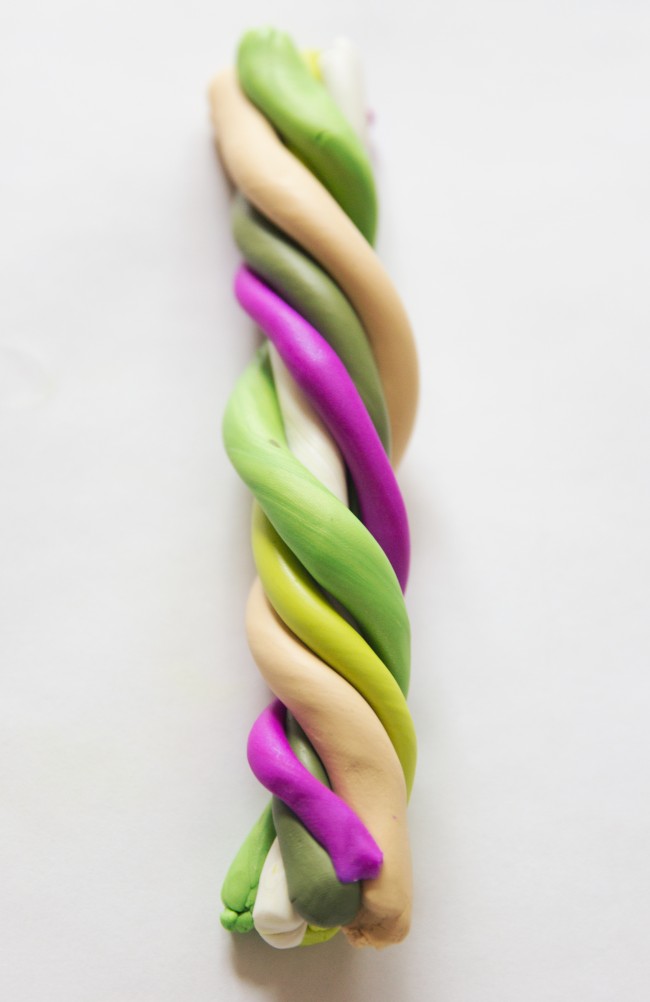
Break off several pieces of color that you’d like to use for your ornament. Roll them out with your hand on a clean even surface so they are even in length and look like this. It’s ok if some are different thicknesses, that will give your end result a more interesting look.
Once they are all rolled out, twist all the colors together. Keep rolling and twisted until the colors are thoroughly mixed and create a marbleized effect. Be careful not to overmix the colors.
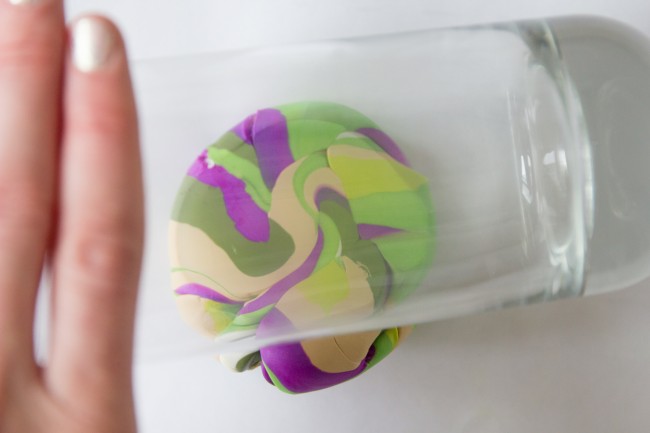
Now form a ball with the mixed clay. Take your jar or rolling pin and roll the ball flat. Roll to a thickness of 1/4?.
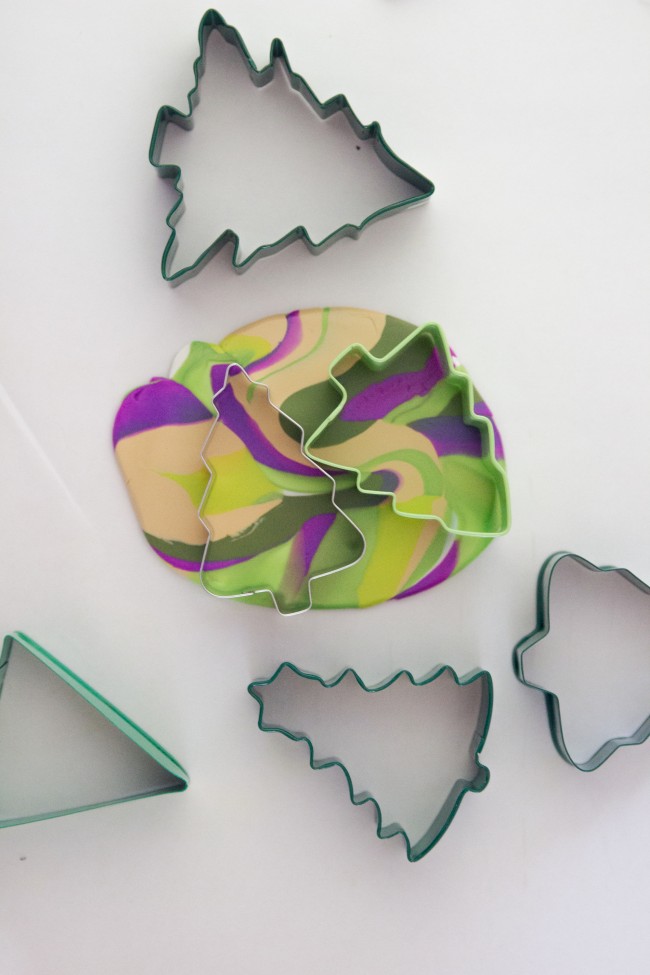
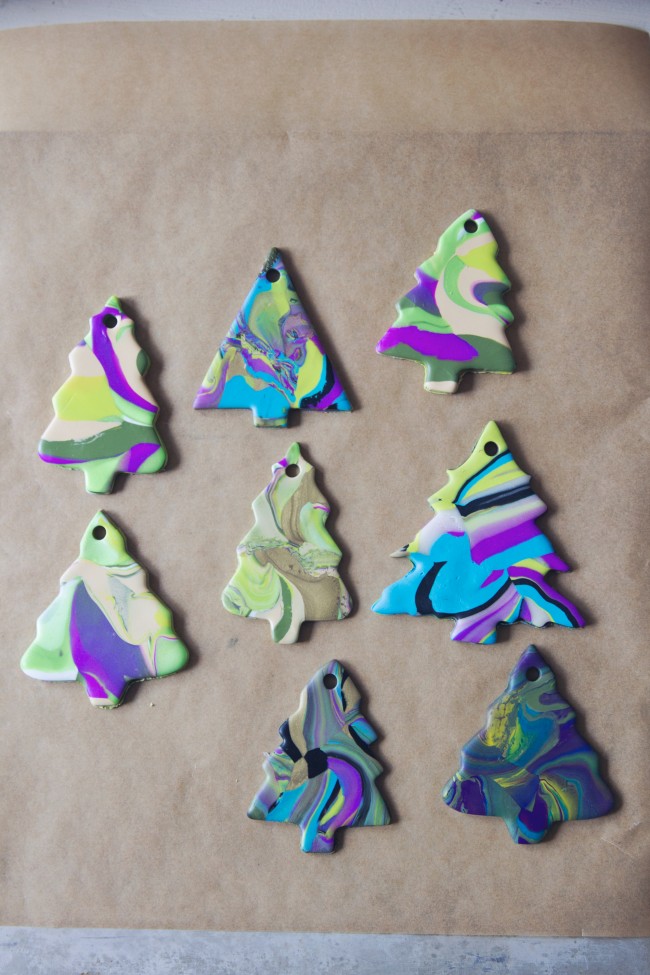
Next find a part of the marbled pattern that you love and put your cookie cutters over it and press down. Remove excess clay. Smooth the clay with your finger if there are any bumps or imperfections along the edges.
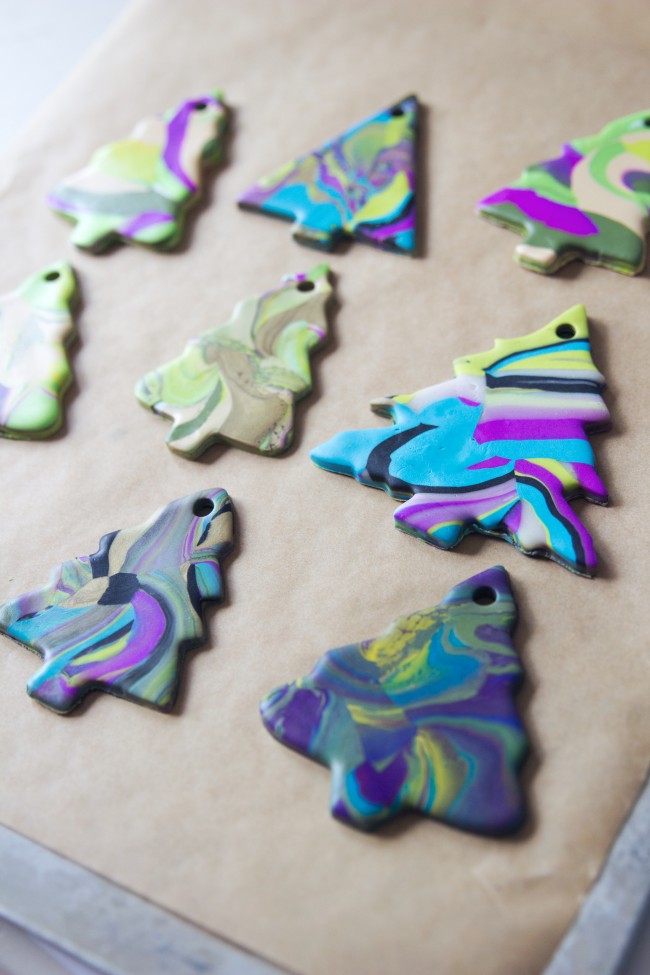
Transfer the cut outs to a baking sheet covered with parchment paper. Take your plastic straw and push into top of ornament where you would like a hole to tie a string through.
Once they have the holes cut out, they are ready to bake. Bake the clay according to your brand’s instructions. I baked my Sculpey clay at 275 degrees for 30 minutes.
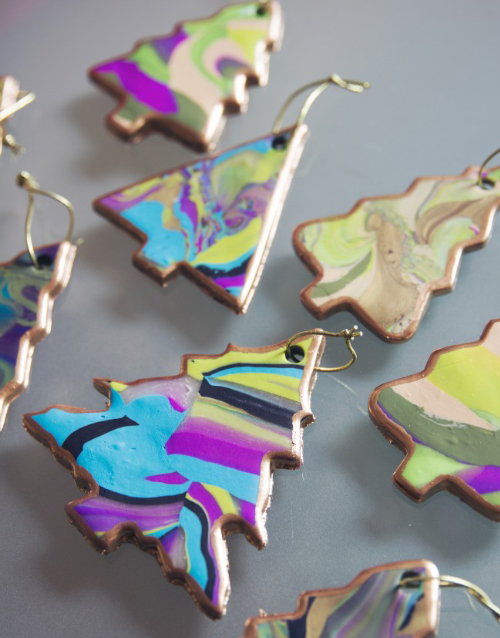
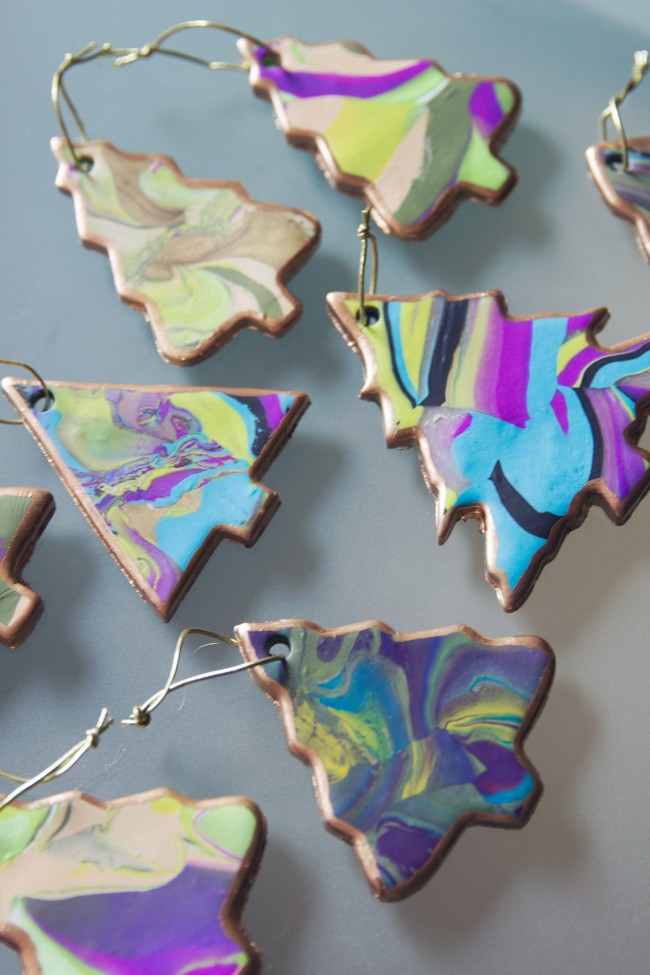
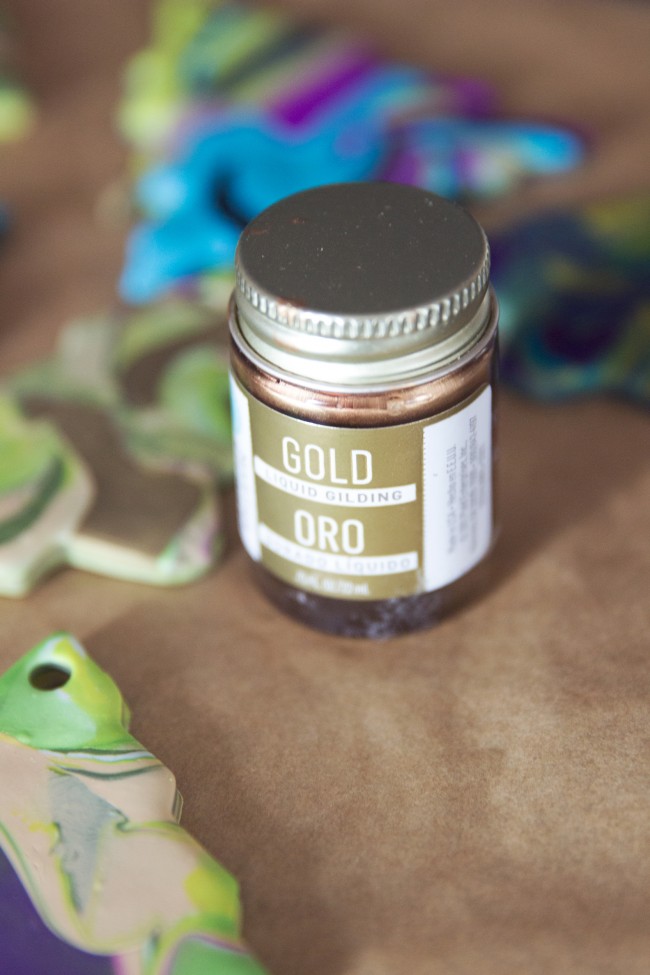
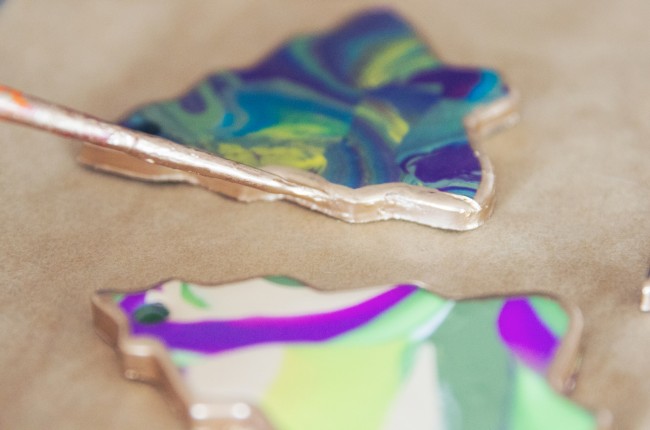
Once they are done baking, remove from oven and let cool. When the ornaments are back at room temperature, use your liquid gilding and a fine brush to paint the outside edges.
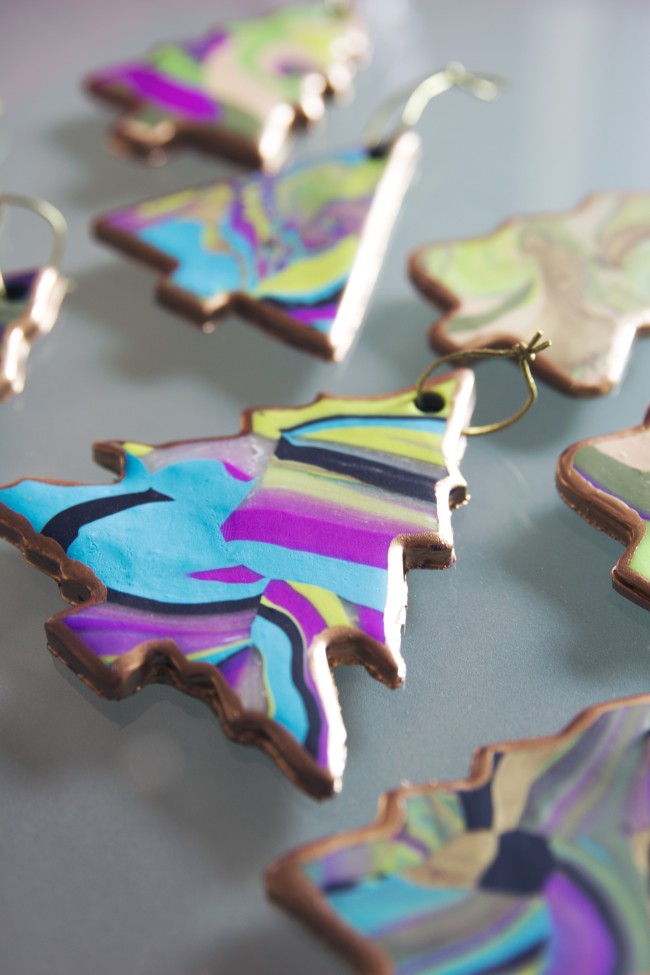
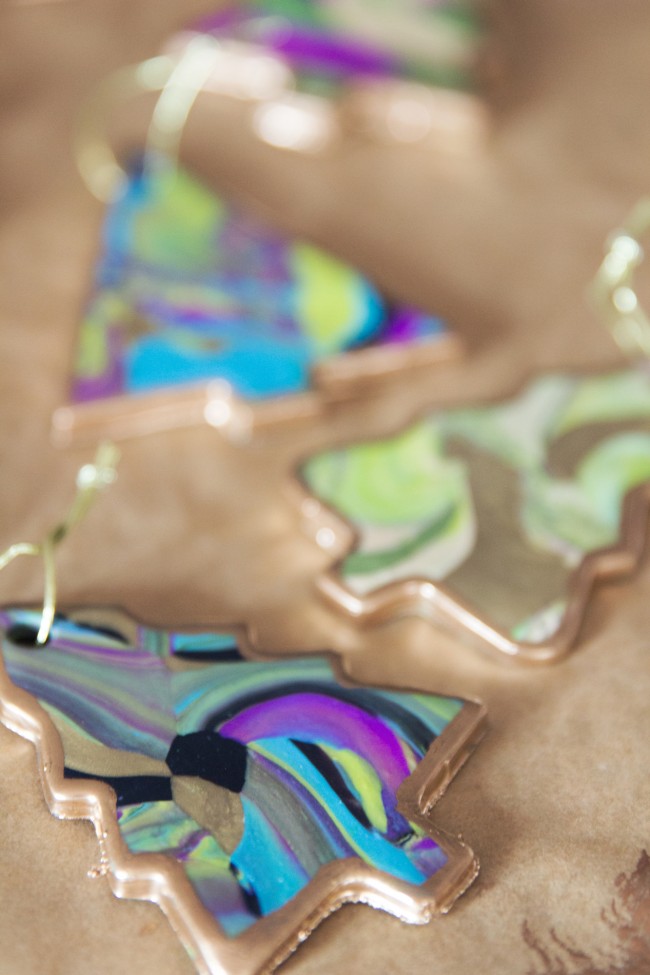
I painted the outer edge (where the cookie cutter cut down) as well as about an 1/8? of the top outside edge. Once the liquid gilding is dry, you can seal your ornaments with a touch of glaze for a glossy finish with a paint brush if you wish.
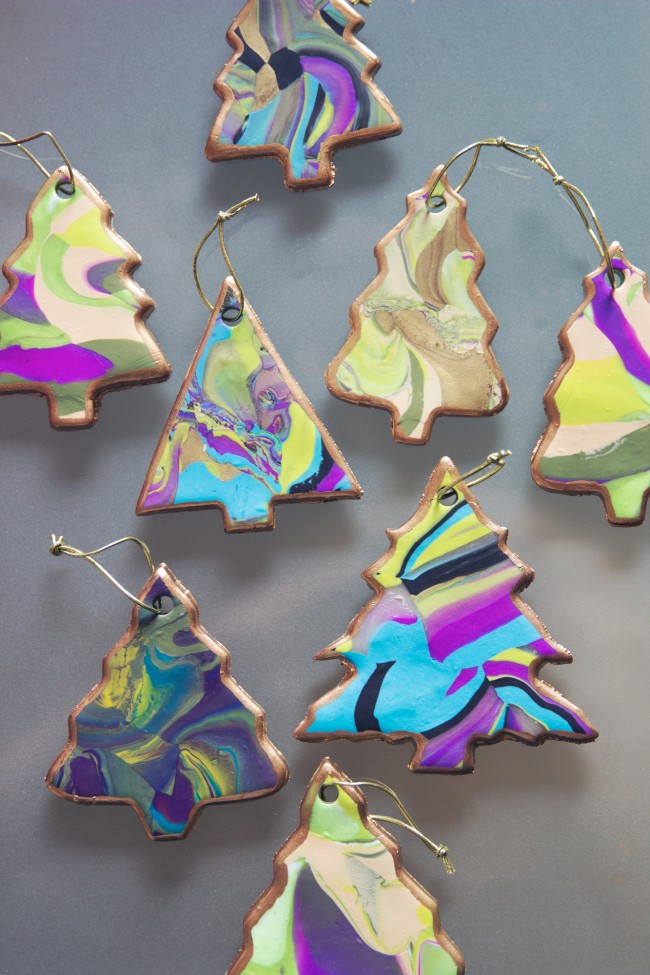
Once dry, tie a elastic or ribbon through the hole so you can hang the ornament.
Your ornaments are complete!
This post may contain affiliate links, which means I'll receive a small commission if you purchase through my link. Please read full disclosure here.
I've always been infinitely curious on how the things I love are created. Whether it's a soap recipe, a beautiful piece of jewelry, or a jaw-drooping, drool-worthy interior... I have an persistent need to figure it out... and do it myself!