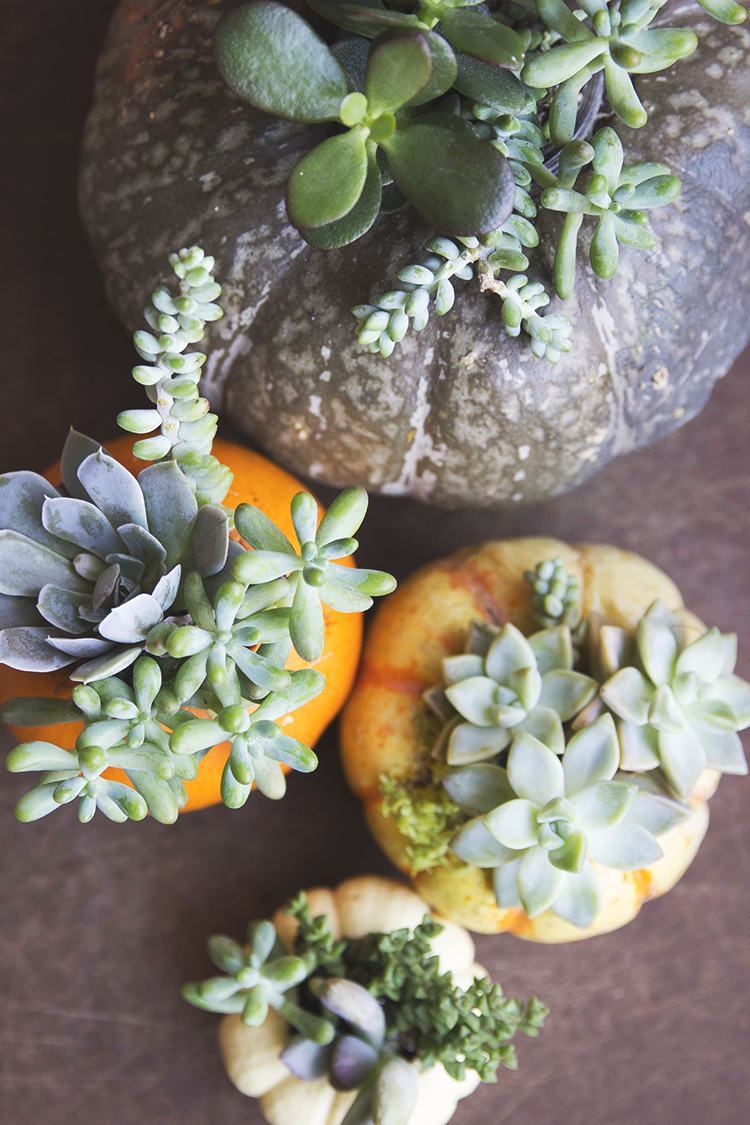
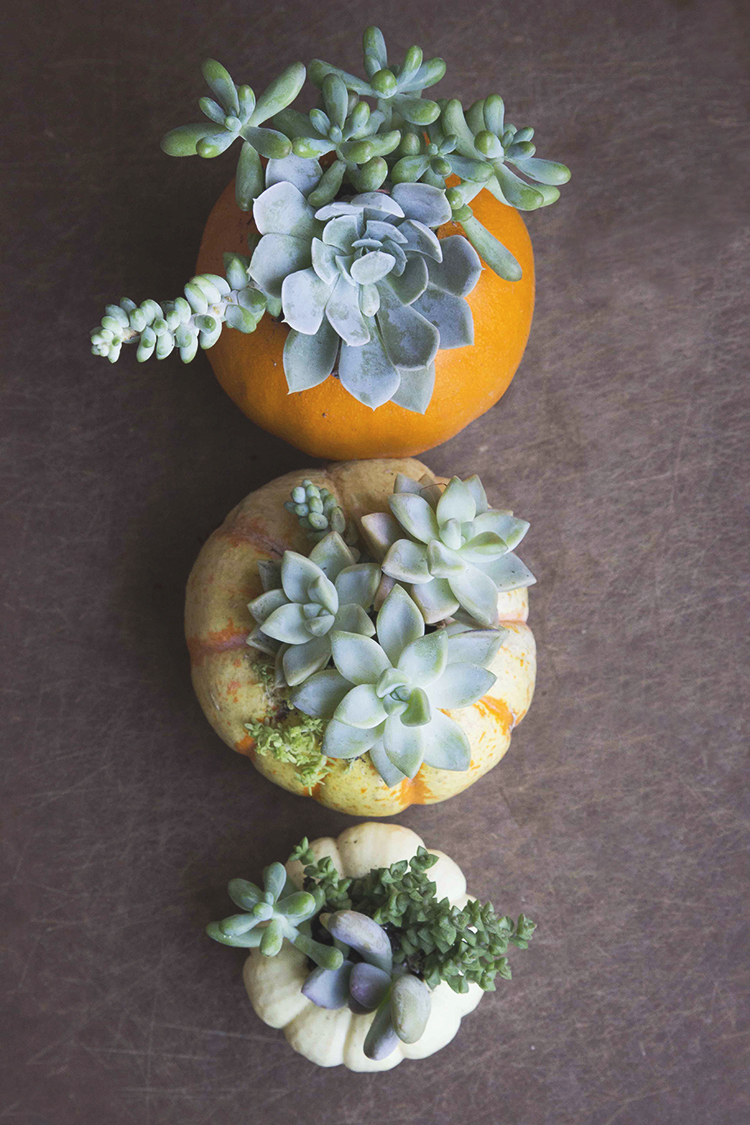
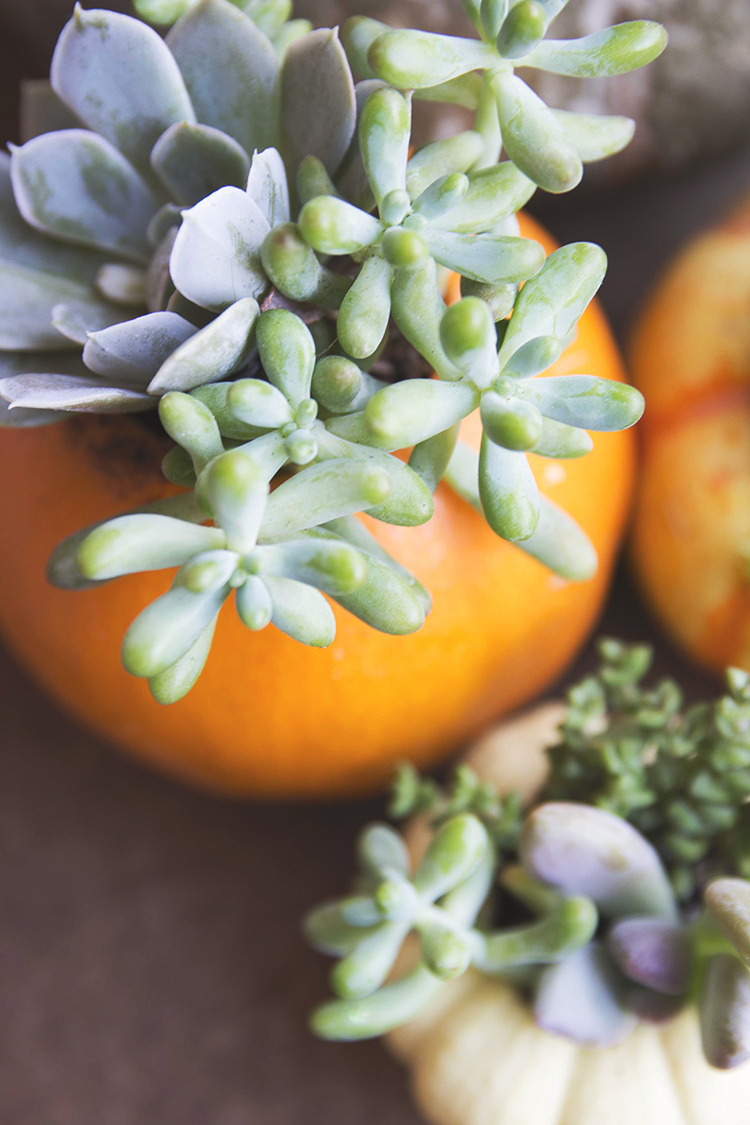
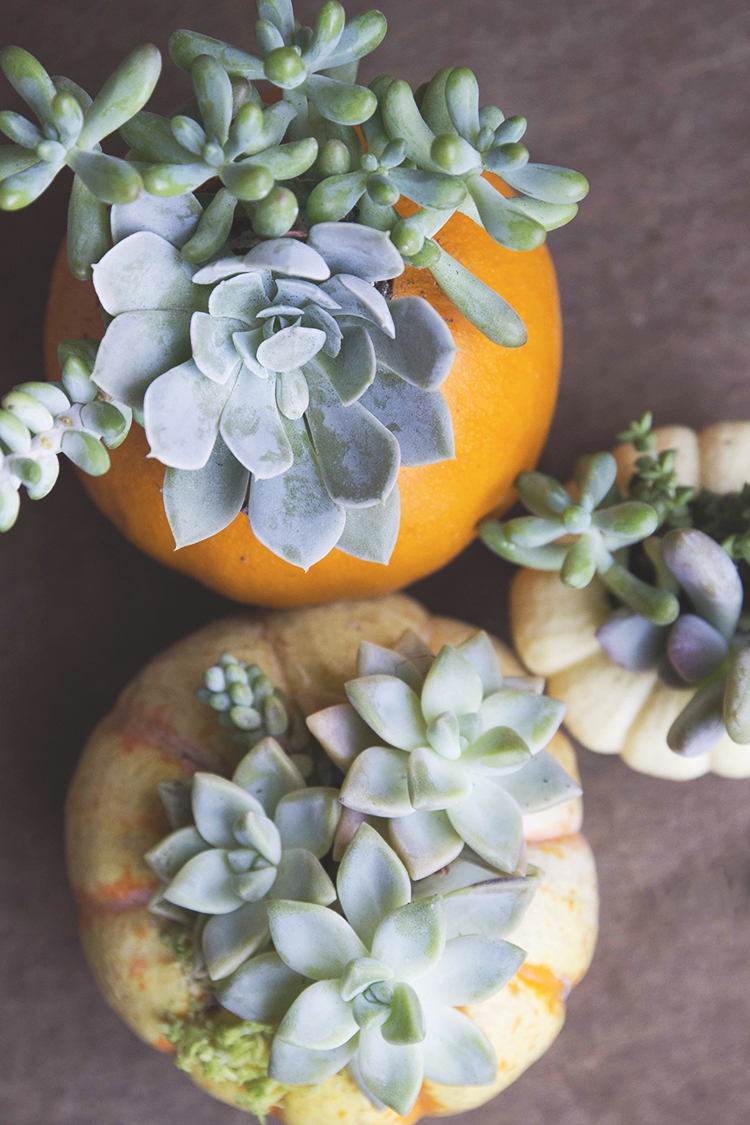
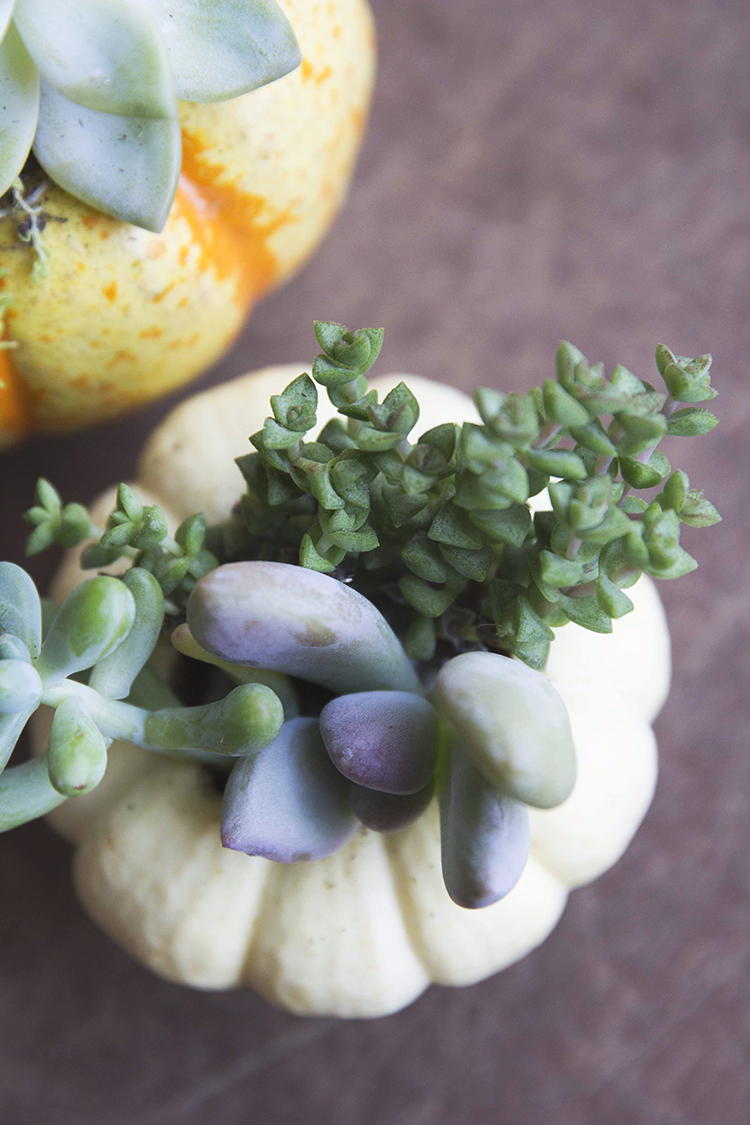
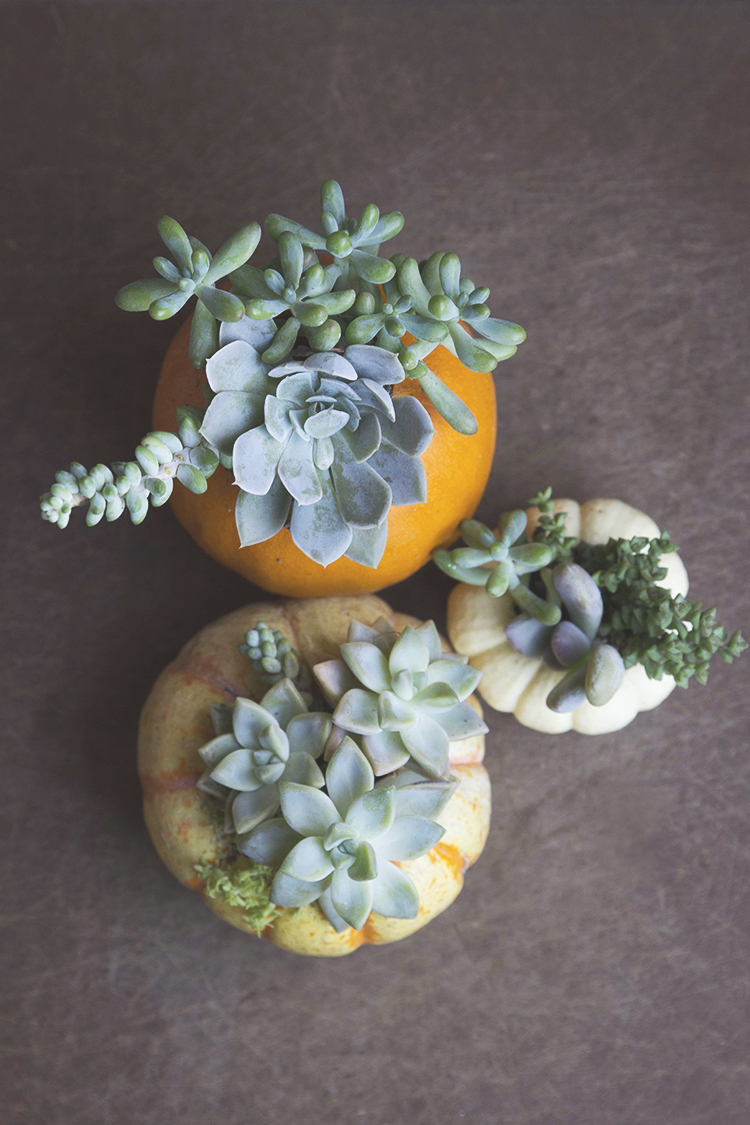
May you start the autumn season full of peace, warmth, and coziness. And succulent pumpkin planters!
I love autumn (who doesn't, really?). I especially love that all things pumpkin start popping!
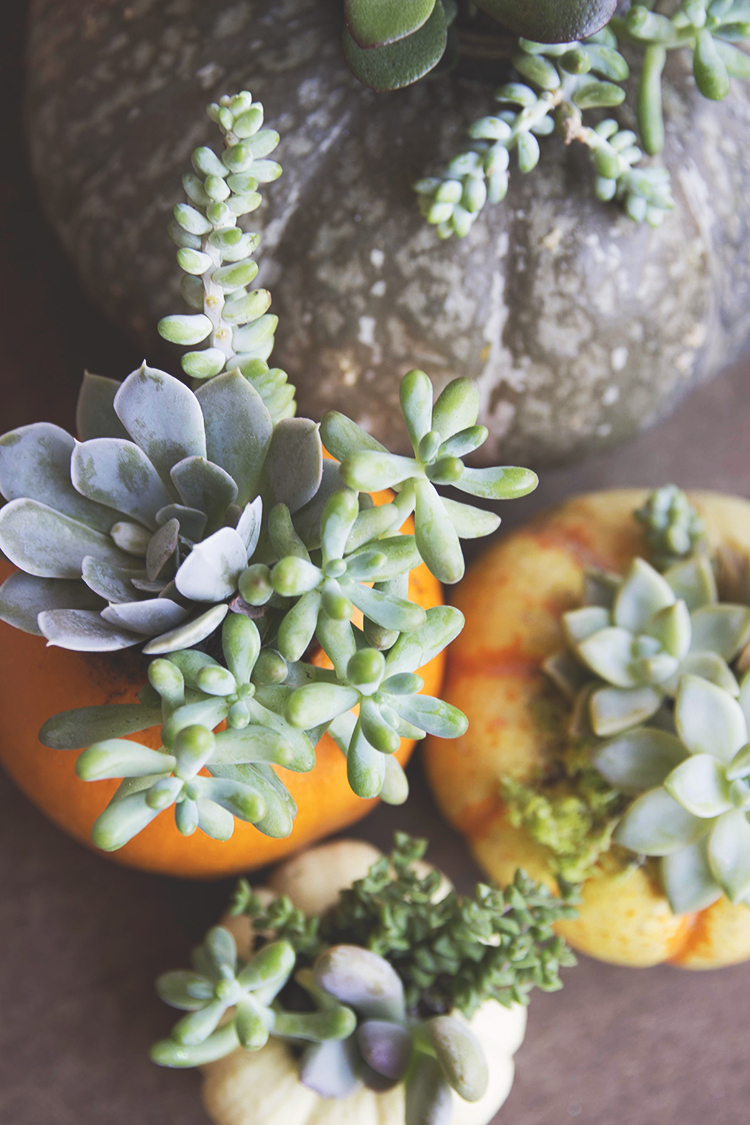
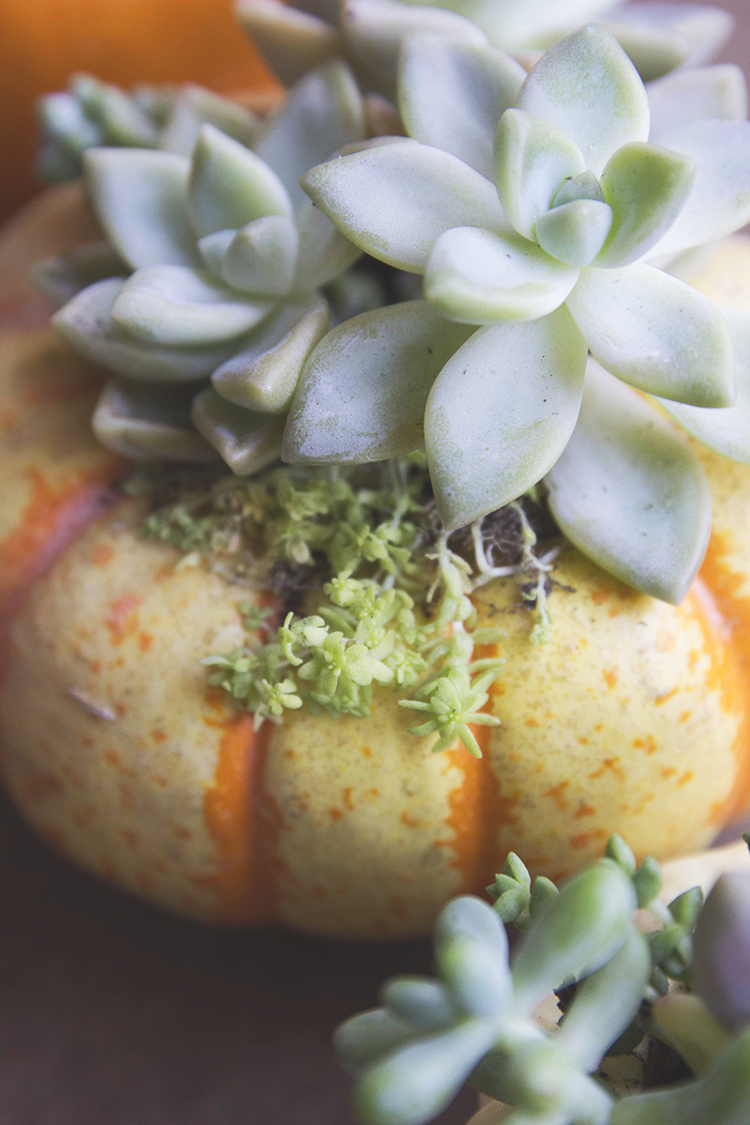
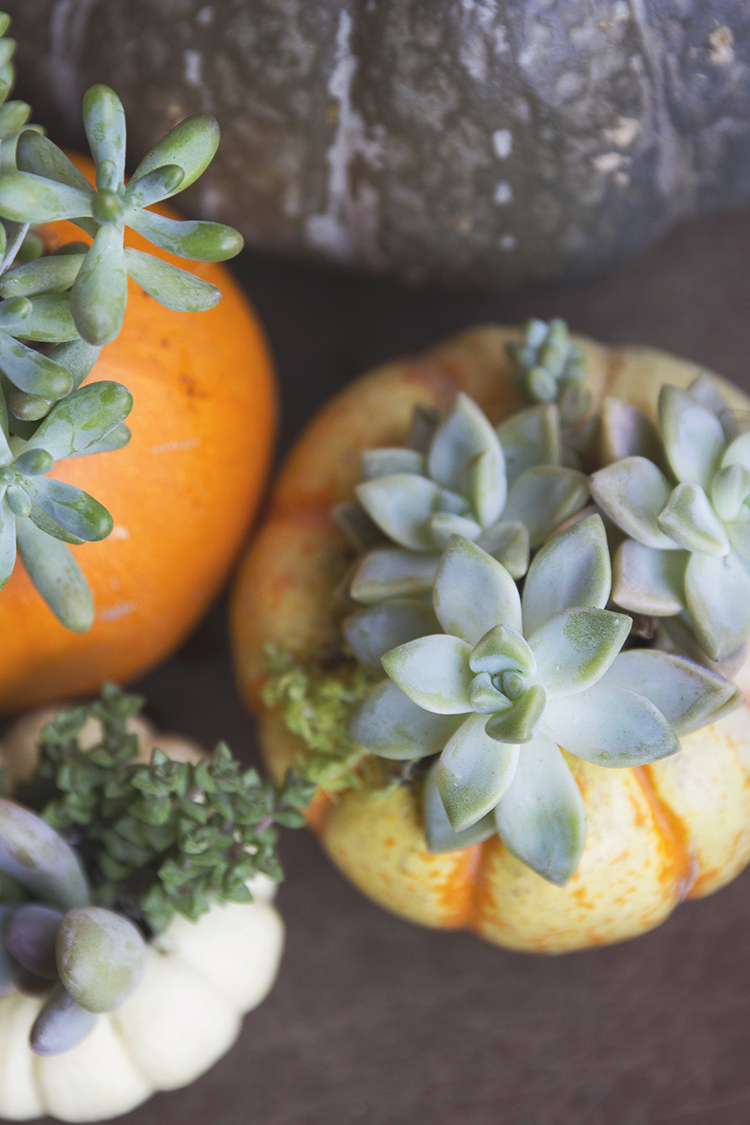
This project marries two of my favorite things: pumpkins and succulents. Keep scrolling for this quick & easy DIY.
(Pro tip: these planters make a perfect Thanksgiving table centerpiece!)
LEARN HOW TO MAKE SUCCULENT PUMPKIN PLANTERS
WHAT YOU NEED
1) Several small pumpkins with variation in color and size (I like things in odd numbers; they group together better)
2) About 3 small succulents per pumpkin.
3) pumpkin carving knife (this tool makes it 1000% easier to cut into rock-hard small succulents)
THE INSTRUCTIONS
First, I used more miniature pumpkins so that when I planted the succulents inside, the cavity was small enough to hold the succulents firmly.
The succulents will fall to the bottom if your pumpkins are too large. Although you could use larger pumpkins, fill most of the cavities with paper towels, bubble wrap, or something bulky so that planting the succulents only requires a little soil.
Interesting fact: Succulents don't require much soil to thrive; I keep succulent cuttings alive in a terrarium with a lot of light and an occasional misting.
The steps:
1. Start by carefully cutting a hole around the stem of each pumpkin, about 1.5 times the diameter of the plastic pots the succulents are in.
2. Clean out the pumpkins’ insides and seeds.
3. Remove each succulent from its plastic pot and break off about two-thirds of the soil from the bottom. It's dry soil and will crumble easily with your fingers.
You can group about three into one arrangement for each pumpkin by removing some of the soil from each succulent. Combine different heights and succulent textures to create extra attractive planters.
4. Place each arrangement inside the empty pumpkin cavity and press firmly.
5. Mist with occasional water and keep the planters in a sunny area. If your succulents become limp and translucent, they are not getting enough light, and you need to move them to a brighter place.
The pumpkins will keep for about a week before getting soft and mushy. Place them in the refrigerator at night to keep them fresh longer!

WHERE TO DISPLAY YOUR SUCCULENT PUMPKIN PLANTERS
Here are some ideas of where to display your succulent pumpkin planters:
- mantle
- kitchen island
- coffee table
- desk
- porch
- outdoor steps
- as a table centerpiece
Hope you love this fall project and that these planters make your home feel festive and happy.
MORE POSTS YOU'LL LOVE
This post may contain affiliate links, which means I'll receive a small commission if you purchase through my link. Read the full disclosure.
