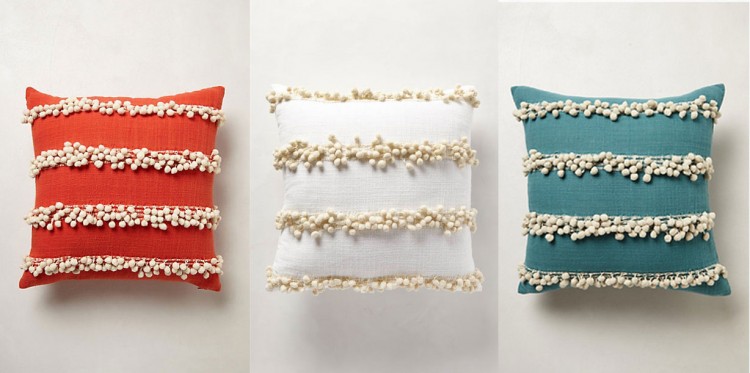
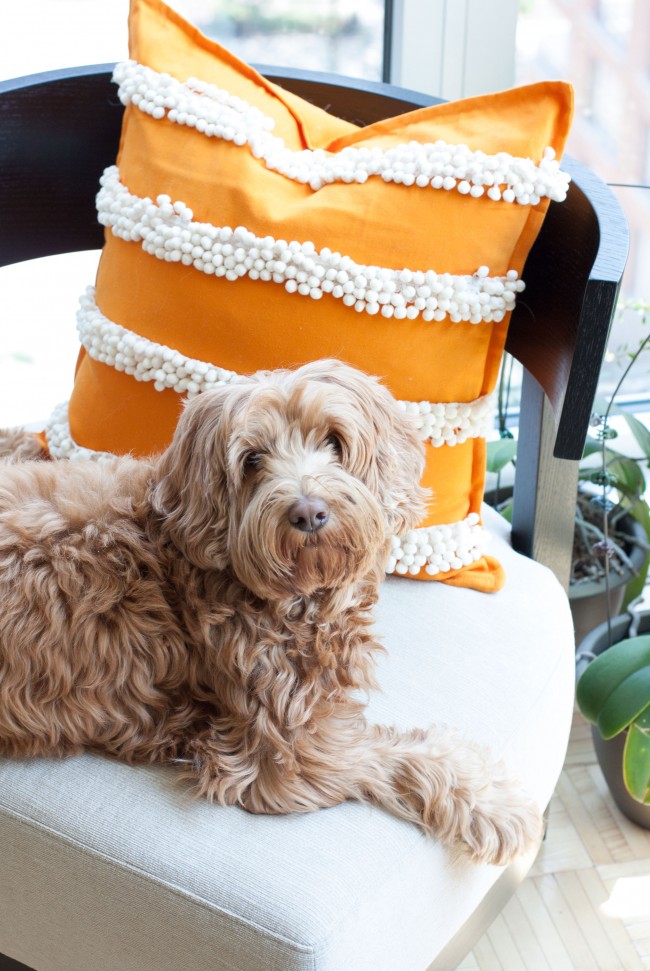
 I saw these adorable “tassel trace” pillows from Anthropologie, and if you know me at all, you know I love pom poms. If you follow me on Pinterest, you may know my DIY Inspiration board, where I pin things that I’d like to DIY. I love the challenge of finding the right supplies, and executing the project so that I like my handmade item better than the inspirational item. This pillow was high on my to do list, because my labradoodle has torn apart my existing pillows on my bedroom couch. Thank you, furbaby, for a great excuse to order 10 yards of pom pom trim.
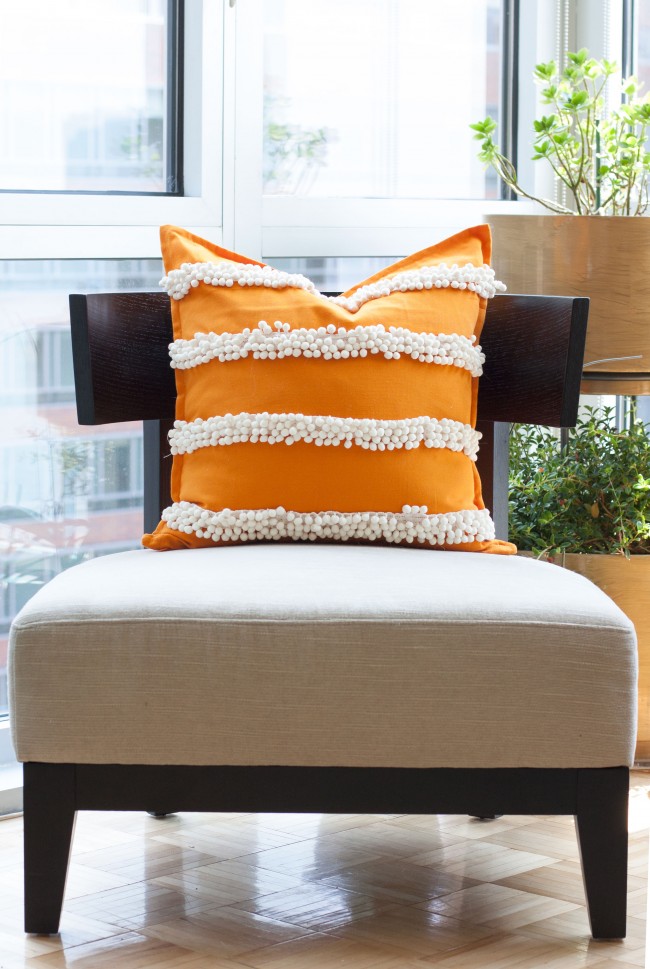
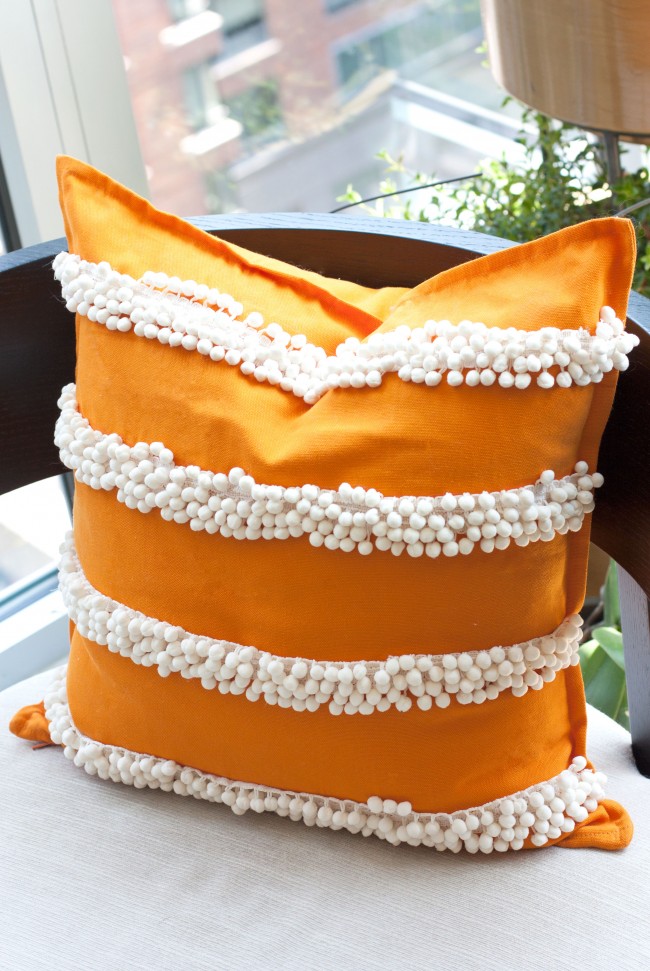
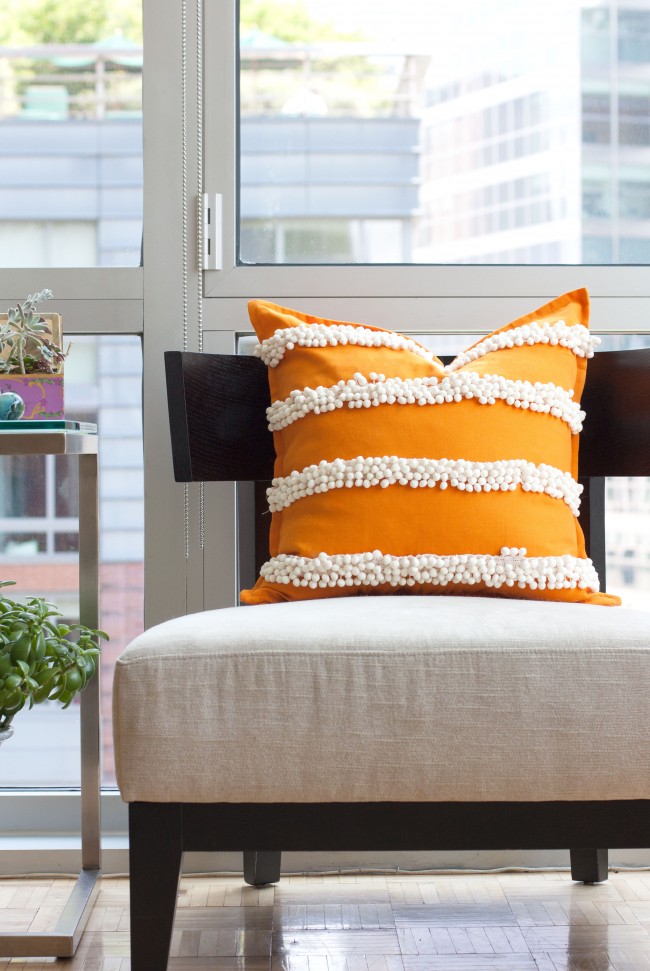
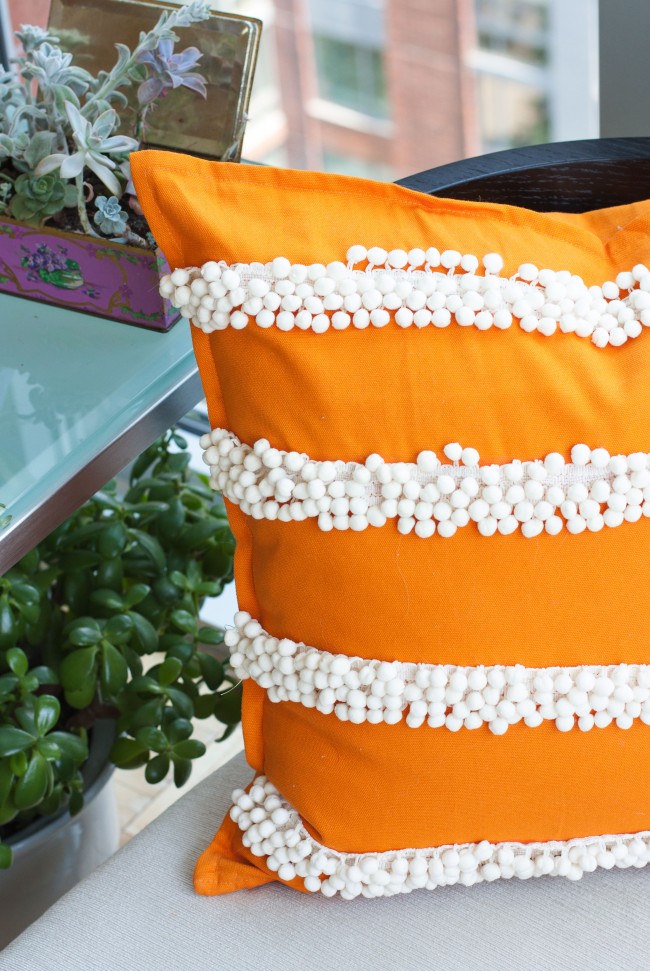
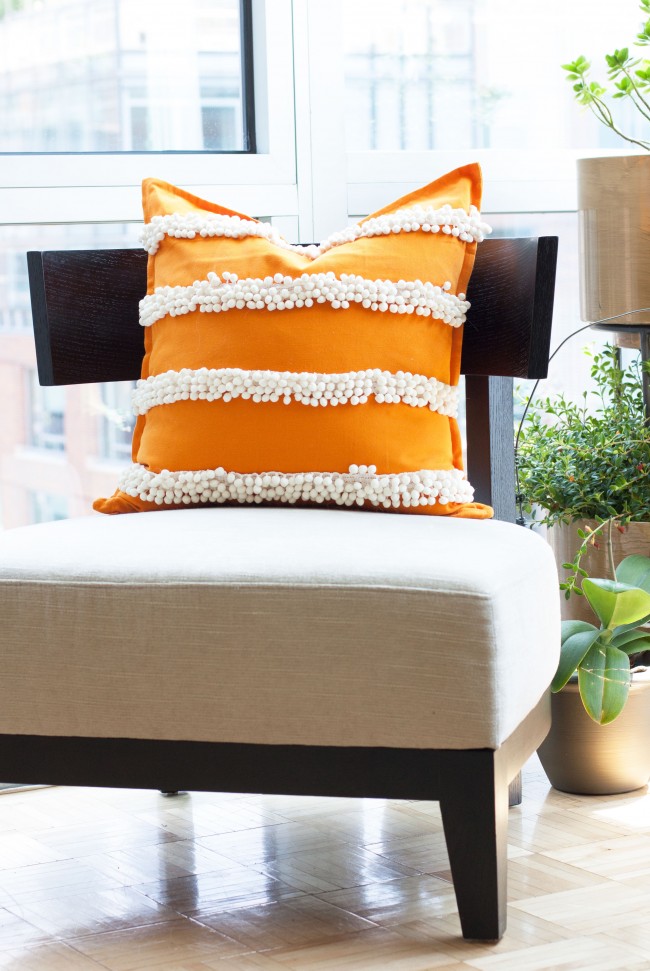
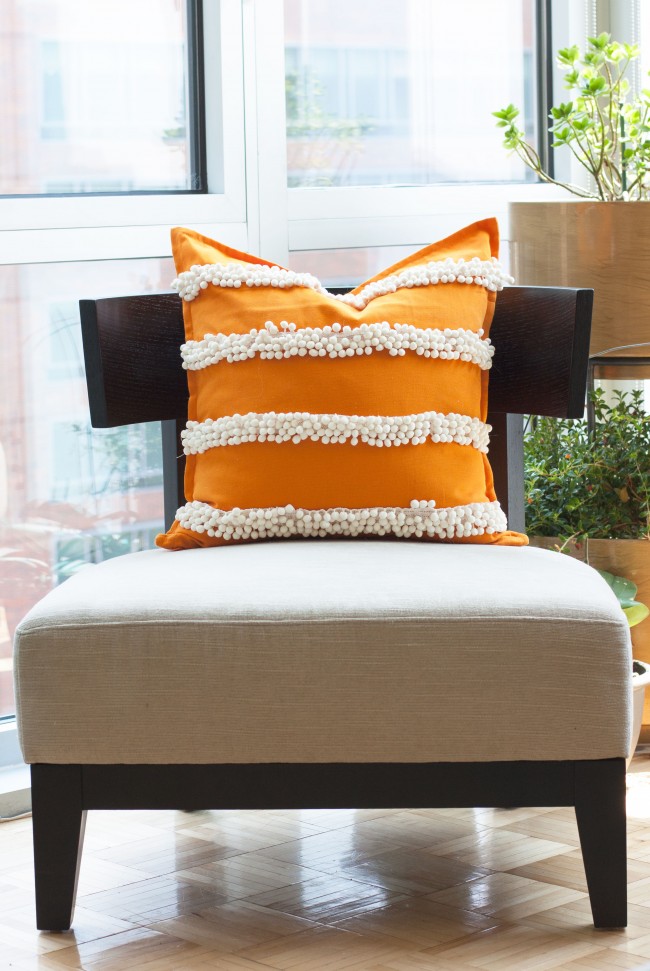
I’m happy with how the pillow turned out. I went with orange, because it makes me happy. I have a lot of orange accents in my bedroom (including my favorite painting behind me in this pic). This DIY has lots of possibilities as far as pillow shape and pom-pom placement. See below for details how I made this one.
WHAT YOU NEED
20×20″ pillow case (I bought mine here)
10 yards of pom pom trim (the color I used is “ecru”)
Scissors
Measuring tape
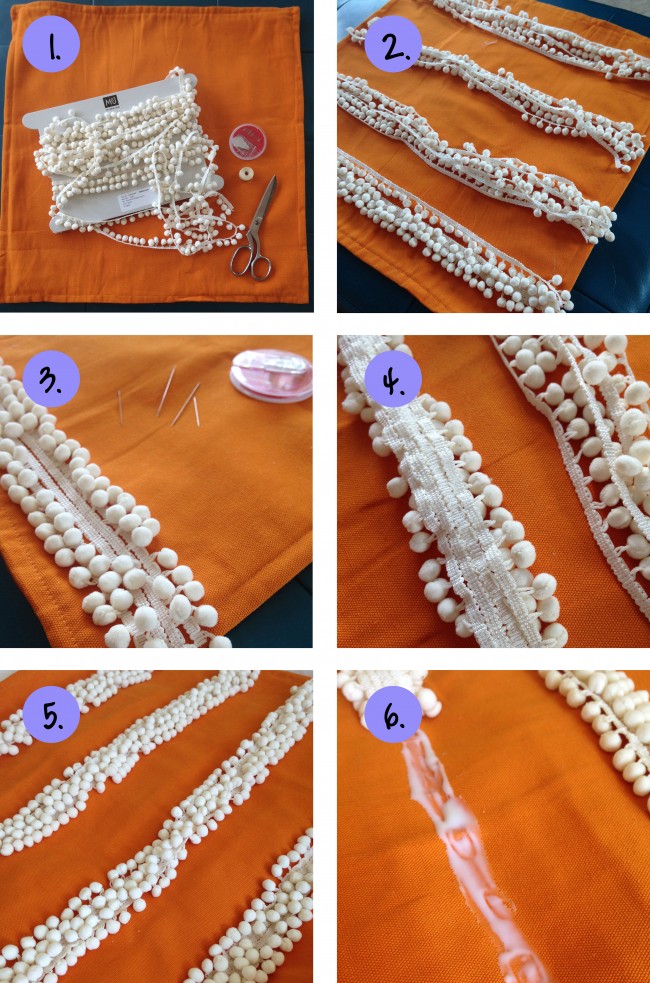
THE INSTRUCTIONS
1) Gather your supplies.
2) Measure the trim and cut as many pieces as you want to add to each row on your pillow.
3) Lay the trim flat, to be sure you like how it looks. I created 4 rows of trim, for the bottom three pieces of trim the pom-poms faced down, the top layer of trim the pom-poms faced up. This makes the pom-poms go up and down, not all hanging buy viagra 150 mg uniformly down.
4) This is the tedious step. I did it this way, because I wanted the trim to lay perfectly. With your needle and thread, loosely stitch each edge of trim next to the other edges of trim. When you are done, you’ll have a thick piece of trim that is four pieces wide and it will lay flat. Be sure to knot all the ends so they are sturdy. You could alternately glue the edges next to each other. However, I think it will get messy, that is why I stitched the trim, even though it took a lot longer. It was a good project to do in front of the TV.
5) Once you hand sew each edge of trim together, lay them where you’d like them on the pillow. Measure the space between the top and bottom of the pillow case, and in between the middle rows of trim as well.
6) Once you have laid them out, and measured perfectly, lift each side of the trim gently and apply some glue. Do not over-do the glue because it can seep to the back side of the pillow case. A little bit is enough, you can always add more if the trim is not sticking. Let dry for 1-2 hours before putting your pillow insert inside the newly decorated pillow case.

I hope you enjoy this DIY. Please tag me in your creations. I love to see how your projects turn out!
This post may contain affiliate links, which means I'll receive a small commission if you purchase through my link. Please read full disclosure here.
