


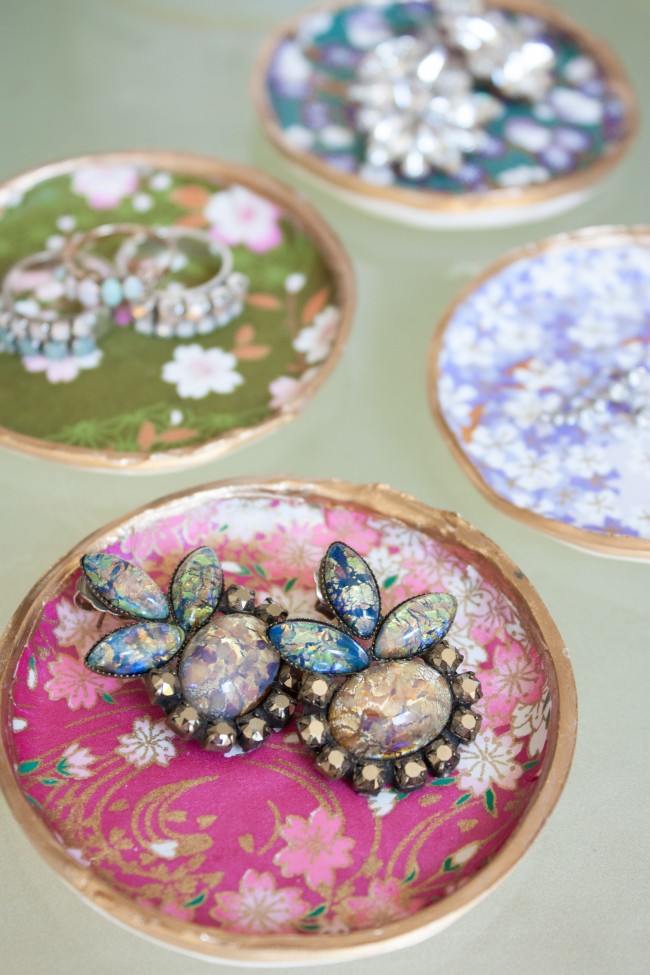
I had some leftover clay from my marble coaster project, and I always have tons of jewelry laying around my apartment, so I thought it would be fun and functional to DIY some decorative clay jewelry dishes with my favorite decoupage technique. See supplies and instructions below!

WHAT YOU NEED
3.75″ Ramekin dishes (1 for each clay dish)
Pencil
Small round pointed paint brush
Large flat paint brush
Scissors
Rolling pin
Butter knife
Cookie sheet
THE INSTRUCTIONS
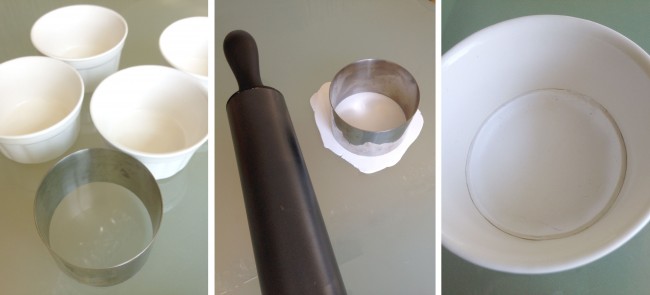
Work a 1.5″ size ball of clay in your hands until soft. Roll out into a round shape with your rolling pin until about 1/4″ thick. Cut out with your food ring and remove excess clay. Gently place into the center bottom of your ramekin, so the sides of the clay shape up the sides of the ramekin giving the clay a dish-like shape.
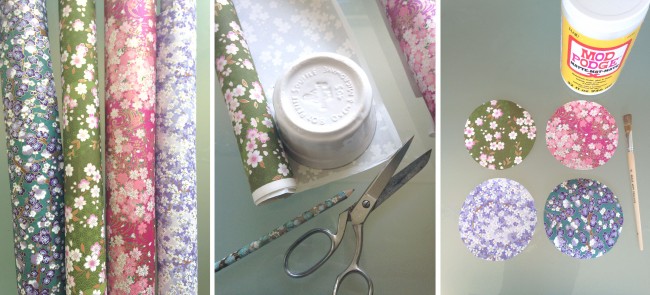
On the back side of the paper, trace a circle with your ramekin. Cut out. You will use Mod Podge to glue these to the baked clay dishes.
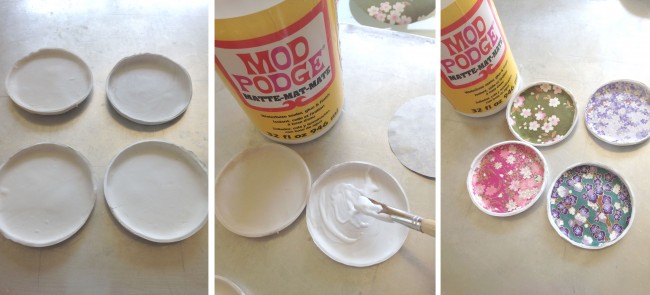
Once you’ve rolled out all the clay and placed into the center bottom of each ramekin with the edges rolled up, place all ramekins on a cookie sheet and bake as per your buy viagra paypal accepted clay’s instructions. Sculpy bakes for 30 minutes at 275 degrees. Remove from oven and let cool. With your butter knife, scrap around the edge of the ramekin to remove the clay from the dish. Test your circles of paper onto the cooled baked dishes, and trim them as you see fit. Spread the Mod Podge onto the bottom of the dish with paint brush, and place paper on top. Work the paper into the dish with your fingers, it will become scuplted to the dish the more the Mod Podge absorbs into the paper. Make sure you press the paper into the curved edges of the dish.
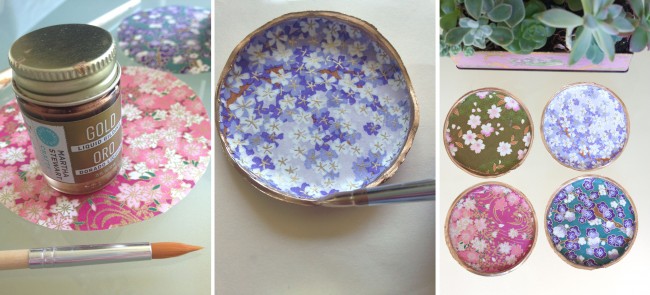
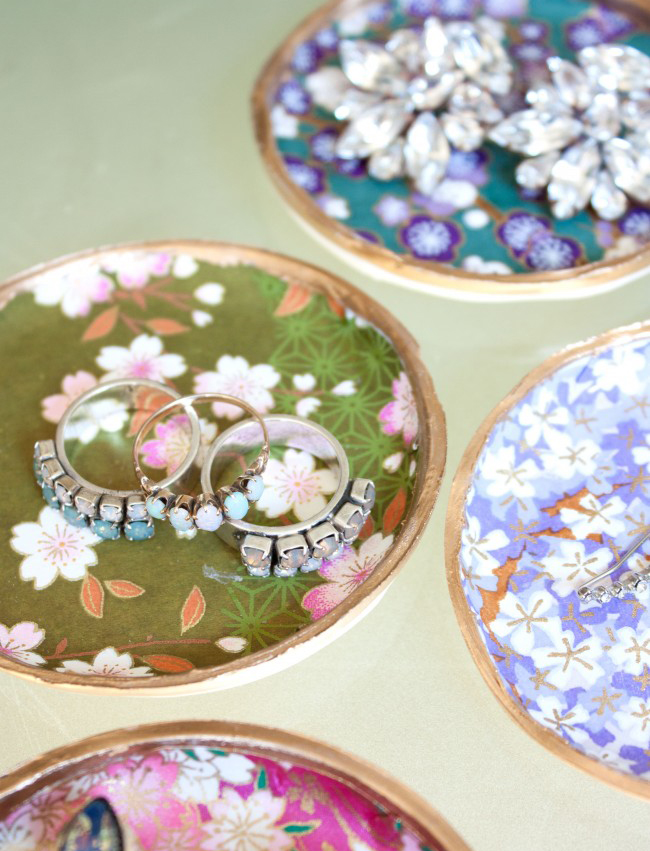
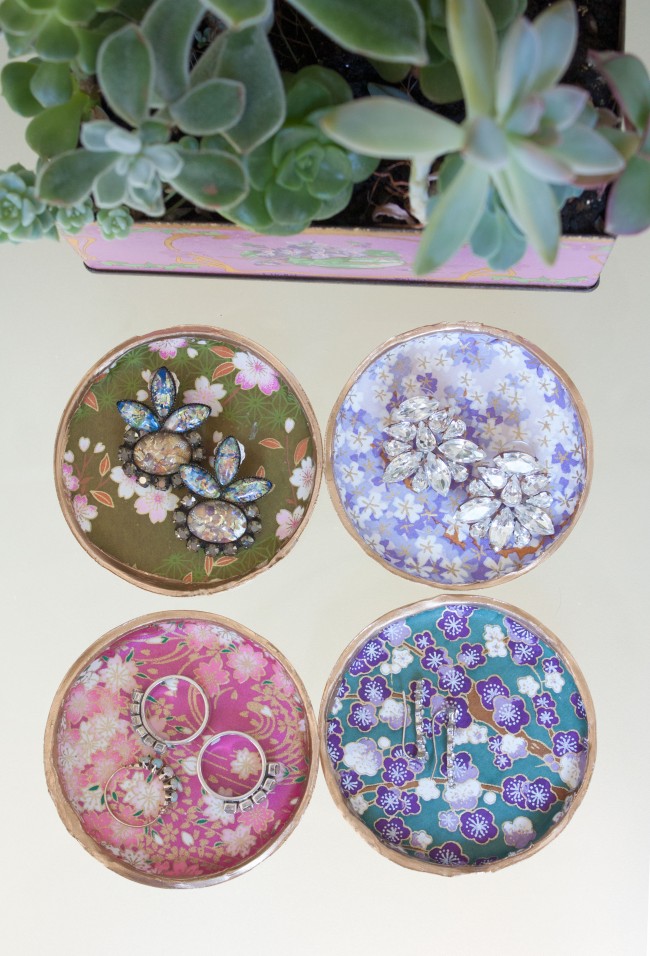
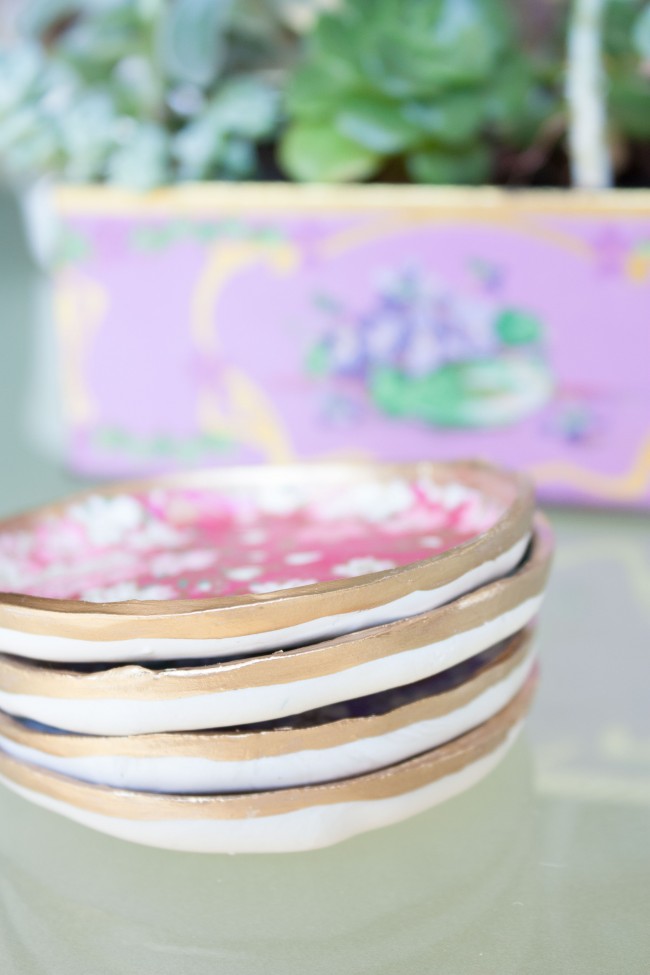
Once the Mod Podge dries, you’ll want to finish each dish with a touch of gold liquid gilding around the edges. I find using a round pointed fine paint brush allows the most precision. I painted a 1/8″ border of gold on the bottom edge of the dish too.
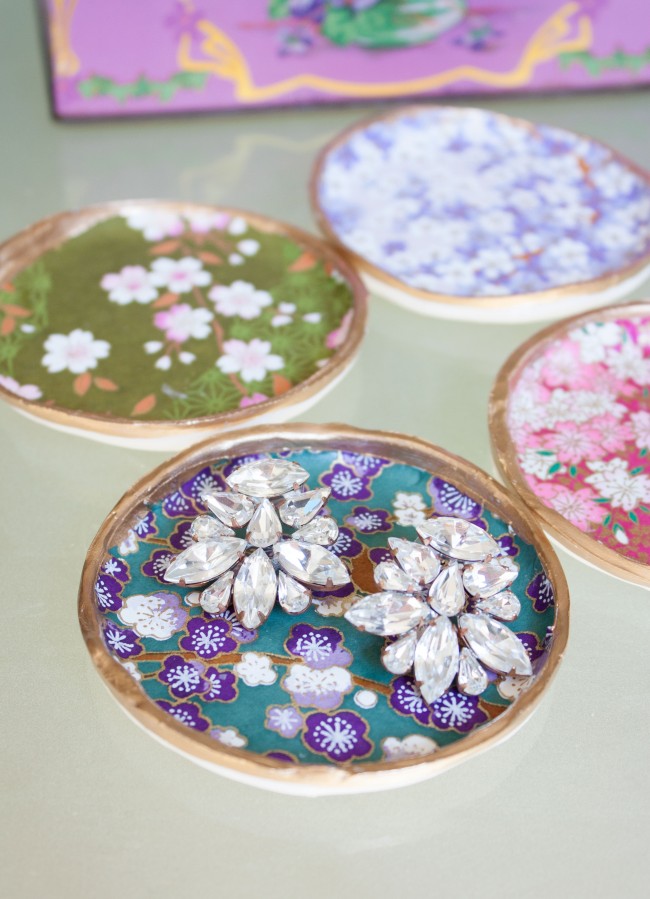
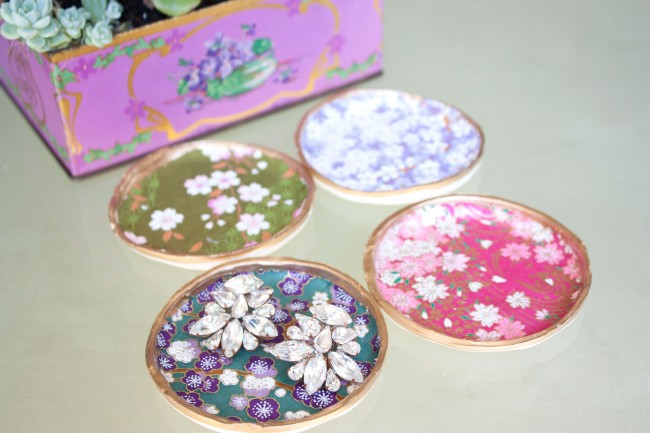
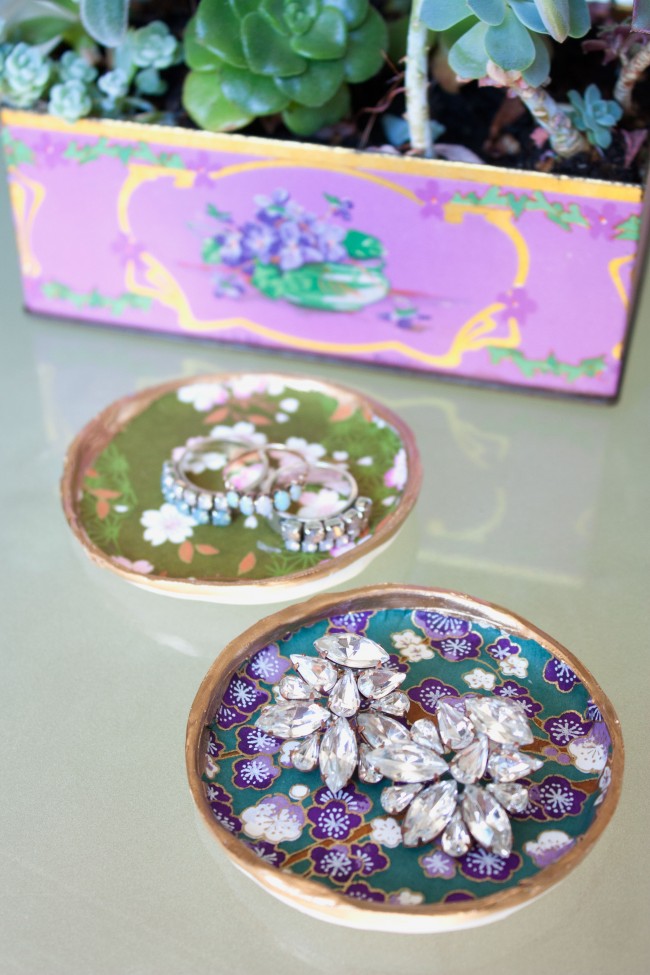
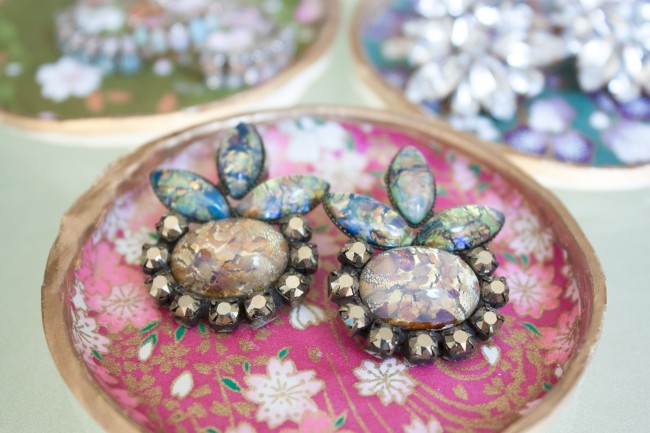
The possibilities are endless with all the beautiful origami paper available. I love this DIY to make for others as a gift, but for now these are helping to display my massive personal Sisoo jewelry collection.
This post may contain affiliate links, which means I'll receive a small commission if you purchase through my link. Please read full disclosure here.