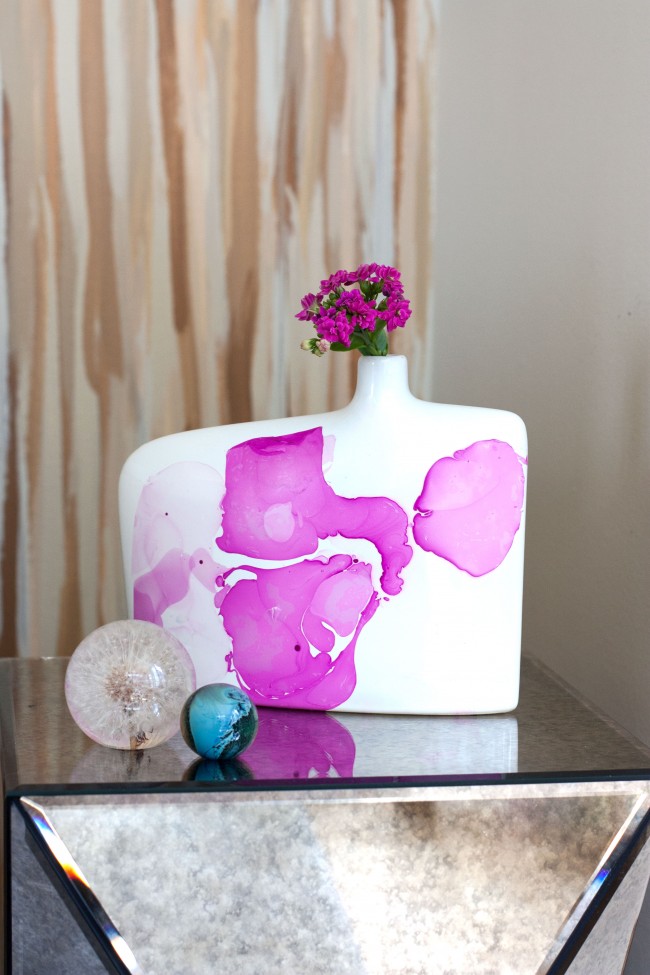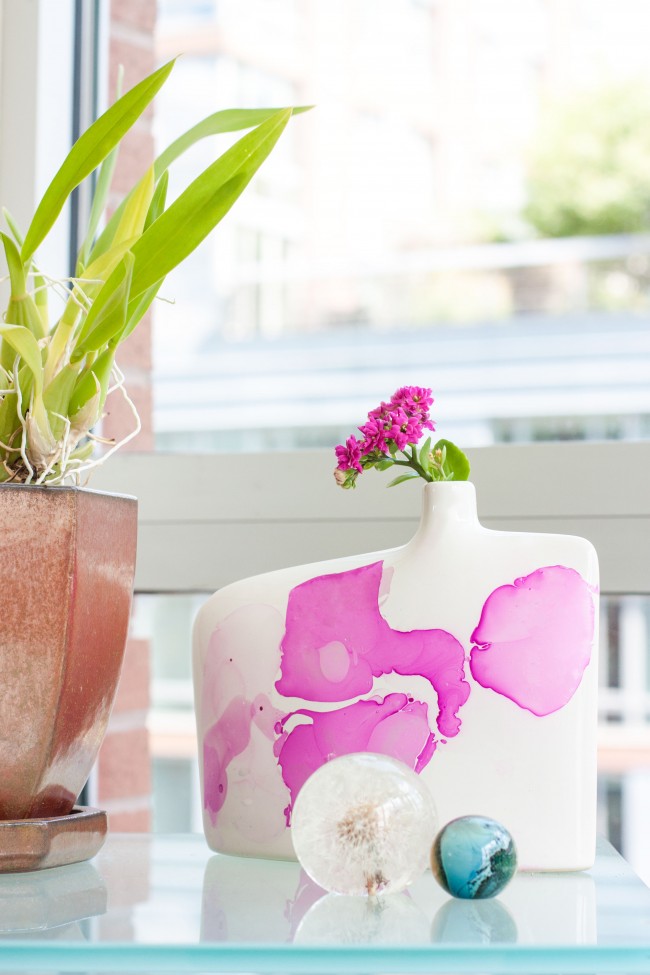
I’ve seen this simple marbleizing technique around Pinterest for quite awhile, and finally decided to give it a shot. I had a white ceramic vase laying around from clearing out my mom’s house upstate (she is 100% New York City gal now!)…

How to: Marble Vase with Nail Polish

WRITTEN BY:

SHARE

Home

SARAH PETERSON

MORE about me

Being a work-from-home mama has required me to become a next-level planner and productivity nerd. I share digital and printable resources custom-designed to run my life, hoping they will help you run your life, too.

free digital planners

With Hyperlinks, Habits, Goals, & Bujo

Digital Planner for iPad 

Get Creative and Stay Inspired

Digital Bullet Journal

To Remember More and Forget Less

Digital Memory Planner

LOVING

What I'm 

Right Now

HEY, I'M SARAH!

ochid iPad case with pencil holder

Bandolier crossbody phone case + wallet 

POP Keys Mechanical Wireless Keyboard

magnetic rotating  iPad stand

free printables

Super Cute Daily Planner

Weekly Planner Printable

Printable Planner Stickers

Printable Daily Planner

Wall Art Printable

Brain Dump Printable

With Grid Paper, Index, and Hyperlinked Tabs

Digital Notebook

Monthly View with Hyperlinks

Digital Calendar

marble-vase-nail-polish-thesarahjohnson-DIY-11

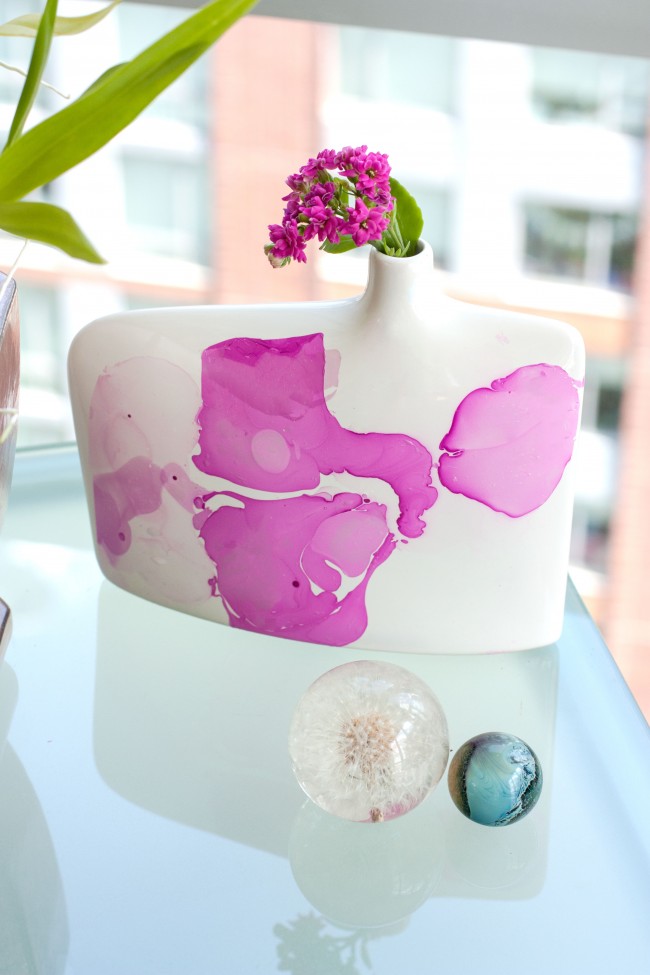
I’ve seen this simple marbleizing technique around Pinterest for quite awhile, and finally decided to give it a shot. I had a white ceramic vase laying around from clearing out my mom’s house upstate (she is 100% New York City gal now!). I thought a marbled statement on this vase would look cool with just a few small flowers. The whole process took about 15 minutes. I would rate this a very easy, and very satisfying DIY! Read on for the details…

WHAT YOU NEED

-an old basin or bowl, full of warm water

-nail polish

ceramic vase

THE INSTRUCTIONS

marble-vase-nail-polish-thesarahjohnson-DIY-12

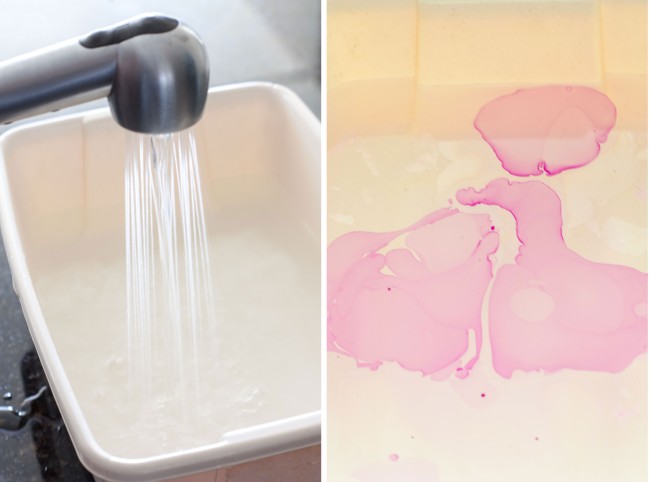
Fill basin with warm water. Next add several drops of nail polish and wait a few seconds for them to disperse best place buy generic viagra online into the water.
marble-vase-nail-polish-thesarahjohnson-DIY

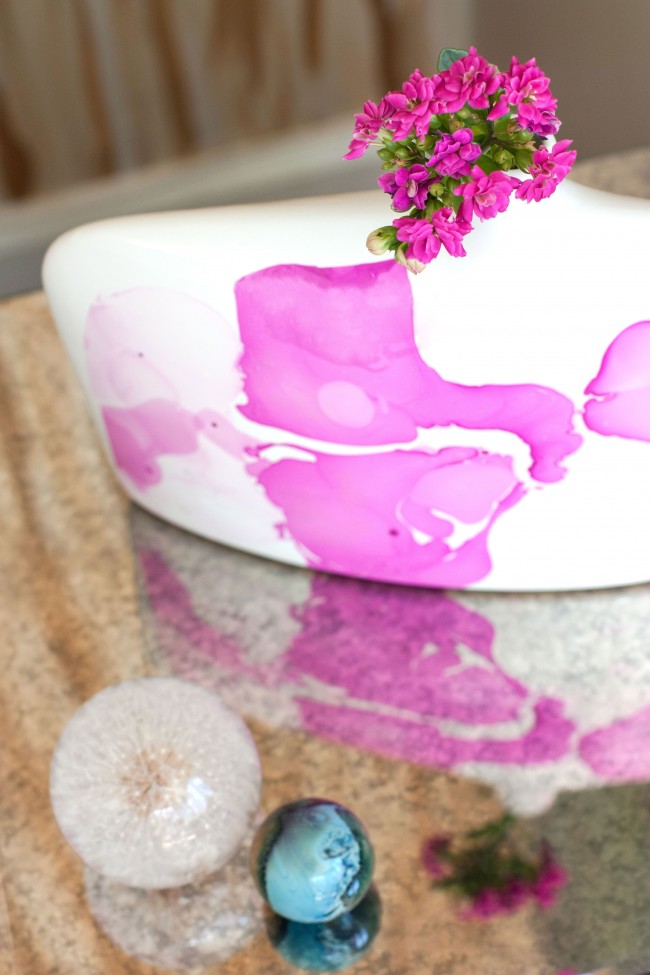
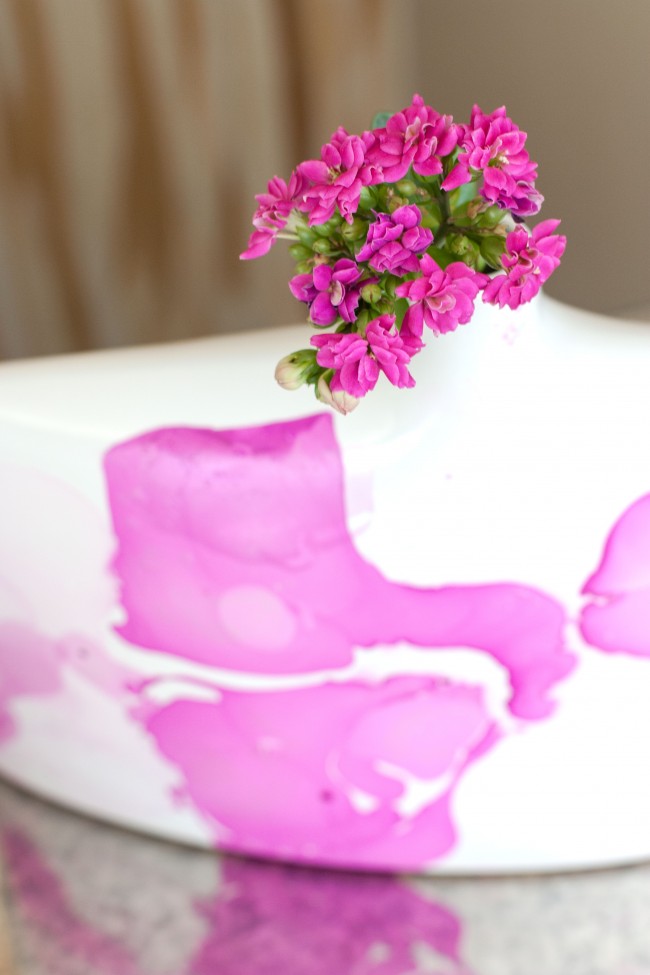
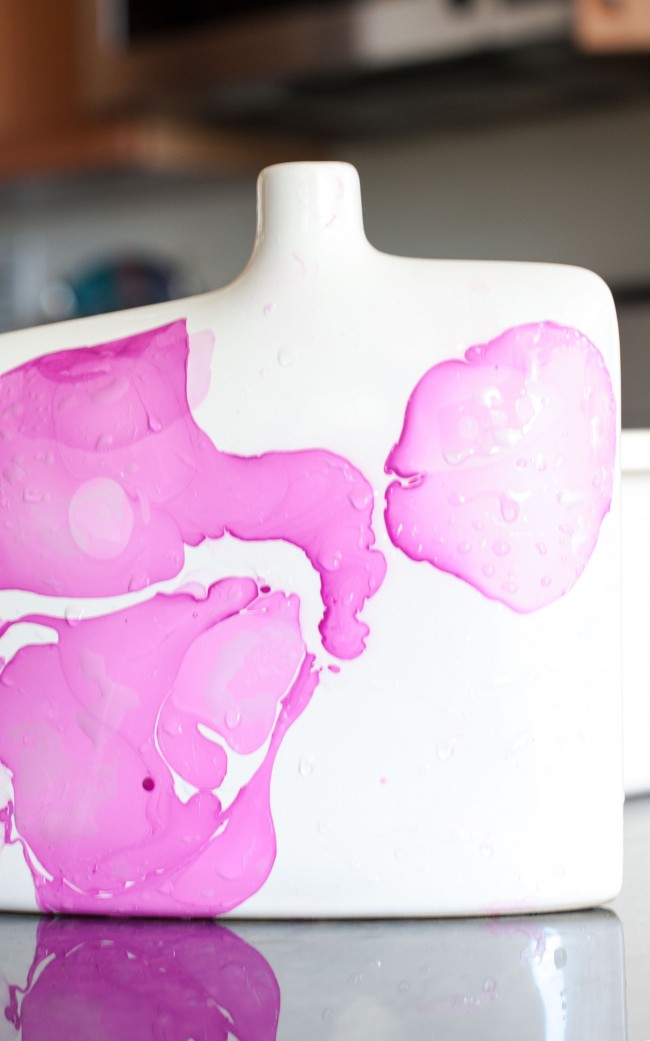
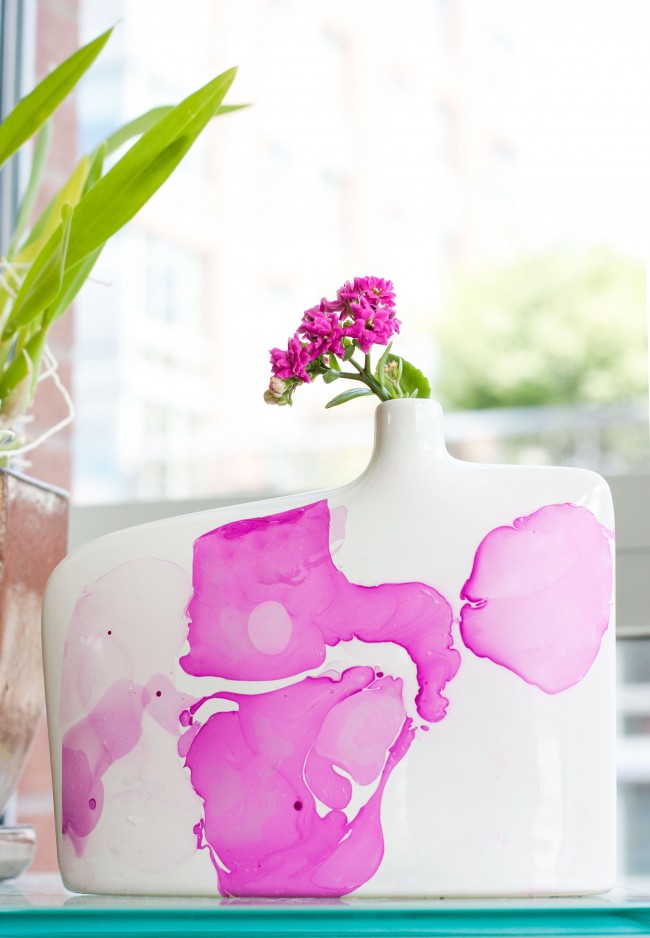
Next dip your vase into the water carefully. Remove slowly. Voila, your marble pattern is formed! Carefully pat with a paper towel to dry. If there is any area you’d like to fix, use nail polish remover and a cotton ball. Keep dipping until your desired marble effect is achieved. Let dry for 2+ hours.
marble-vase-nail-polish-thesarahjohnson-DIY-9marble-vase-nail-polish-thesarahjohnson-DIY-2marble-vase-nail-polish-thesarahjohnson-DIY-4marble-vase-nail-polish-thesarahjohnson-DIY-8marble-vase-nail-polish-thesarahjohnson-DIY-7

Voila! That was easy. I would definitely recommend gently hand washing this vase if need be. Try with different colors and on different vases, mugs, jars, etc.

If you love the marbled look, check out my marble coaster project here.

This post may contain affiliate links, which means I'll receive a small commission if you purchase through my link. Please read full disclosure here.
LAST UPDATED:

Filed in:

July 23, 2015

Downloaded over 100,000 times! GET ACCESS NOW!

Free PrintableS

READ THE LATEST