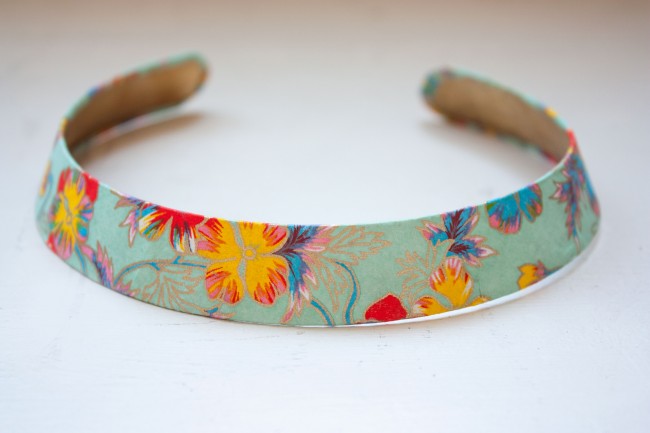
 I made this “printed” collar necklace that is summery, happy and pretty to wear under collared shirts, or with an off the shoulder dress for a dramatic look. It’s easy to make, and requires only a few supplies, and I think it looks pretty chic! I’m all about simple DIYs lately, while my broken knee recovers. The possibilities are endless with this project, you can use any patterned specialty paper, or any size brass collar. Keep scrolling to learn how to make this sweet necklace.
WHAT YOU NEED
origami paper (at least 12″ wide)
Scissors or X-ACTO knife
Pencil
Paintbrush
THE INSTRUCTIONS
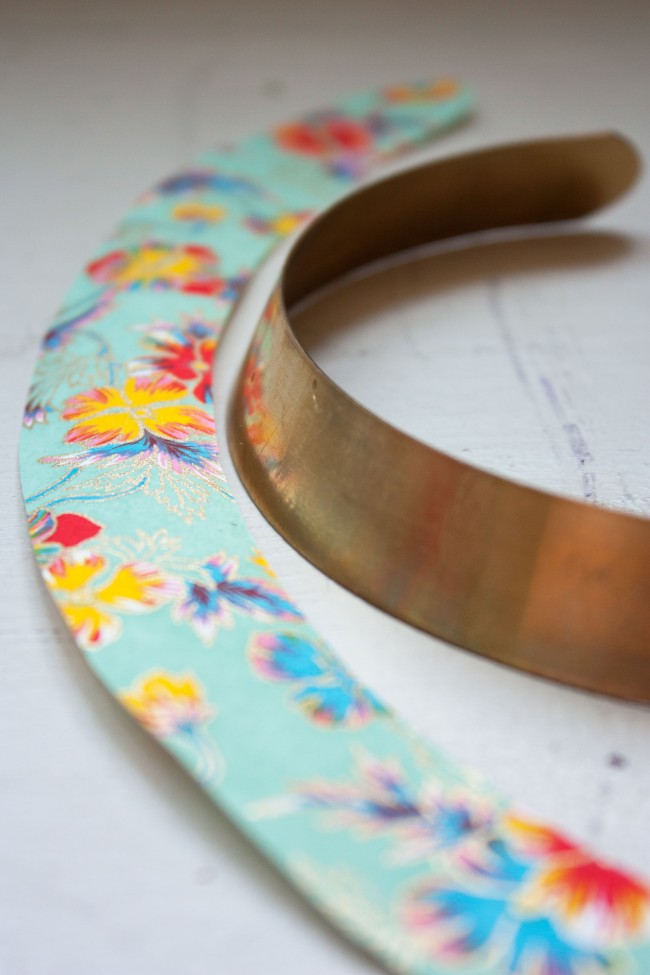
Carefully trace the collar onto the backside of the paper with your pencil. Start with one end, and slowly roll the curved collar onto the paper while continuing to trace. Do not move the collar in a different direction. Just let it roll how it falls naturally onto the paper–then the paper will fit once it’s cut out. Cut out the paper about 1/8″ outside the traced line, to allow extra paper to wrap to the backside of the collar.
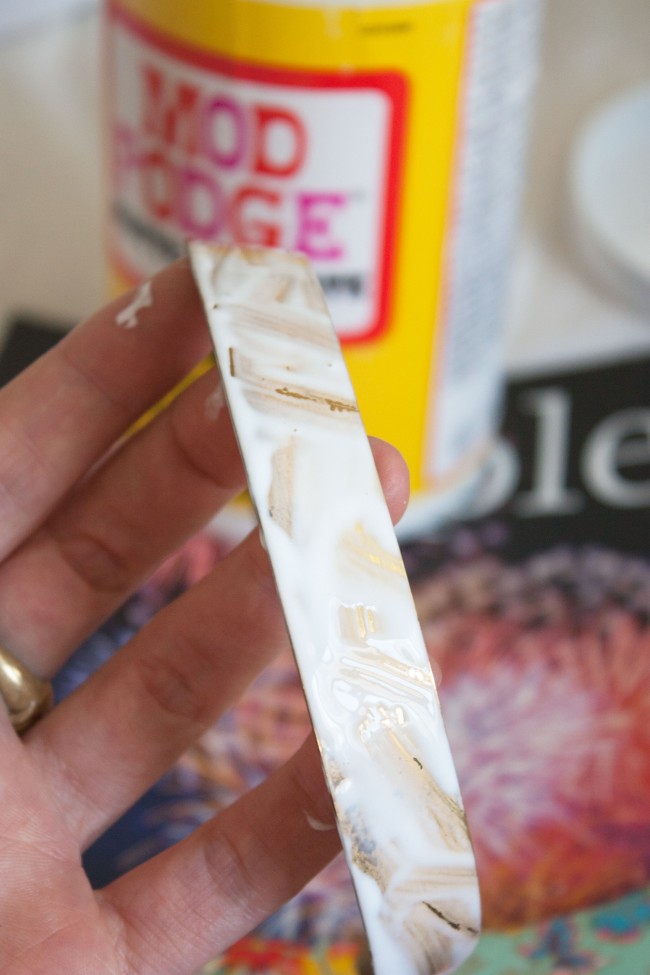
Slather the Mod Podge onto the collar with a paint brush. Apply generously so that the paper will have enough to absorb. Don’t apply too much buy viagra bangkok that it’s dripping off the collar or it will dry in lumps and create an uneven look under the paper.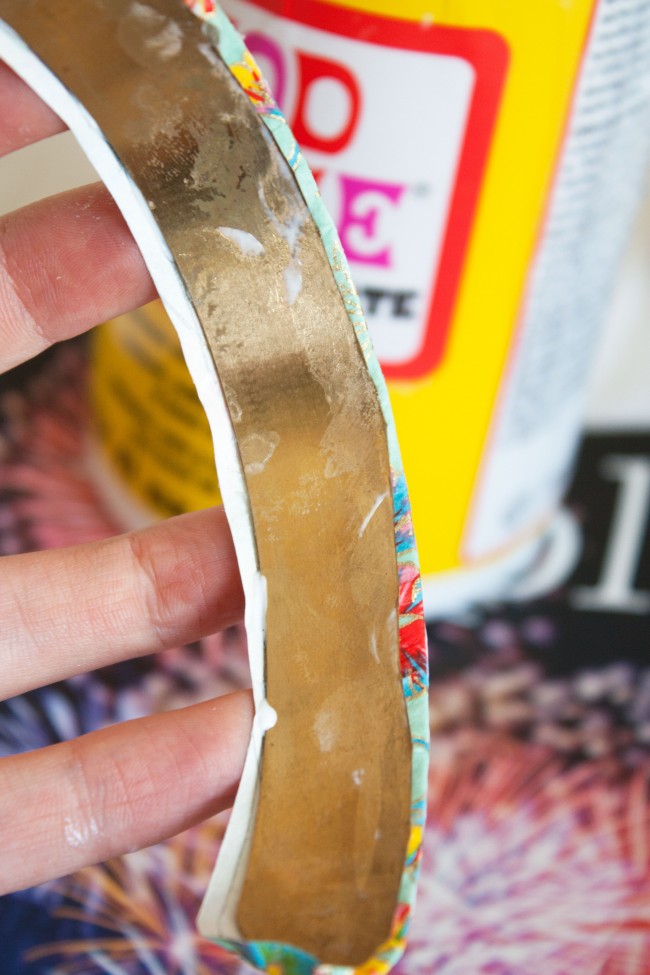
Once the glue is applied, quickly place the cut out paper onto the collar. Line up the traced lines with the edges of the collar. Apply a little more glue to the edges so that the paper will wrap around. Once the paper absorbs the Mod Podge, it starts to act more like fabric. Keep pressing the edges so the glue absorbs and they lay flat along the edges. Clean the middle uncovered part with a damp towel, it will probably get messy with glue.
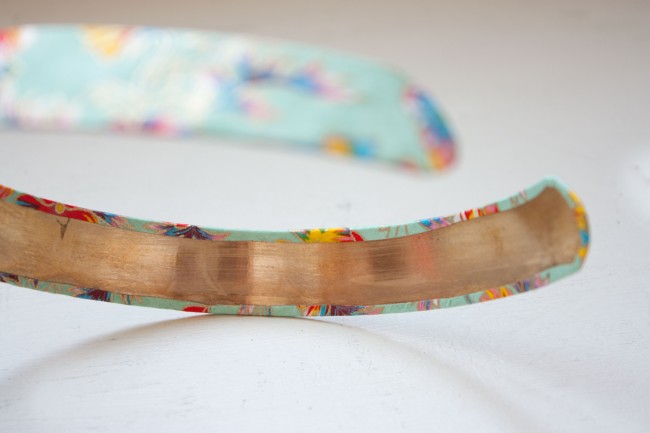
Above is what your finished backside should look like. Allow to dry for about 30 minutes. If you wanted to seal the front of the paper with Mod Podge for extra protection, you could do that as well. I like how the paper looks unsealed.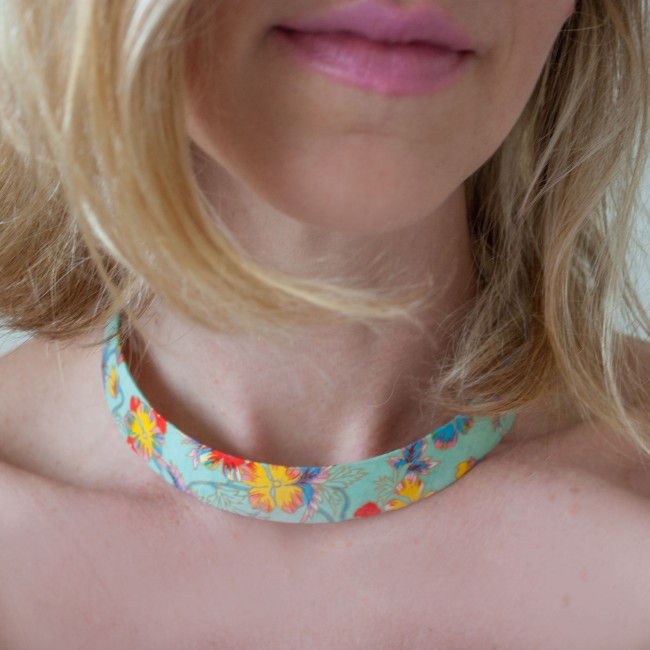
The necklace is so fun! I’ve worn it out and received many compliments. I’m always so proud to say, “thanks, I made it!” when people ask about my handmade projects.
I’d love to see what you come up with for this DIY. As always, tag me in your creations!
This post may contain affiliate links, which means I'll receive a small commission if you purchase through my link. Please read full disclosure here.
