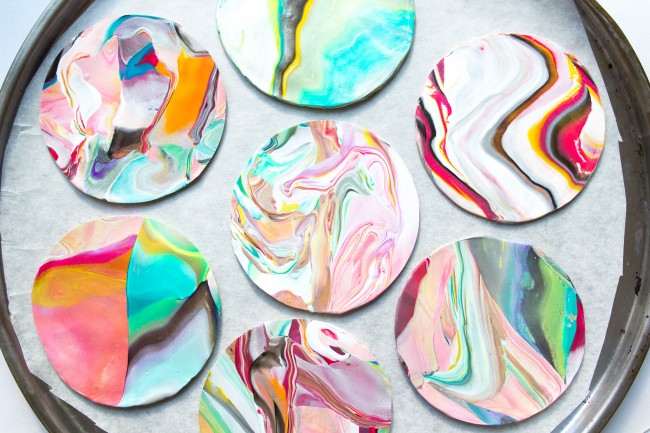
Here is a colorful coaster project that has endless possibilities. I love how the coasters come out completely unique each time. You’ll never make the same pattern twice. Give this DIY a try…
You might remember me as Sisoo — but now I’m The Holiday Mama! I’m a mama who loves making everyday life magical. Here, I share fun DIY projects and crafts, delicious recipes, creative kids’ activities, free printables, and festive holiday ideas — all designed to turn ordinary days into unforgettable memories.
Here is a colorful coaster project that has endless possibilities. I love how the coasters come out completely unique each time. You’ll never make the same pattern twice. Give this DIY a try.
Glaze to give the final product a glossy finish (optional)
baking tray
parchment paper
THE INSTRUCTIONS
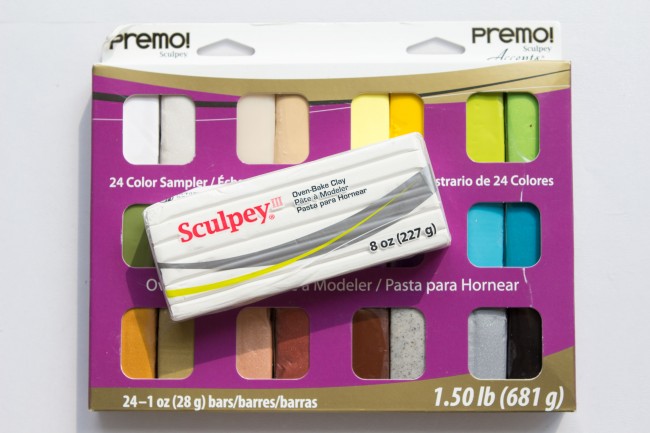
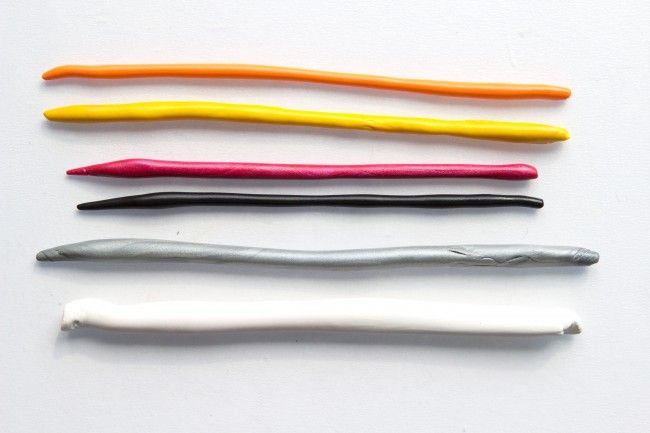
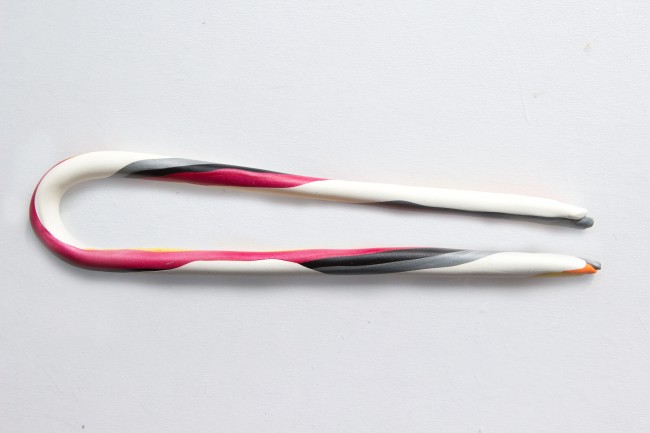
Break off several pieces of color that you’d like to use for your coaster.
Roll them out with your hand on a clean even surface so they are even in length and look like this. It’s ok if some are different thicknesses, that will give your end result a more interesting look.
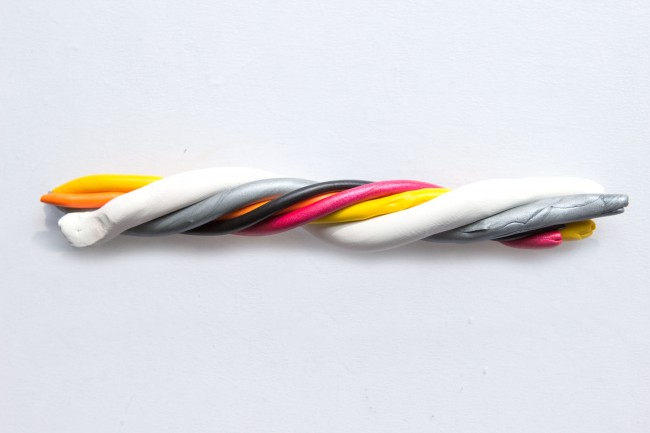
Once they are all rolled out, twist all the colors together.
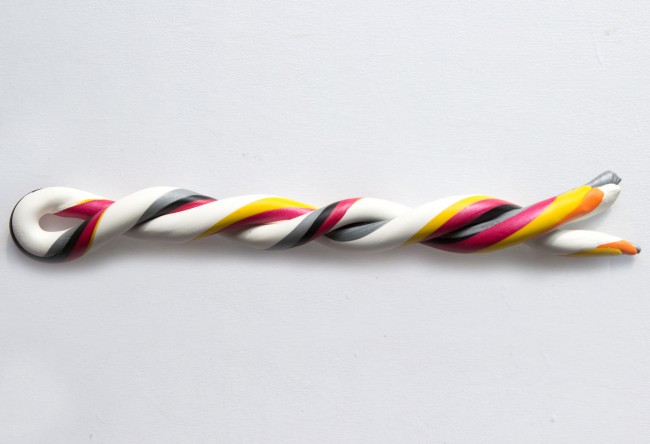
And roll that out with your hand so it’s twice as long as the original pieces of clay you rolled.
Fold in half and twist again, and roll out with your hand. This is swirling and mixing the colors and forming lots of pretty layers within the clay. Do this 2-3 times total.
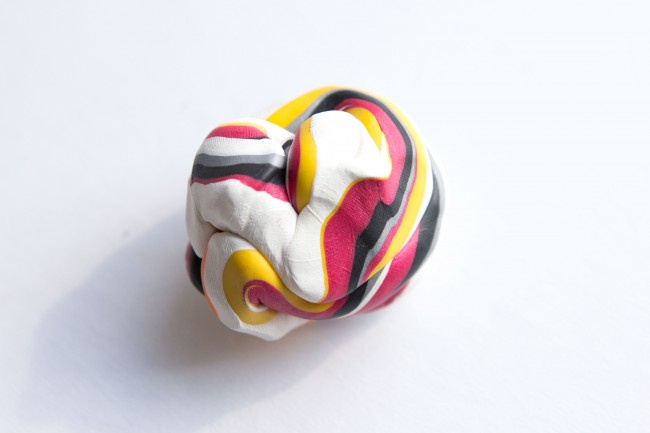
Now form a ball with the clay.
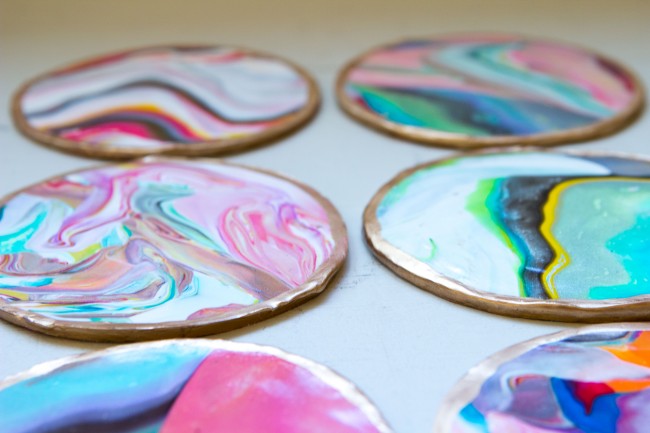
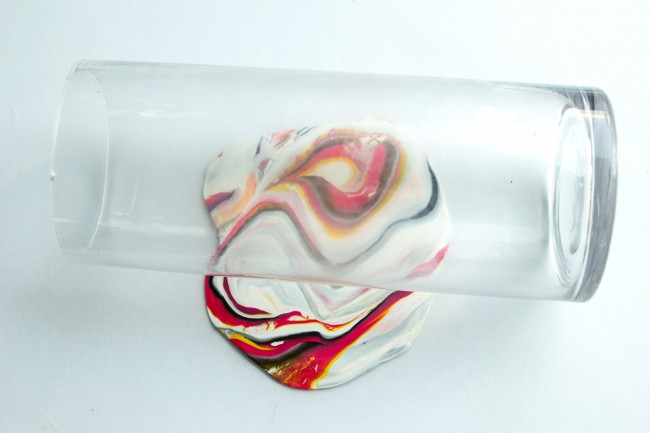
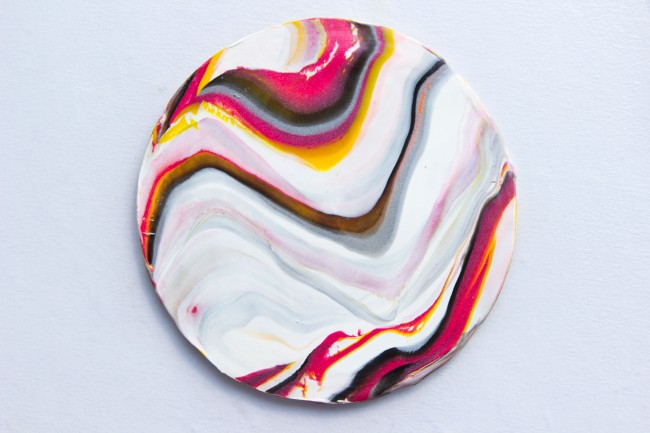
Take your jar or rolling pin and roll the ball flat, you’ll start to see a beautiful patter emerge! I like to use this glass vase instead of a rolling pin so I can see what’s going on as I roll it. Roll to a thickness of 1/4″.
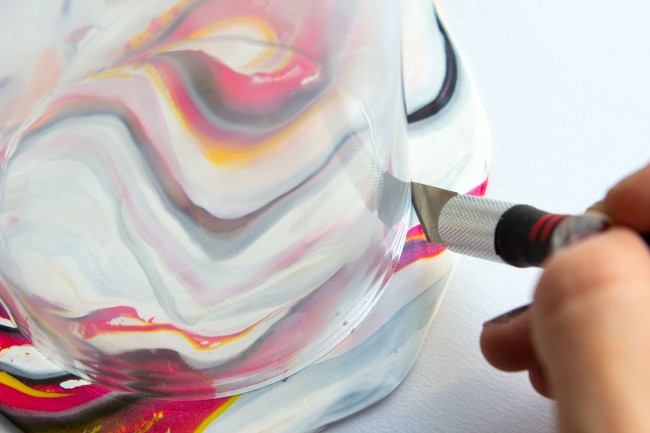
Now find a part of the marbled cheap sildenafil 100mg pattern that you love and trace a circle to cut it out.
Smooth the clay with your finger if there are any bumps or imperfections.
Transfer to a baking sheet with parchment paper. You’ll bake the clay according to your brand’s instructions. I baked my Sculpey clay at 275 degrees for 30 minutes.
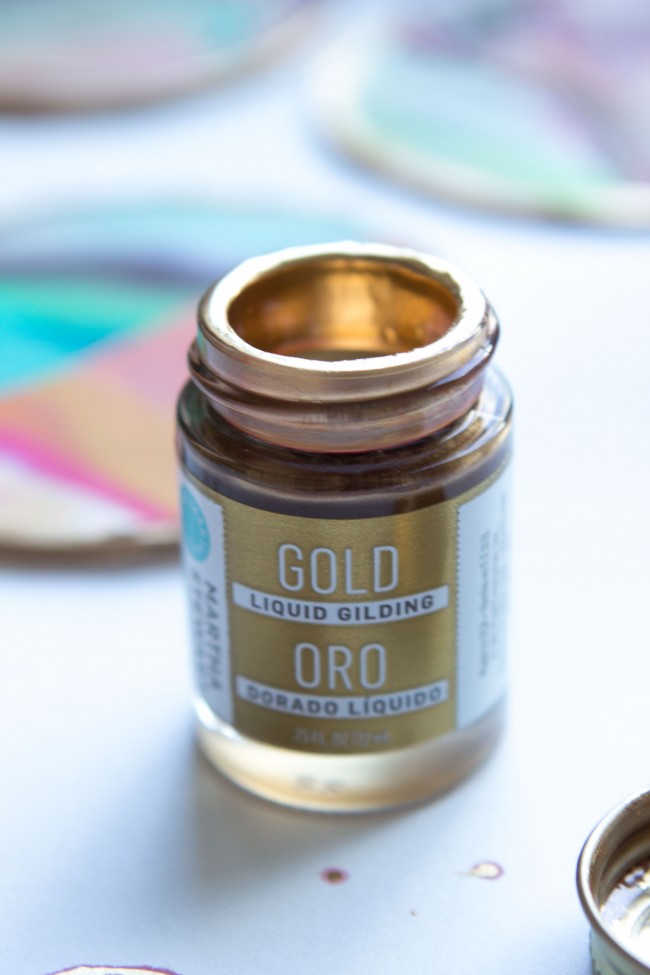
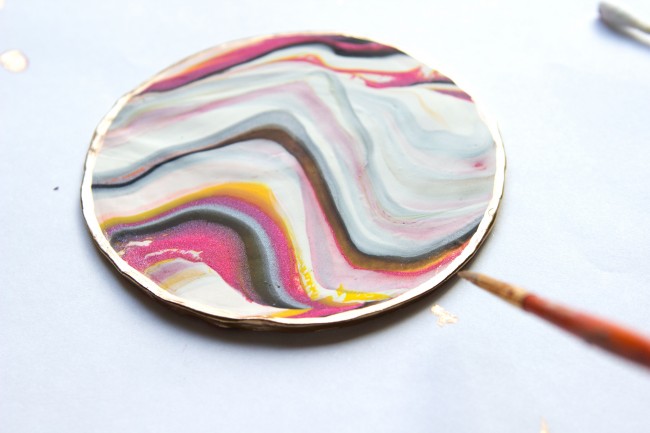
Once they are done baking, remove from oven and let cool. When the coasters are back at room temperature, use your liquid gilding and a fine brush to paint the outside edges.
I painted the outer edge (where my X-acto knife cut down) as well as about an 1/8″ of the top outside edge.
Allow to dry: the gold liquid gilding dries rather fast.
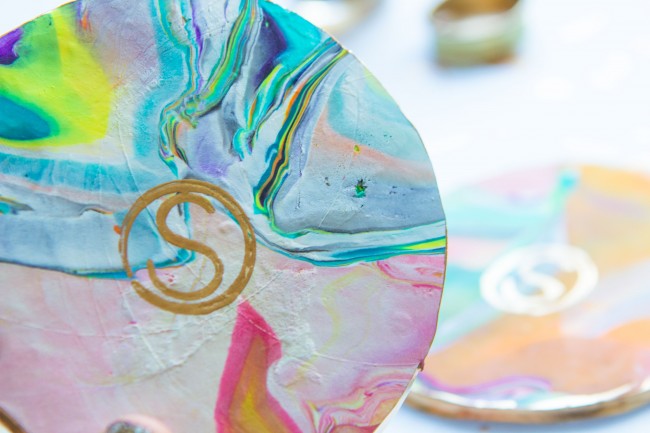
Optional: I used a little bit of the liquid gilding to stamp the bottom of the coasters with an S.
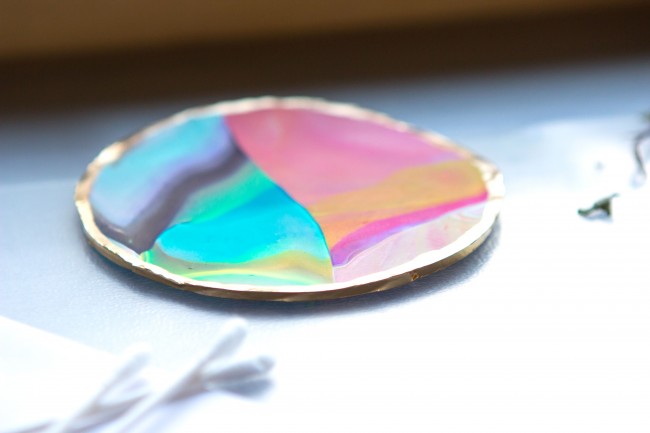
Once the liquid gilding is dry, you can seal your coasters with a touch of glaze for a glossy finish. This will also protect them from liquids.
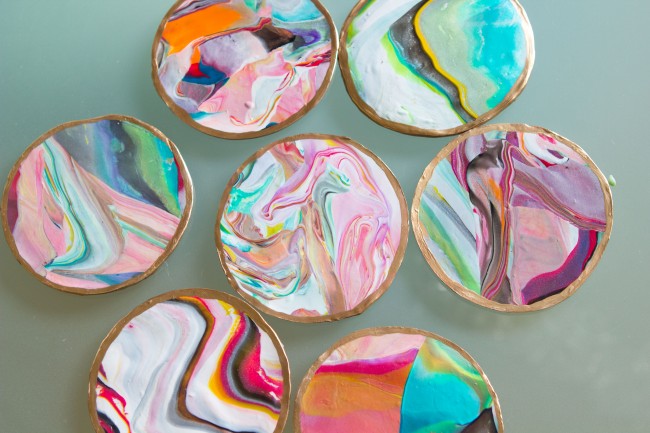
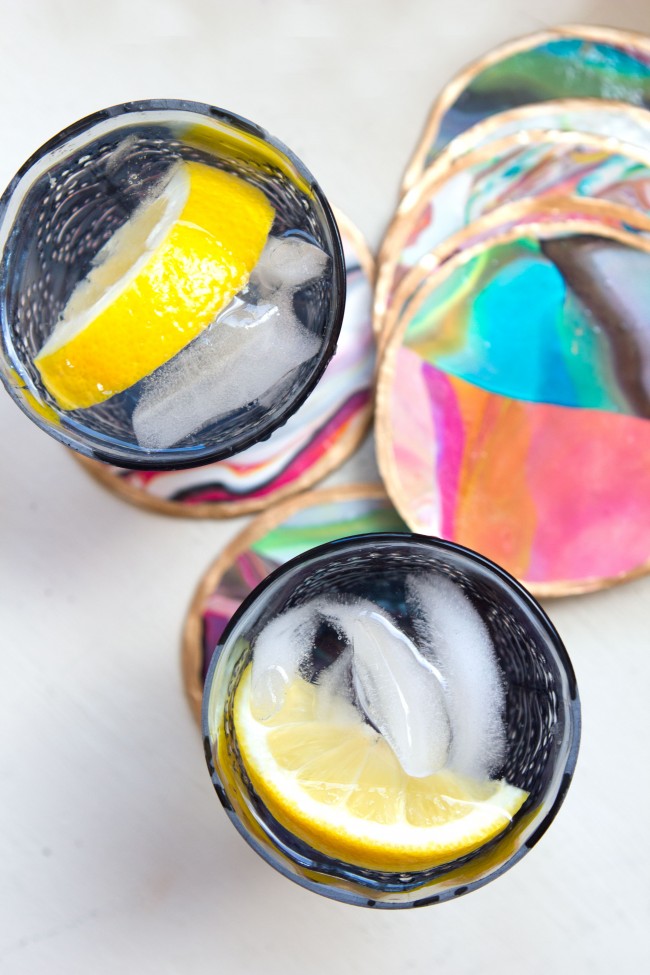
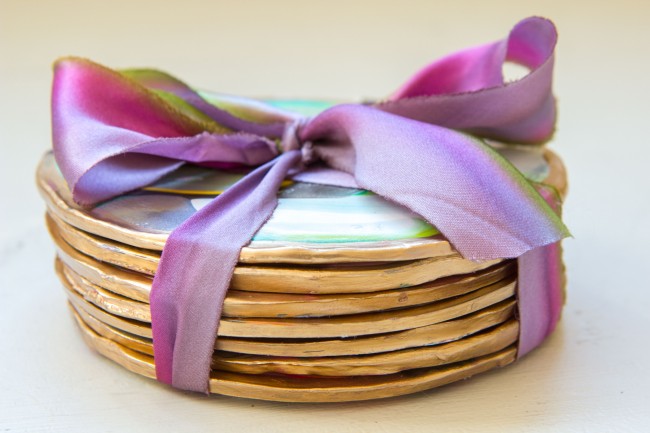
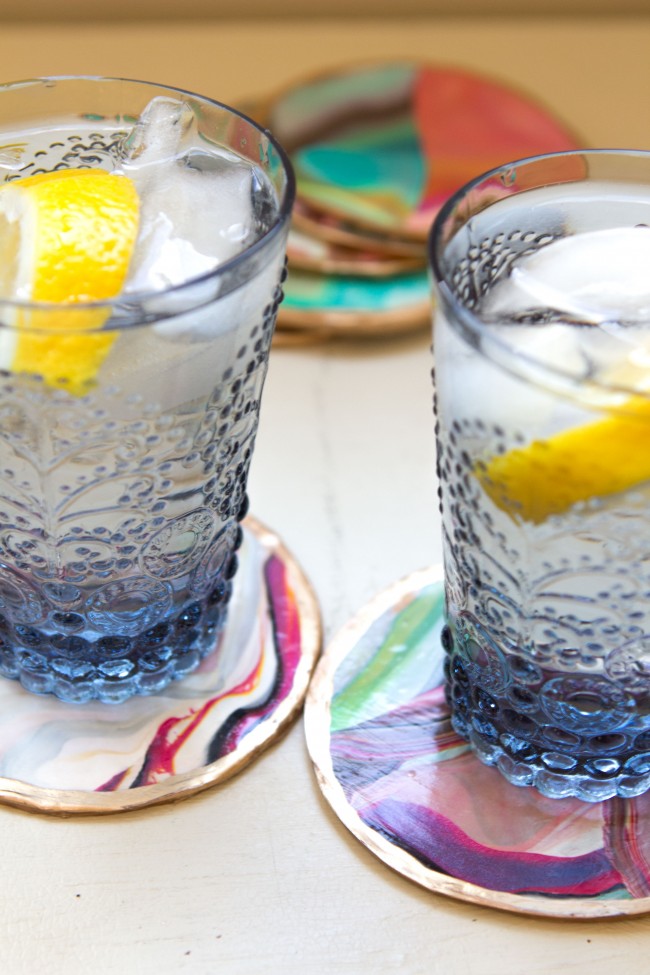
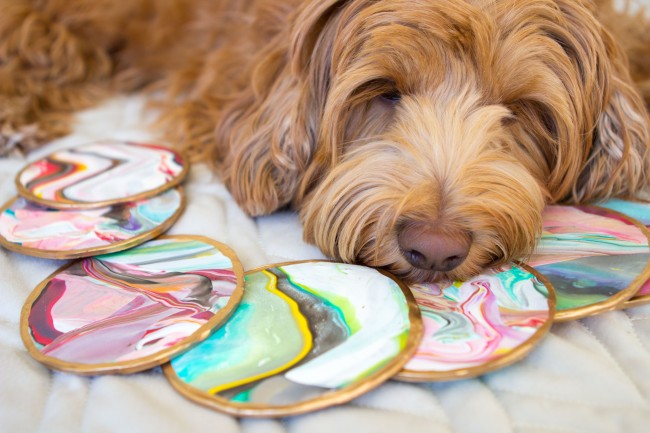
Your marble coasters are complete!
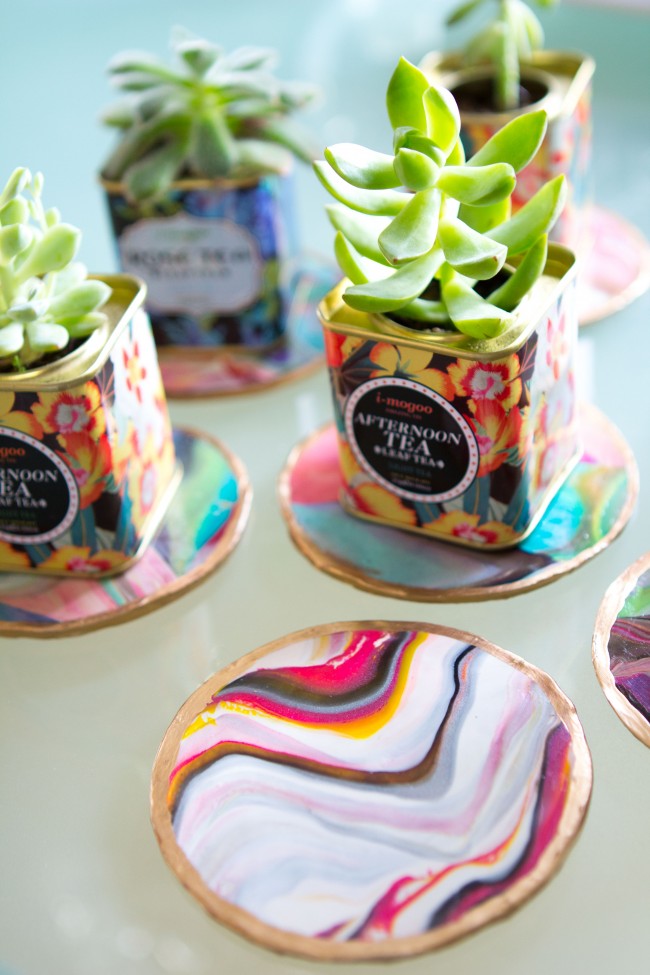
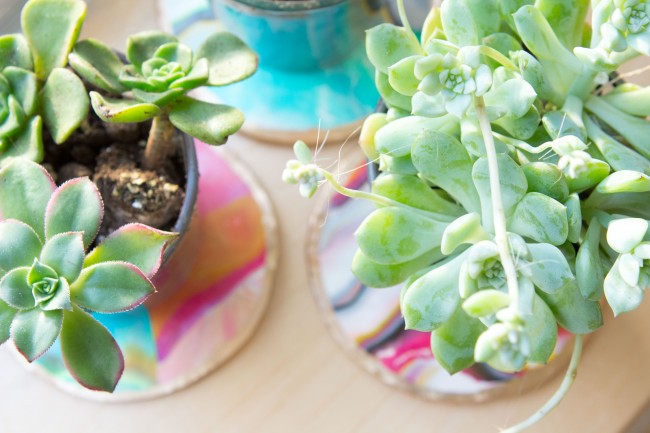
I’m happy with how this project turned out! I love using them as coasters, but also think they are beautiful under my small succulent planters. I’ll be making more to give as gifts (I love them tied up with my favorite hand-dyed ribbon). Even if you don’t use coasters, they are little works of art resting on your side tables. I love how earthy and organic the patterns feel, and the pop of colors packs a punch!
This post may contain affiliate links, which means I'll receive a small commission if you purchase through my link. Read the full disclosure.