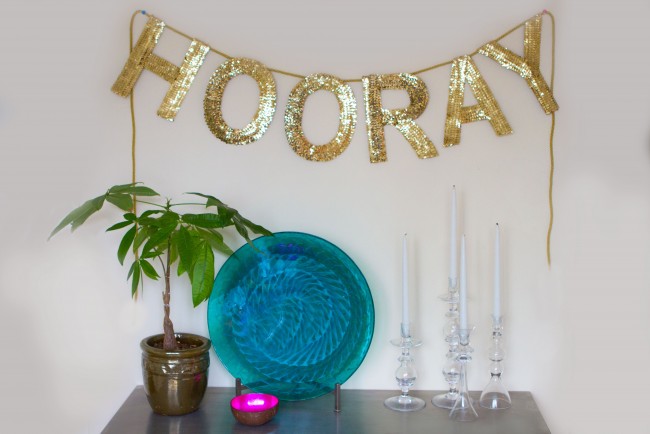
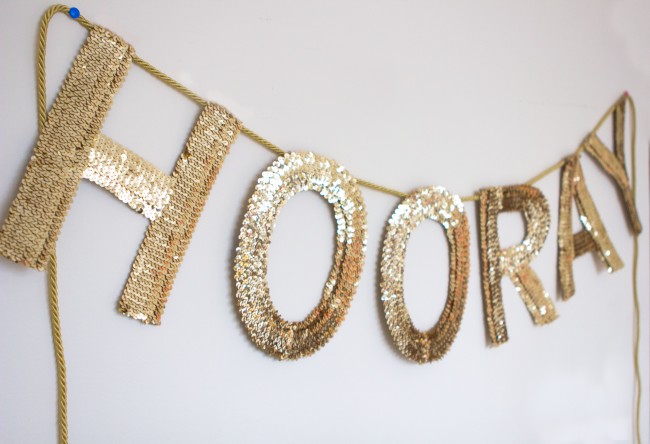
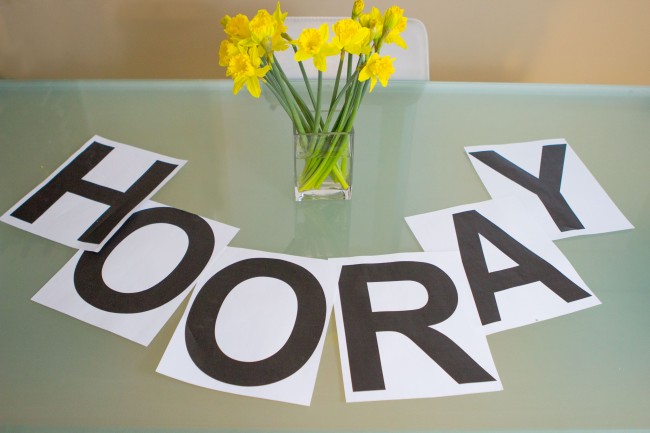
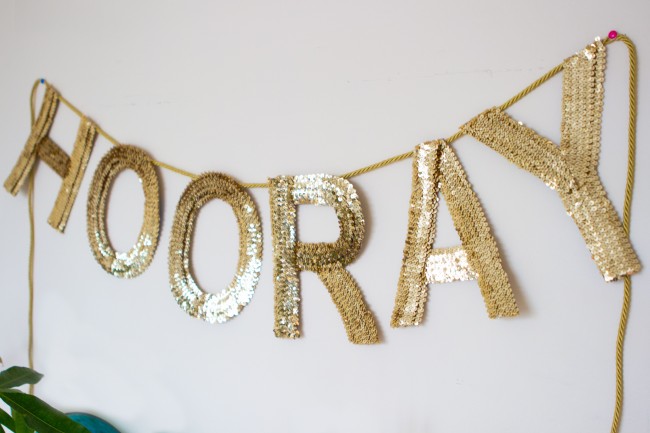
Hip hip hooray for DIYs that involve sequins…and gold. I love gold. Garland is trending right now. I need more walls and mantles for all the garland I’d like in my life. I made this “HOORAY” sequin garland for an upcoming gals’ night in. It was between spelling out “hooray“, or Ryan Gossling-inspired “hey girl”. This project is easy and fun to do, and I am certain the garland will get lots of use at many future gatherings.
WHAT YOU NEED
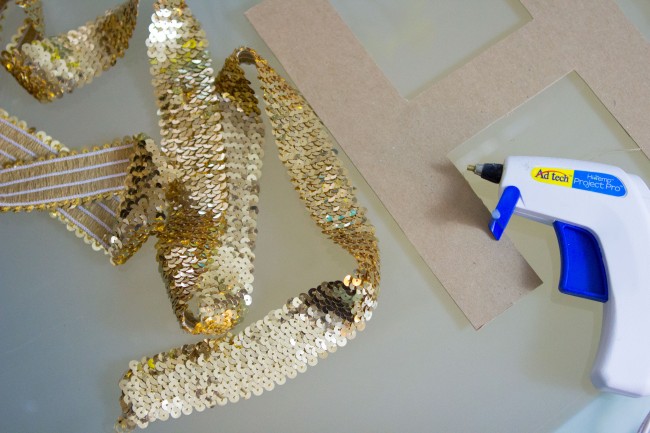
10-Yard of 4-Row Metallic Stretch Sequin Trim, 1-1/2-Inch
Cardboard sheets
x-acto knife
Tape
hot gun with lots of glue sticks
2-3 yards of gold cord
old box, flattened (to protect surface where you cut letters out)
THE INSTRUCTIONS
Print out all your letters in a bold, simple font. It’s best if you choose a font that is double the width of the sequin trim, but if it is less than double, you can overlap the trim.
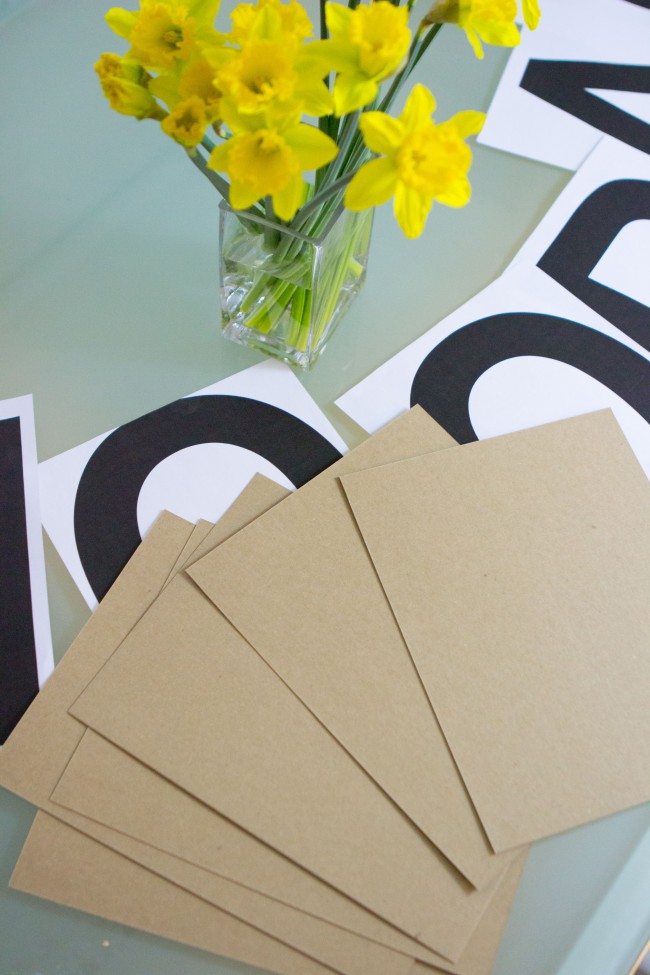
Tape each letter to a cardboard sheet.
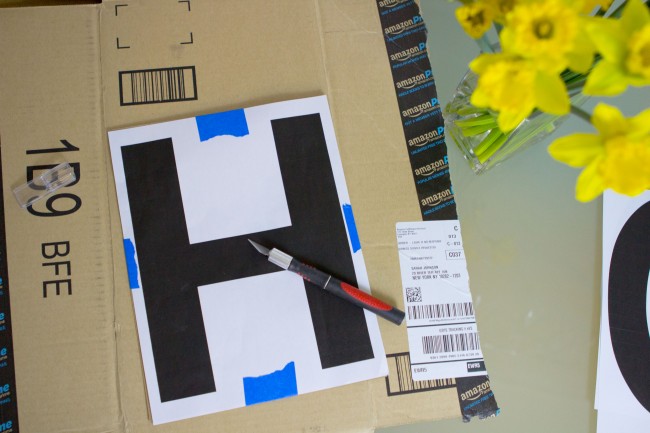
Lay your taped cardboard letter on a scrap piece of cardboard before you begin cutting.
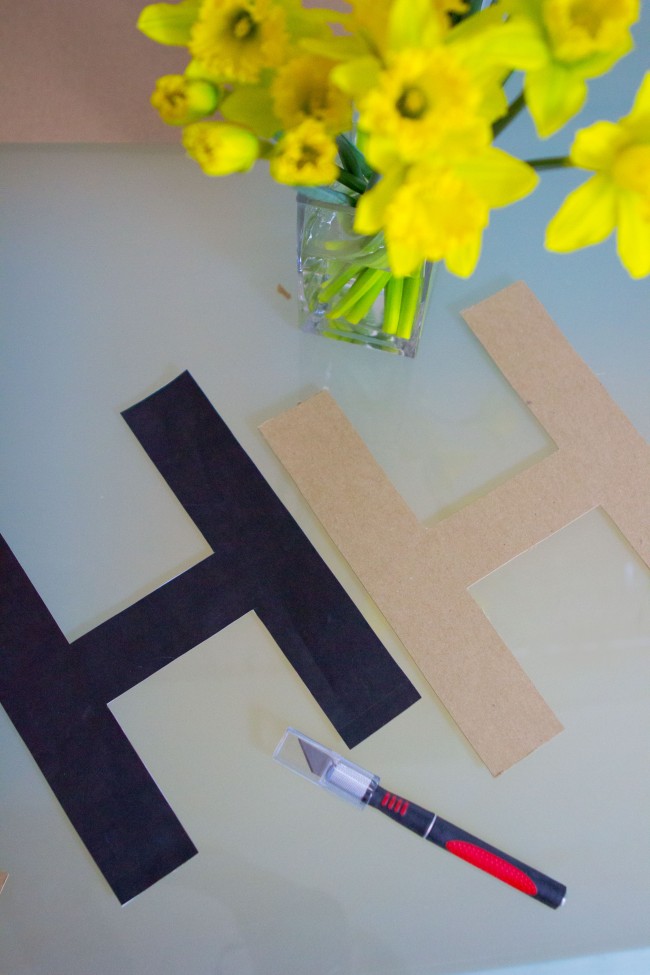
Trace the outline of each letter to cut out the letter form in cardboard. Go slowly, and always cut away from your other hand.
Now that your letters are cut out, plug in your hot gun and get ready for the fun part!
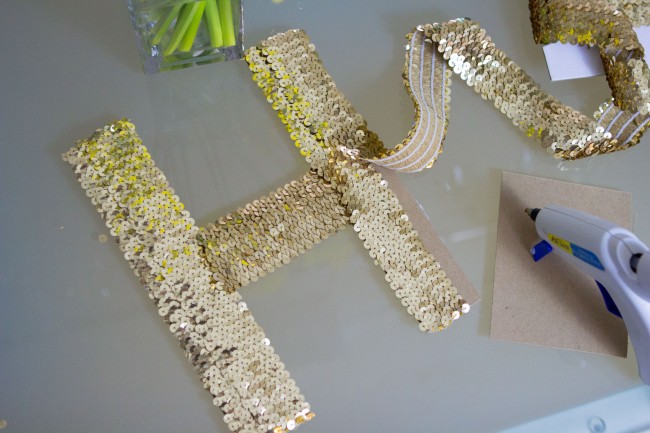
If you cut the trim, the sequins will unravel and look messy. To make the ends look neat, fold and glue the ends under where you start and stop gluing the trim, like a hem. Layer the sequin trim over each other to cover all the cardboard. Be sure to lay all the trim going in the same direction (sequin trim will reflect light differently if facing opposite directions).
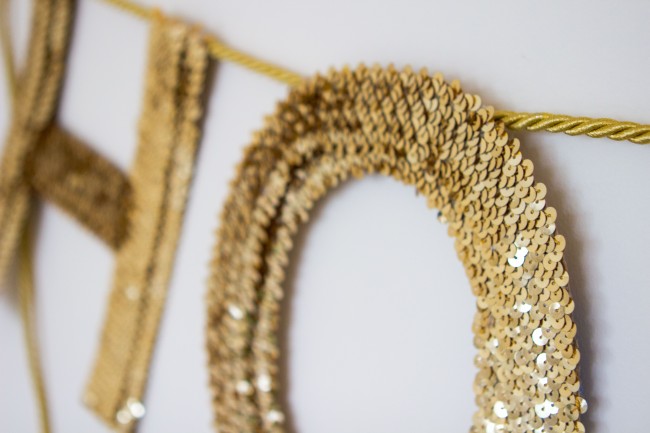
When you come to a curve in a letter, the elastic in the trim is great because you can pull it however you need it to form, and the hot gun allows the glue to dry really quickly to keep moving along the curves.
Once all your letters are complete, space them out evenly, and use the hot gun to glue the top of each letter to the metallic cord.
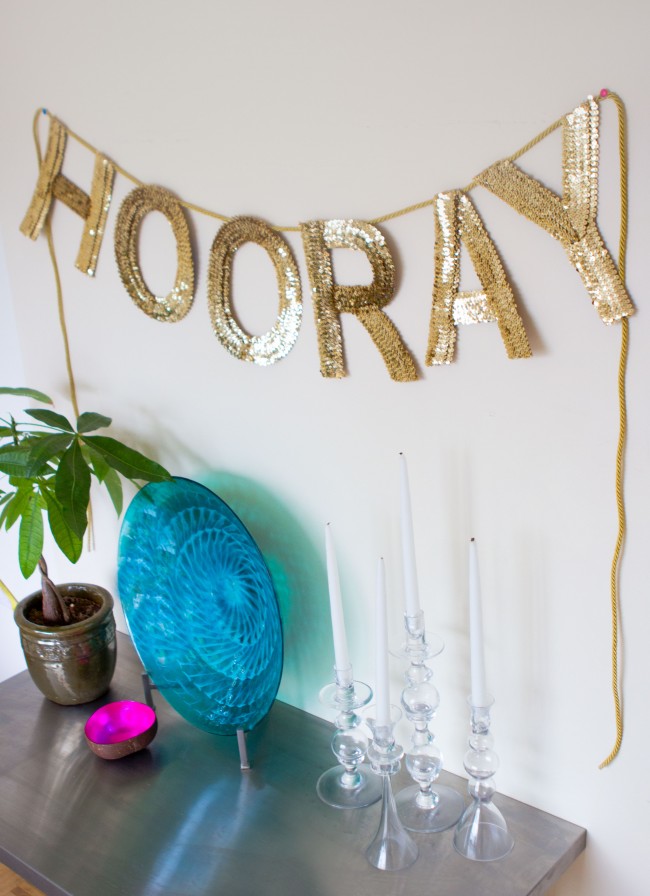
Hang with push pins on a wall or mantle.

I really love how this project turned out. It’s a dazzling party prop, and so easy to customize to suit your theme. It would be fun to create for a baby shower, going away party, wedding reception, surprise party, engagement party or whatever you are celebrating. Hope you enjoy!
This post may contain affiliate links, which means I'll receive a small commission if you purchase through my link. Please read full disclosure here.