With summer approaching, and anticipation of lots of quality beach time, I’ve been obsessed lately with all DIY shell craft ideas.
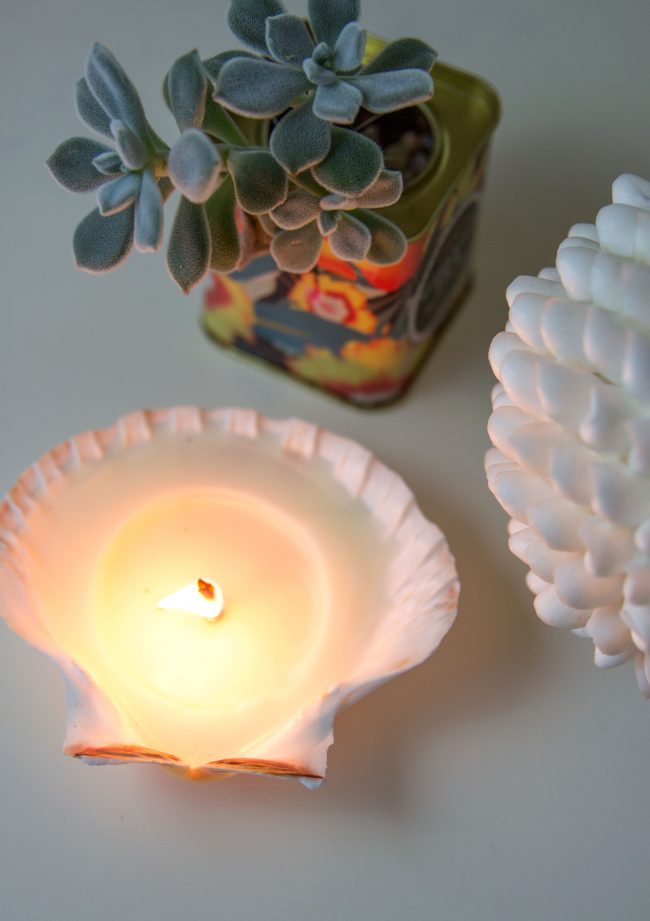
I found these scallop seashells on Etsy and had some extra candle supplies from this project and this one too, so I thought I’d whip up these little glowing delights to scatter across a dinner table, in the bath, or to serve as an accent with some larger candles.
This project took about 15 minutes from start to finish. It couldn’t be easier.
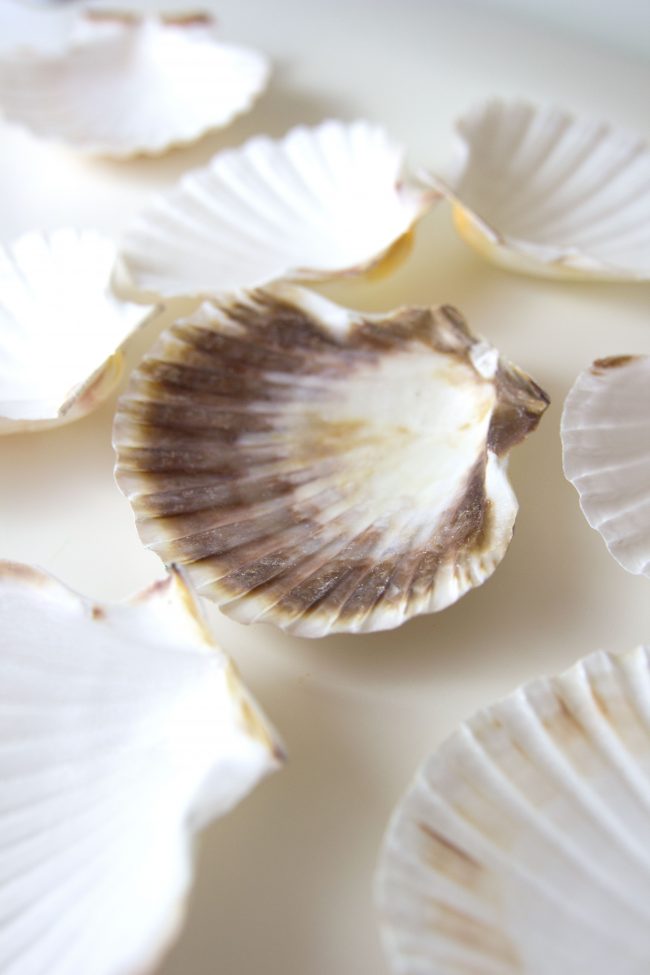
But, I will caution, the shells that you choose are important. If you choose the wrong shells, these candles may have a very short burn time.
I chose these from Etsy, but only a few of them were deep enough to burn for a significant amount of time.
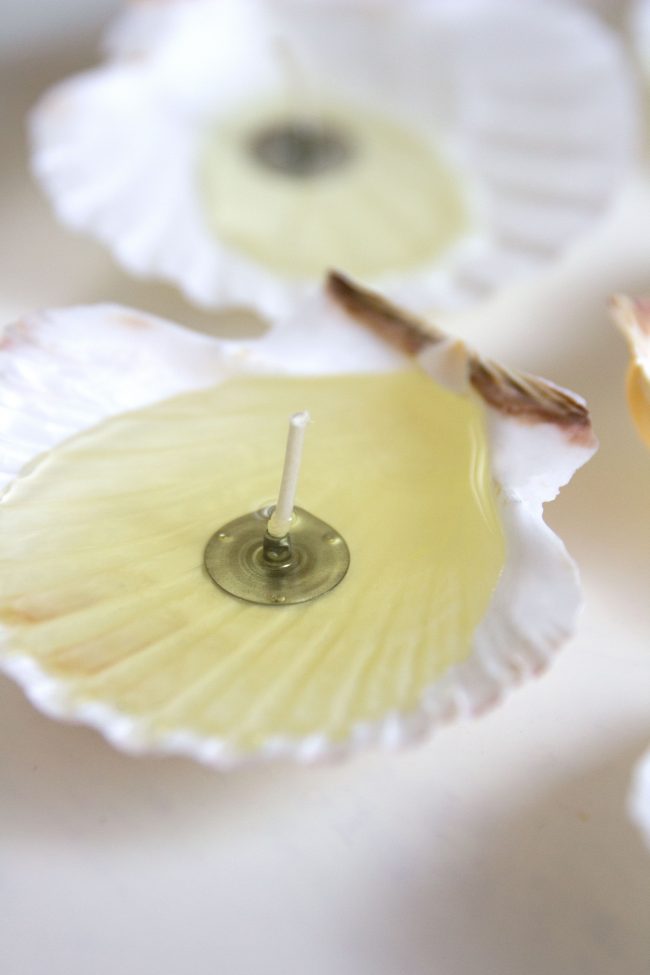
The deeper the shell, the more buried the wick is in wax, therefore the slower the wick burns, and the longer the candle lasts.
So when choosing what shells to use, consider depth as most the most important feature! I may get a little crazy and try this DIY in a shell like this one or this one.
WHAT YOU NEED
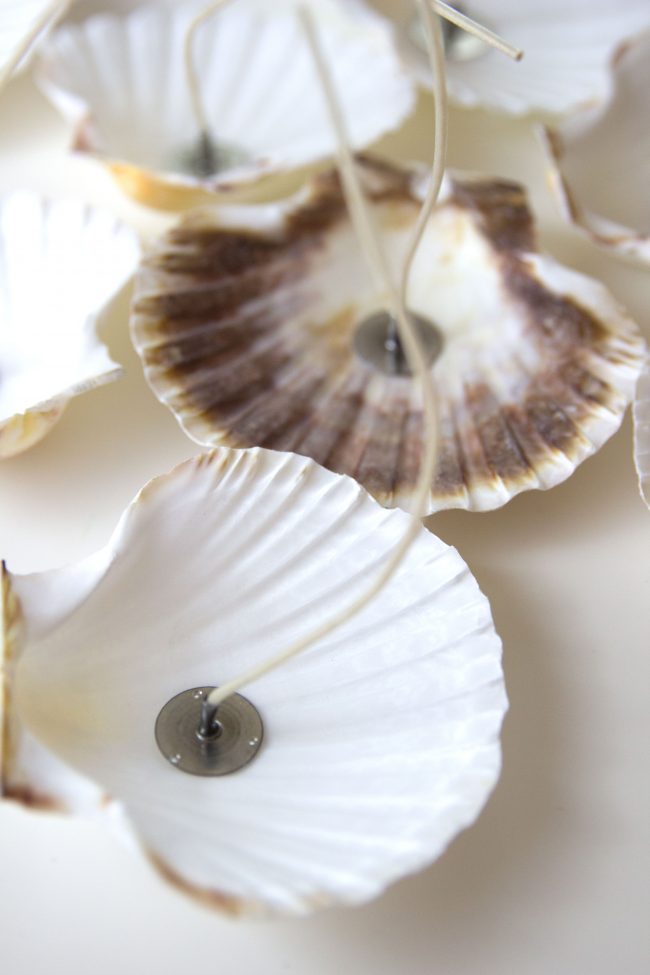
- shells with depth (1″ deep or more is ideal!)
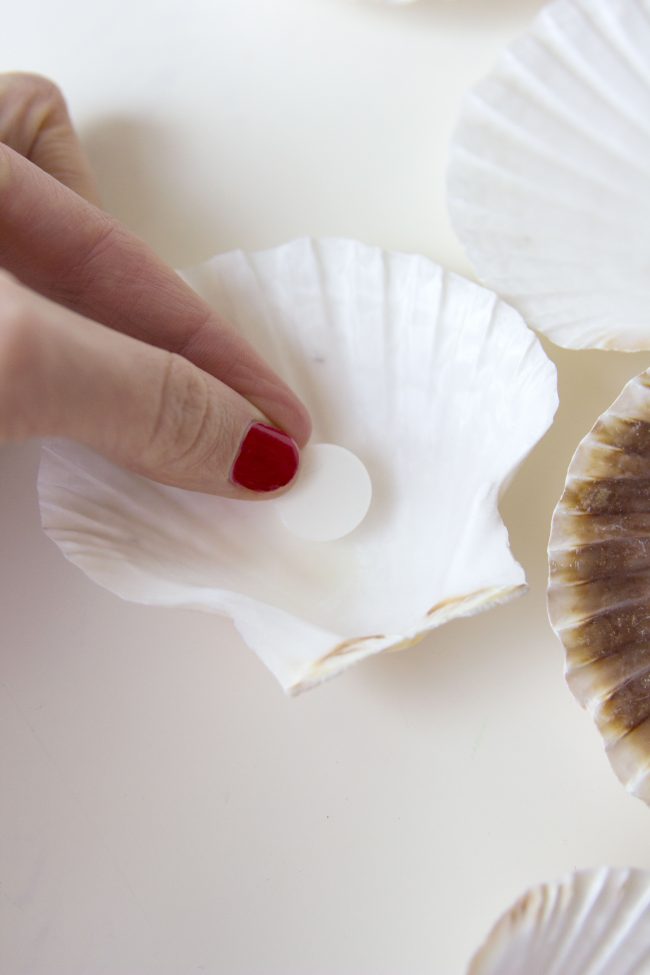
- wicks with wick stickers
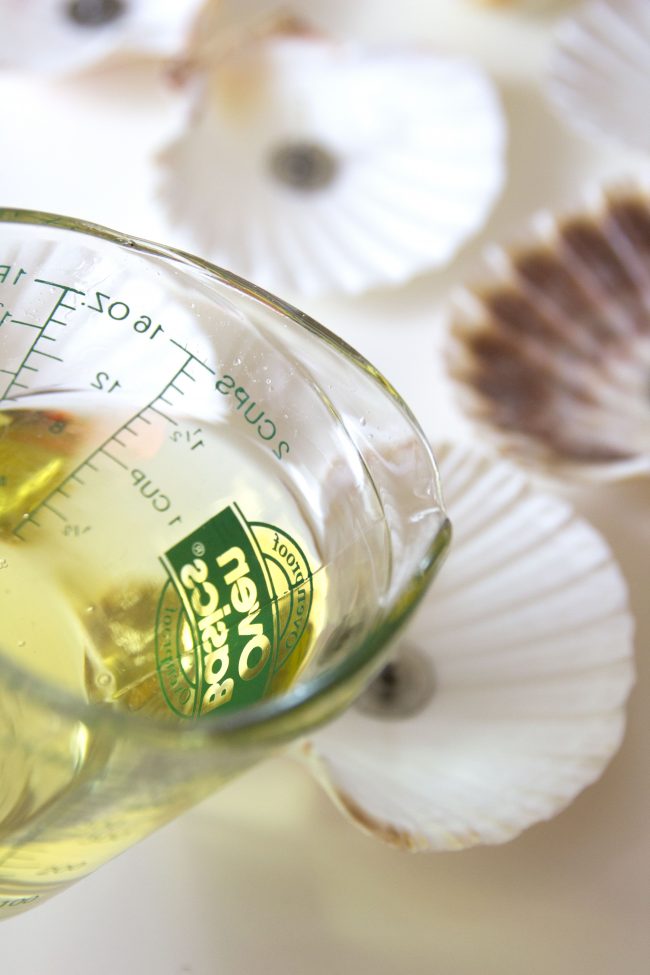
- choice of candle wax (I used soy)
- fragrance or essential oil (optional)
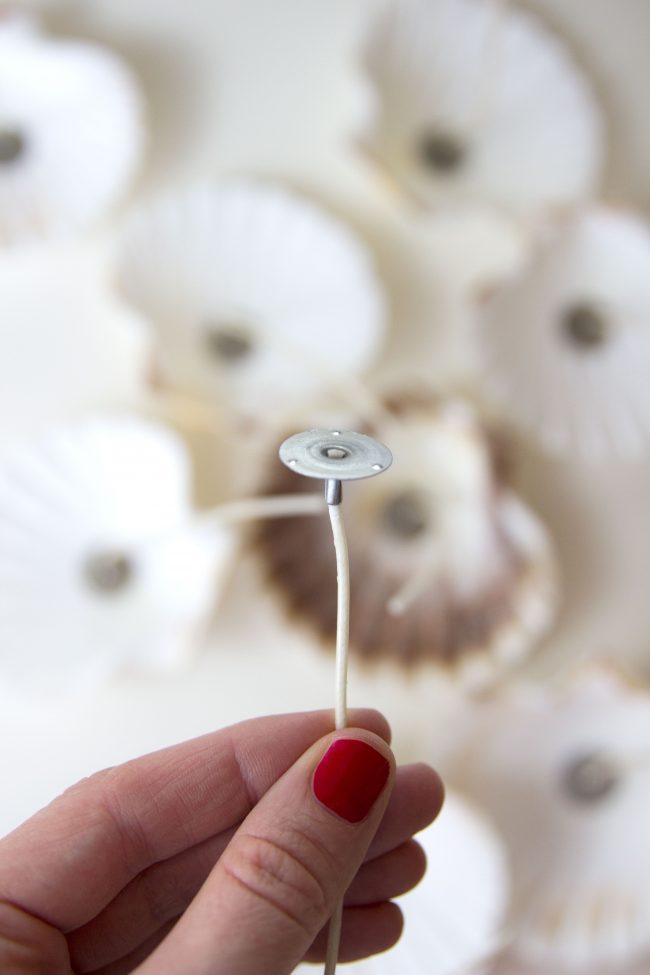

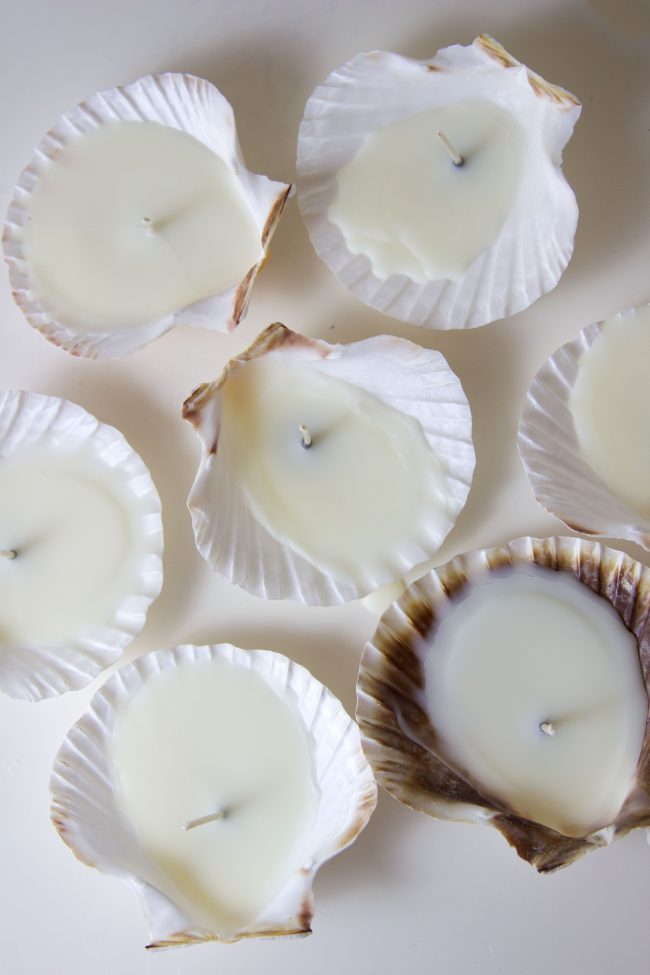
 They are ready to go!
This post may contain affiliate links, which means I'll receive a small commission if you purchase through my link. Please read full disclosure here.