Looking for a Diy pregnancy announcement idea?
When I found out I was pregnant with my daughter, I knew I didn't want to do a gender reveal or a social media announcement for so many people who weren't that close to me.
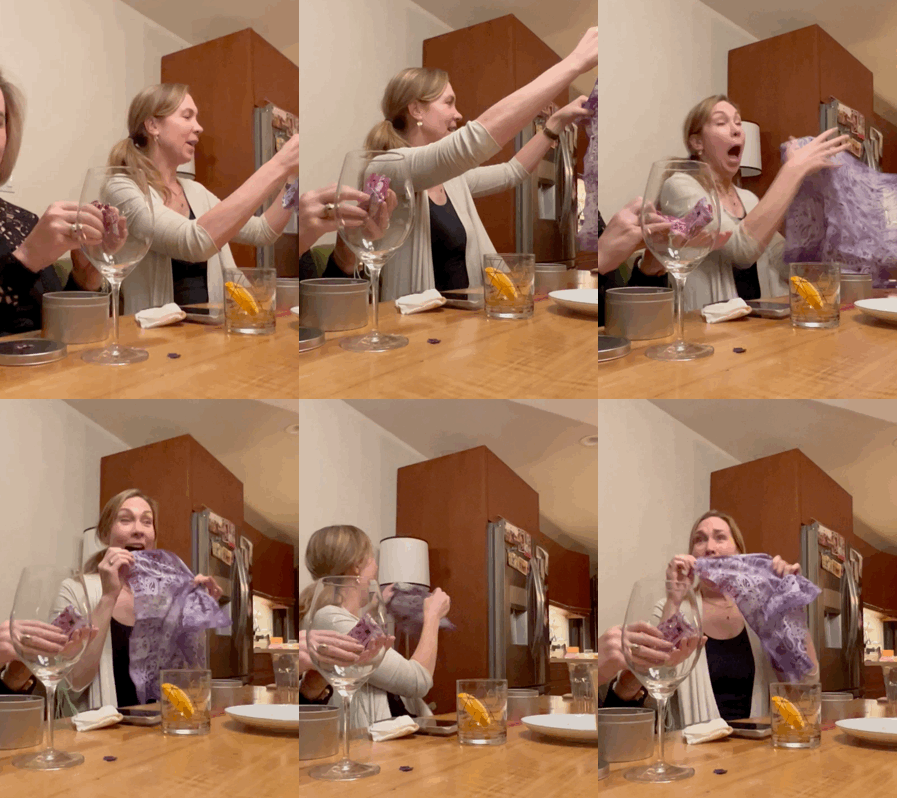
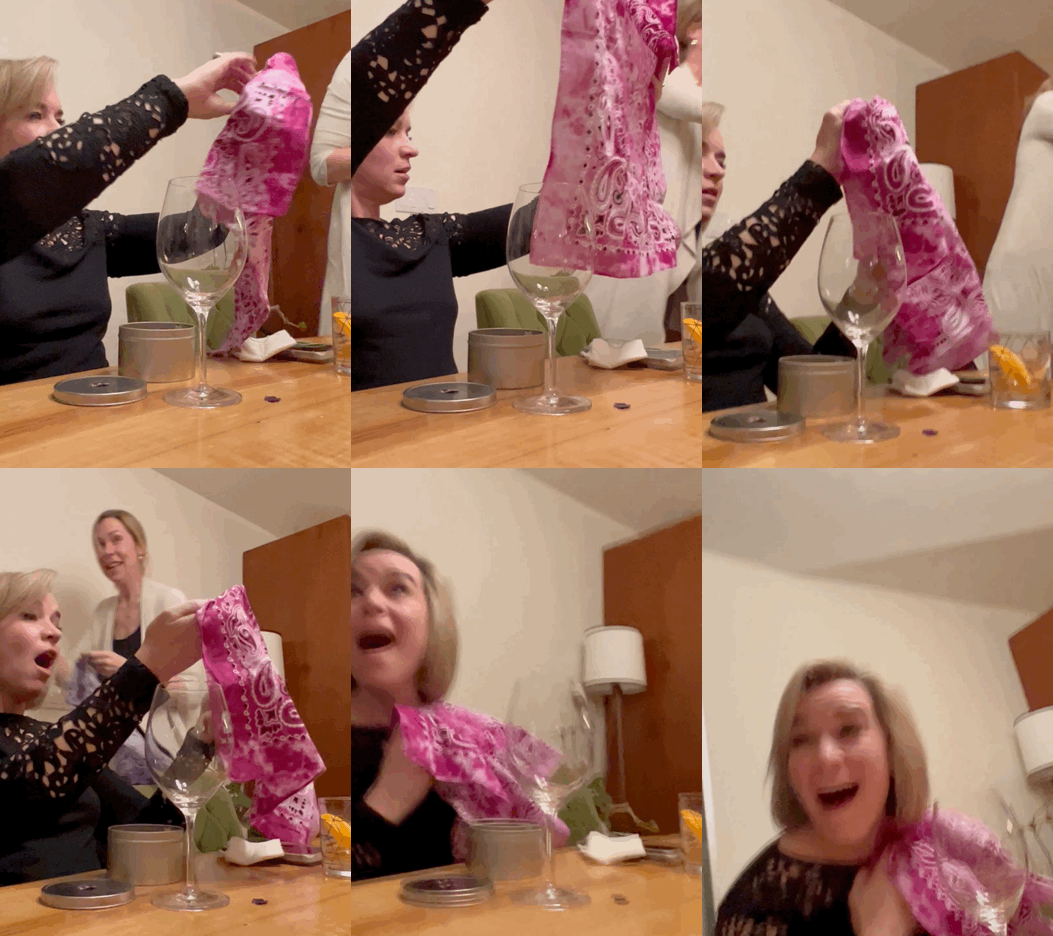
All I cared about was surprising my sisters.
I wanted to present them with their new Aunt title when they wouldn't expect anything. And I knew I wanted to add a little DIY touch.
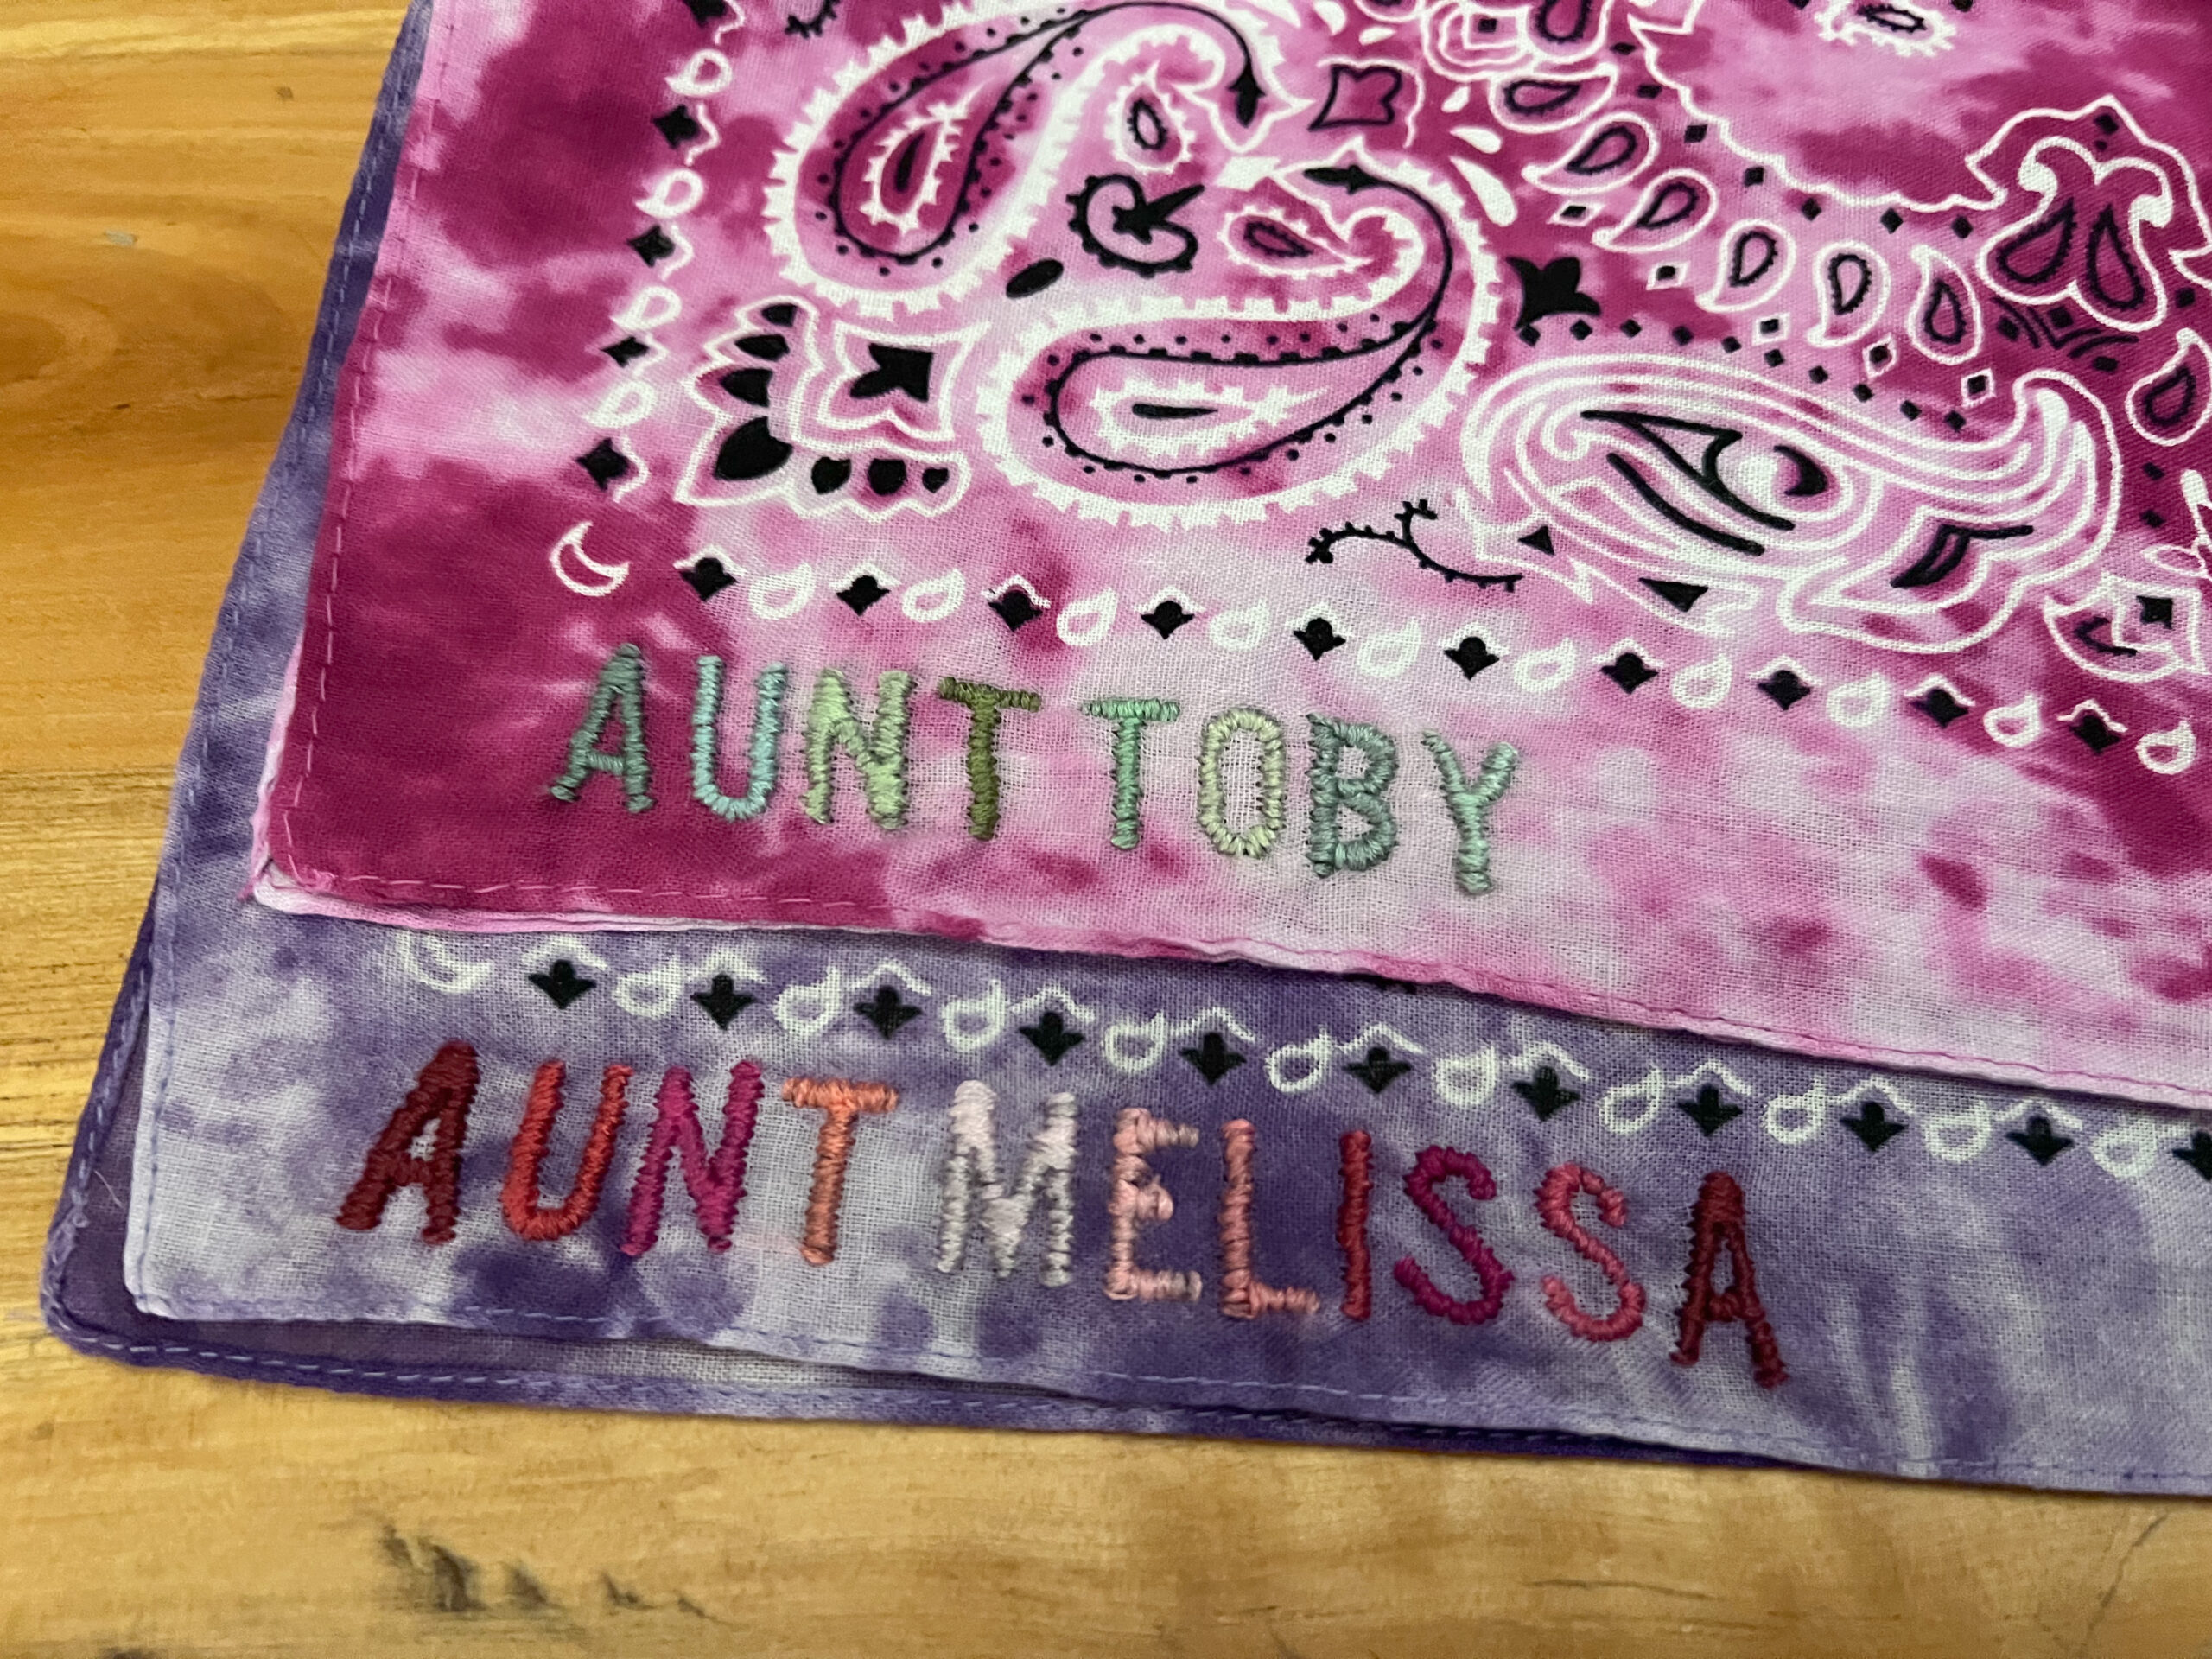
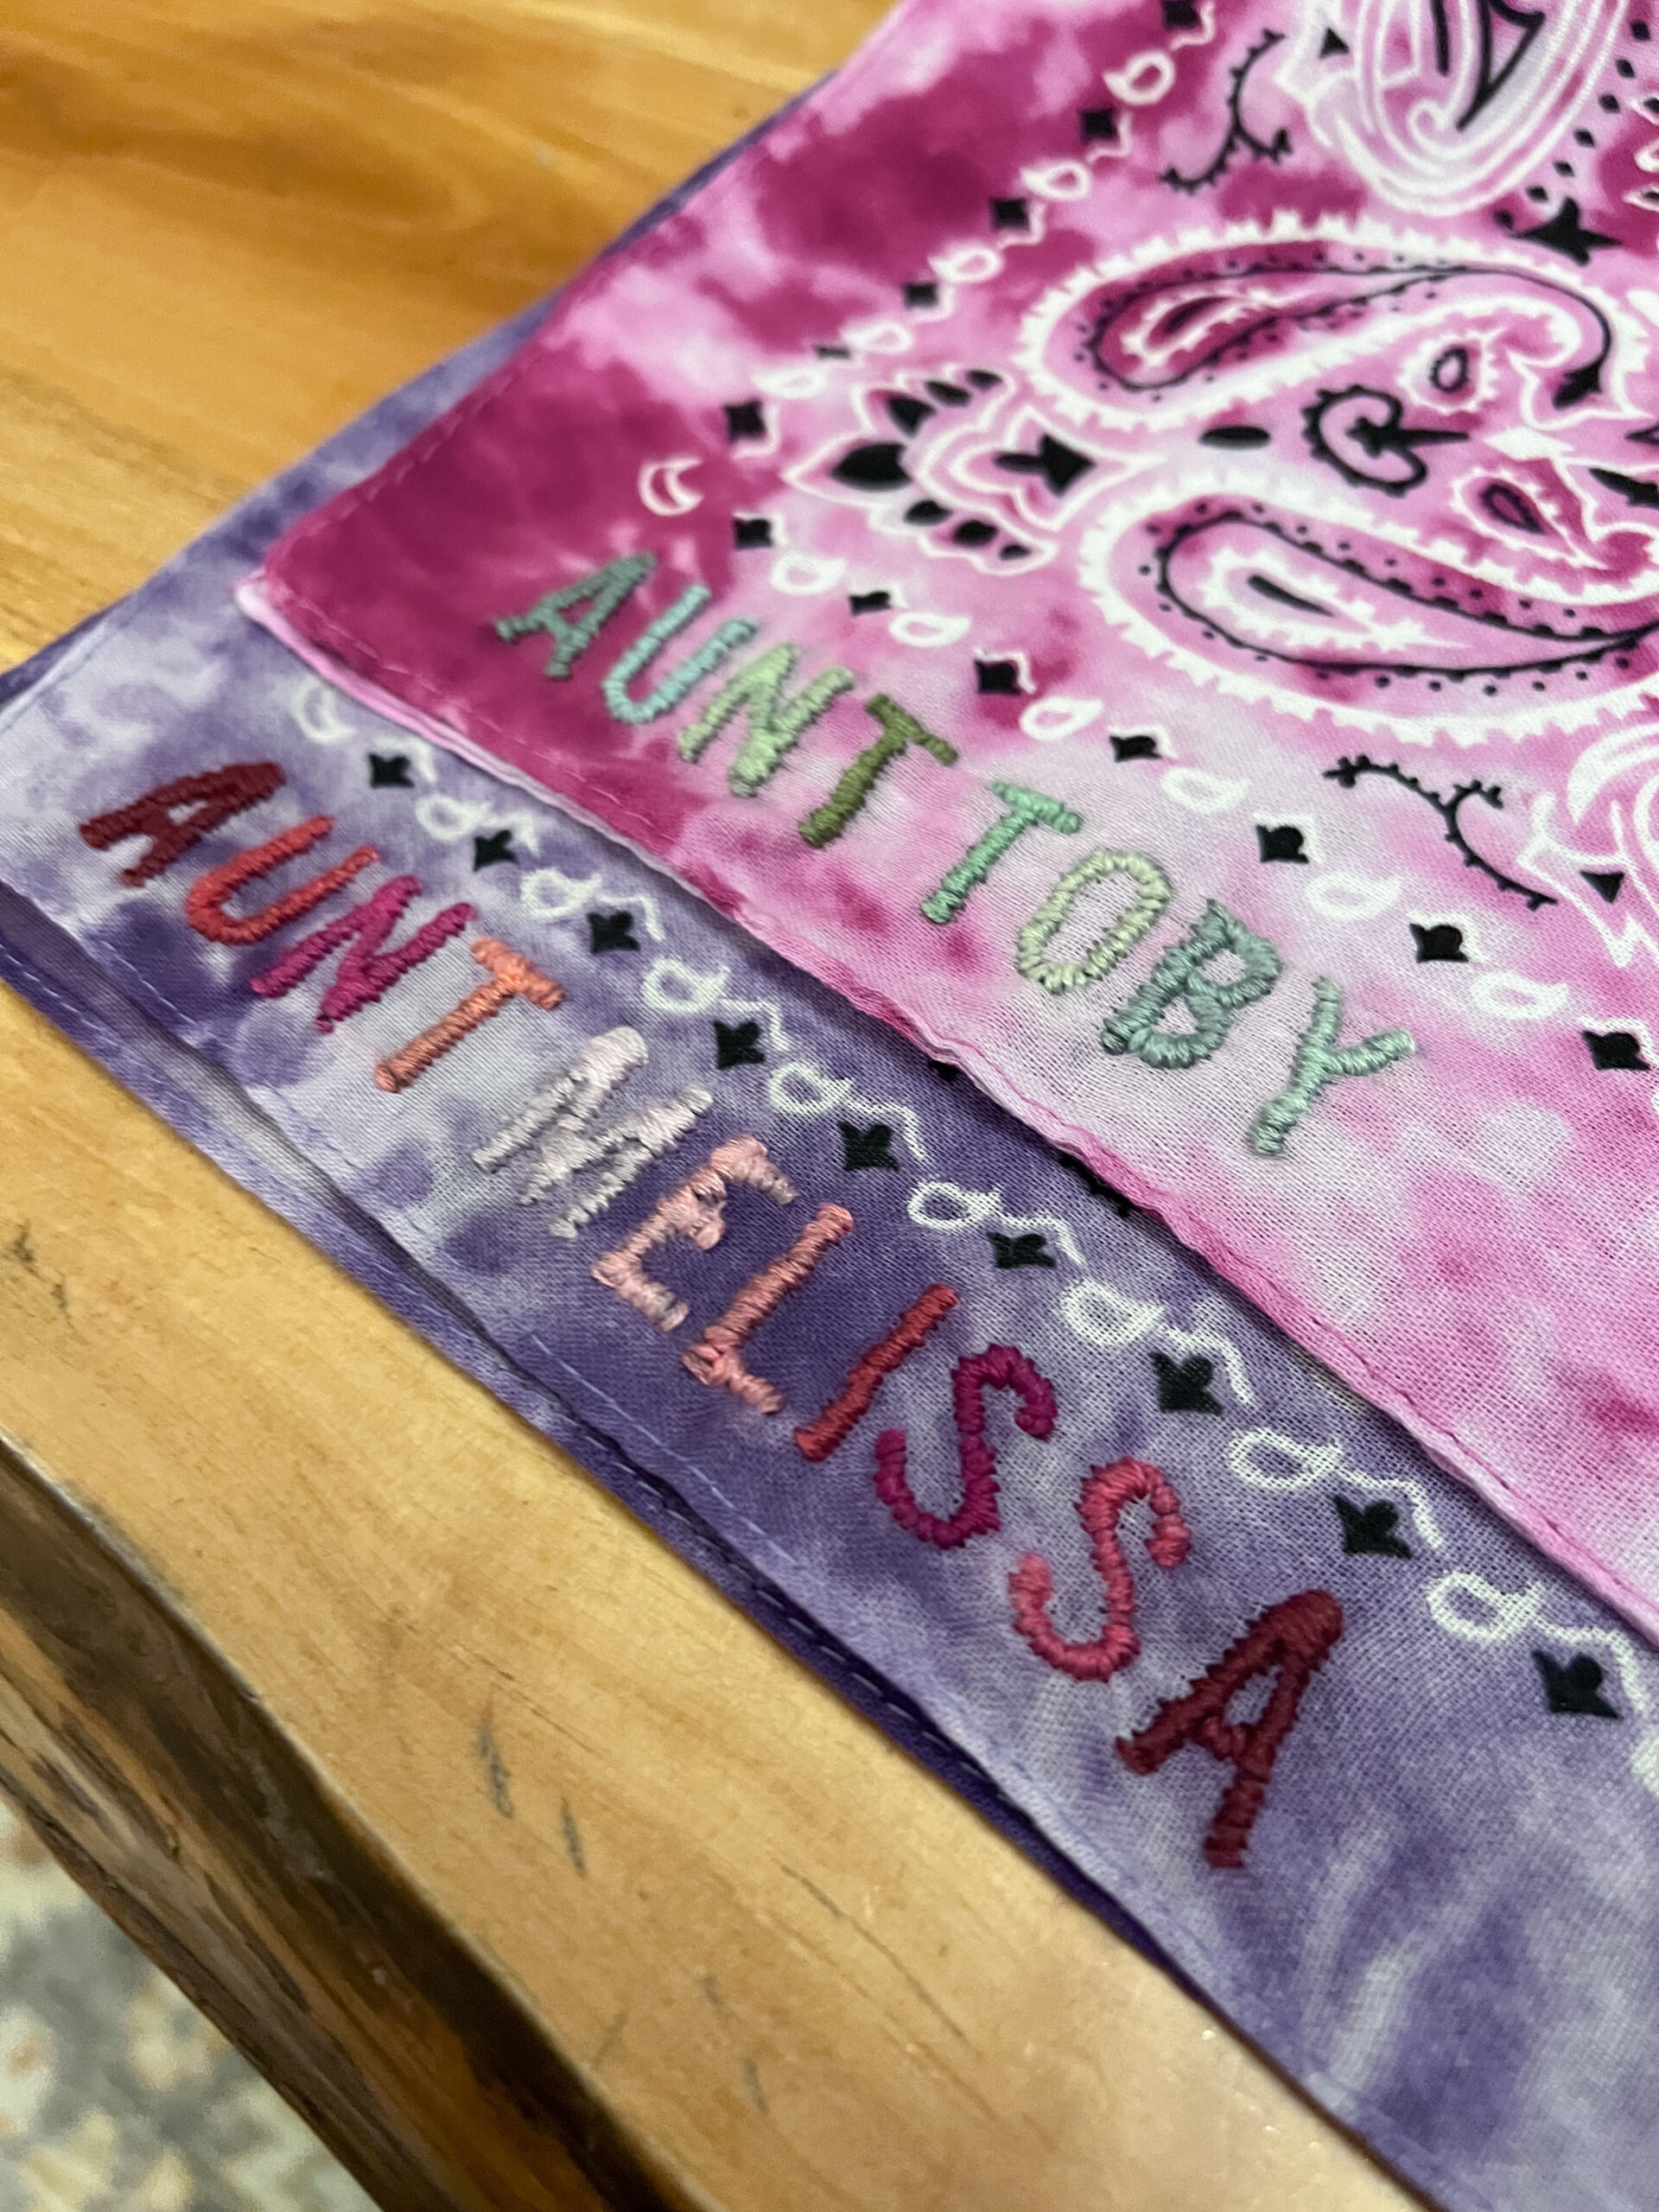
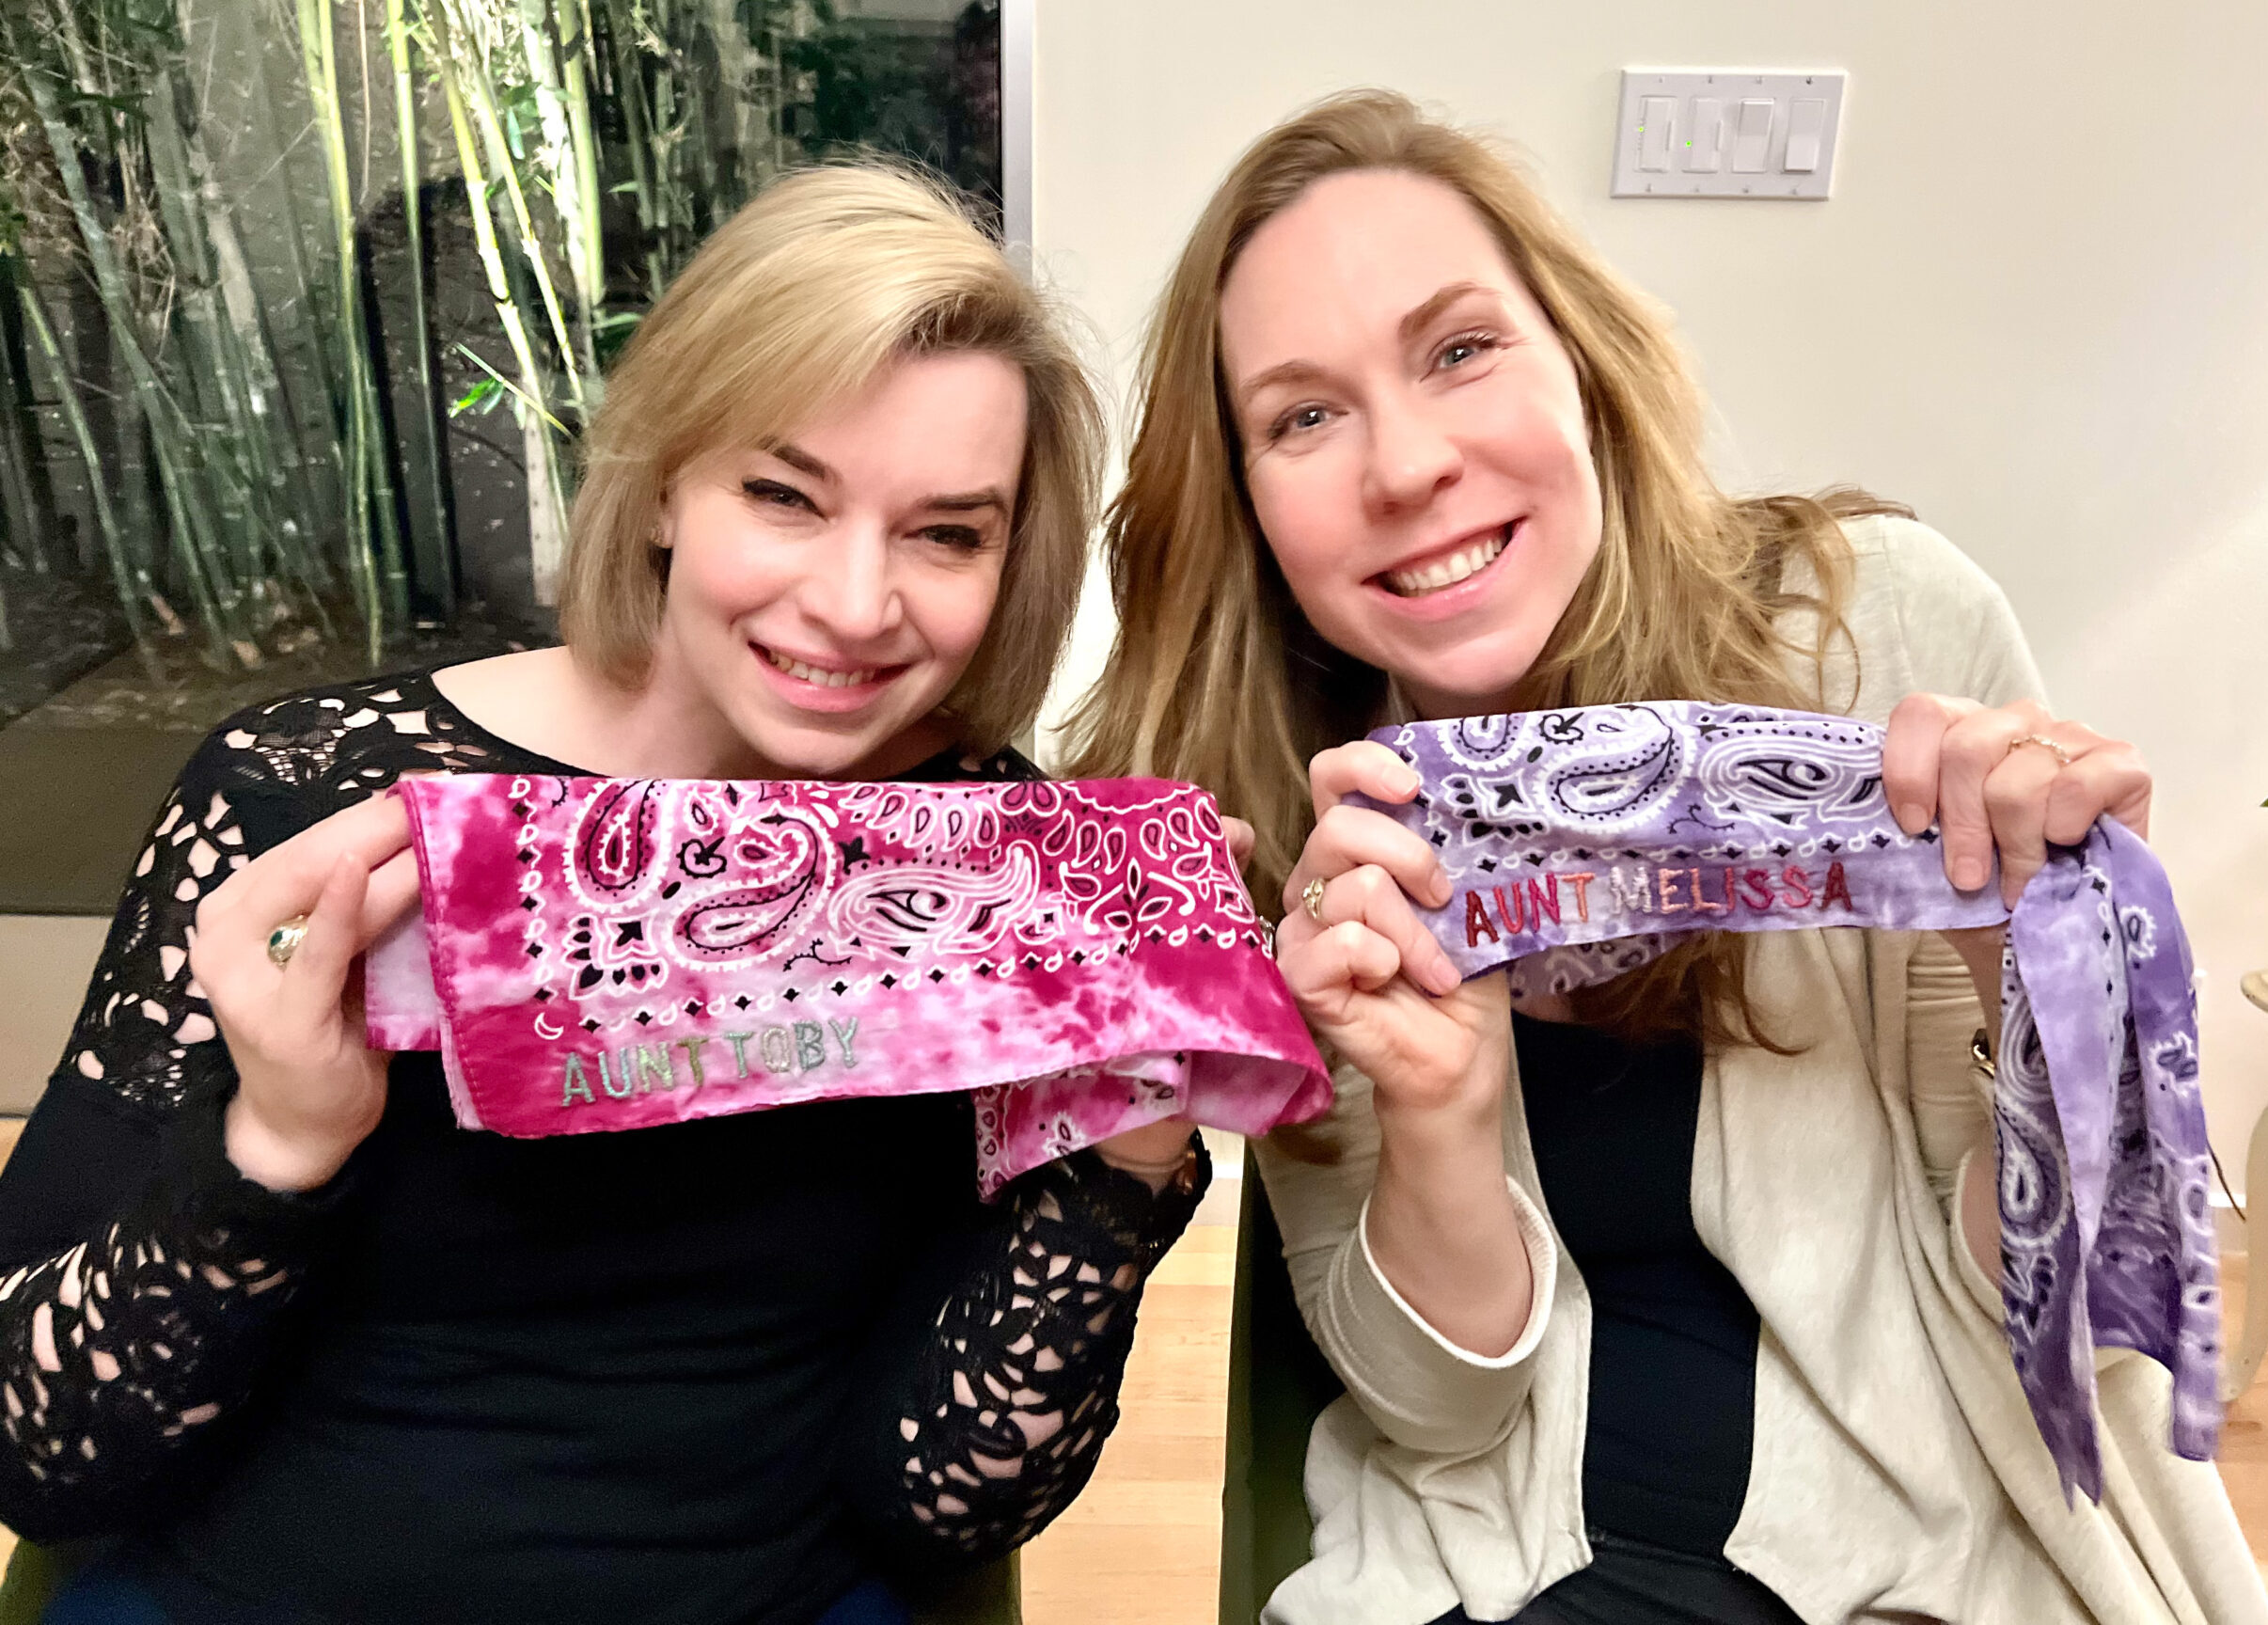
Enter DIY embroidered bandanas. Aunt Toby and Aunt Melissa were so surprised!
THIS POST IS ALL ABOUT HOW TO EMBROIDER A BANDANA for A DIY PREGNANCY ANNOUNCEMENT.
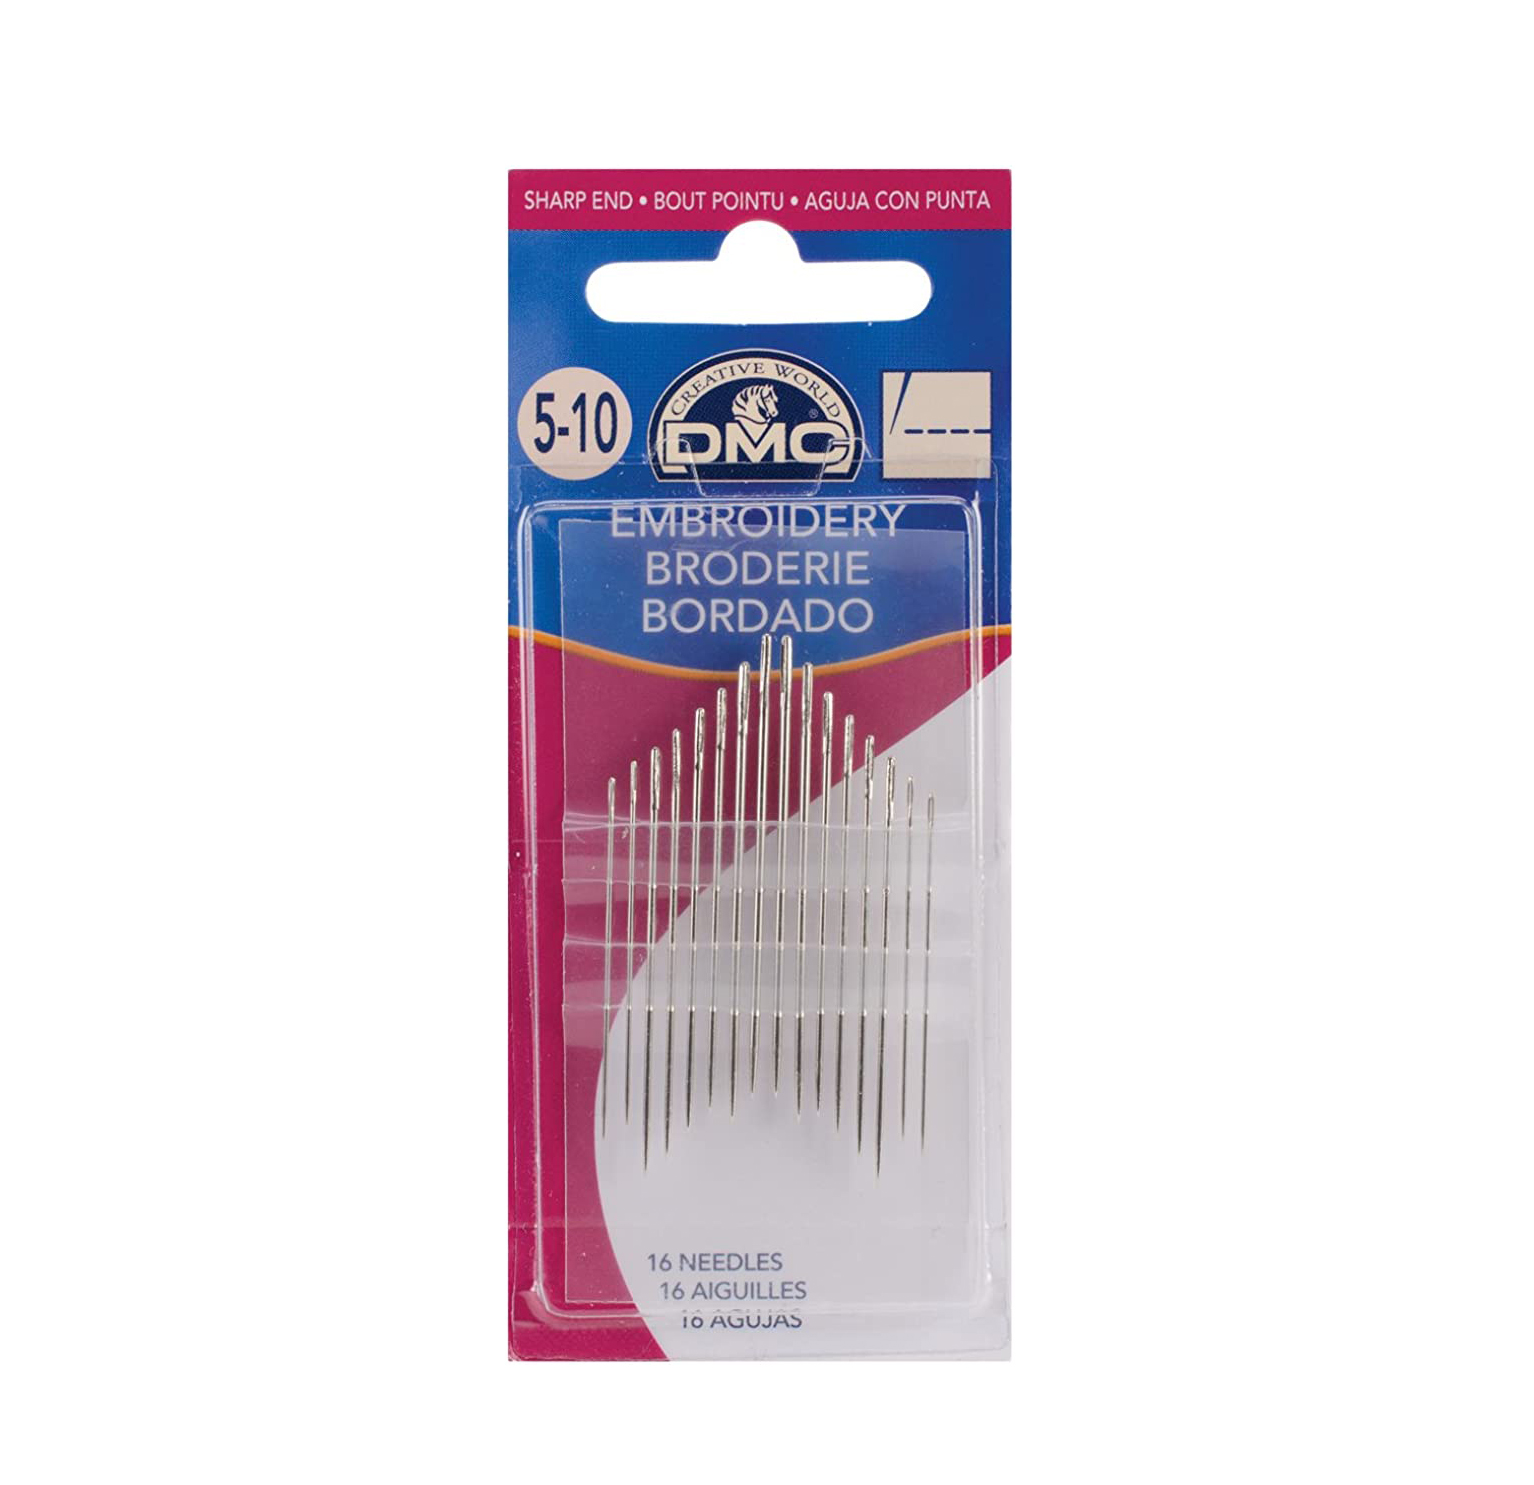
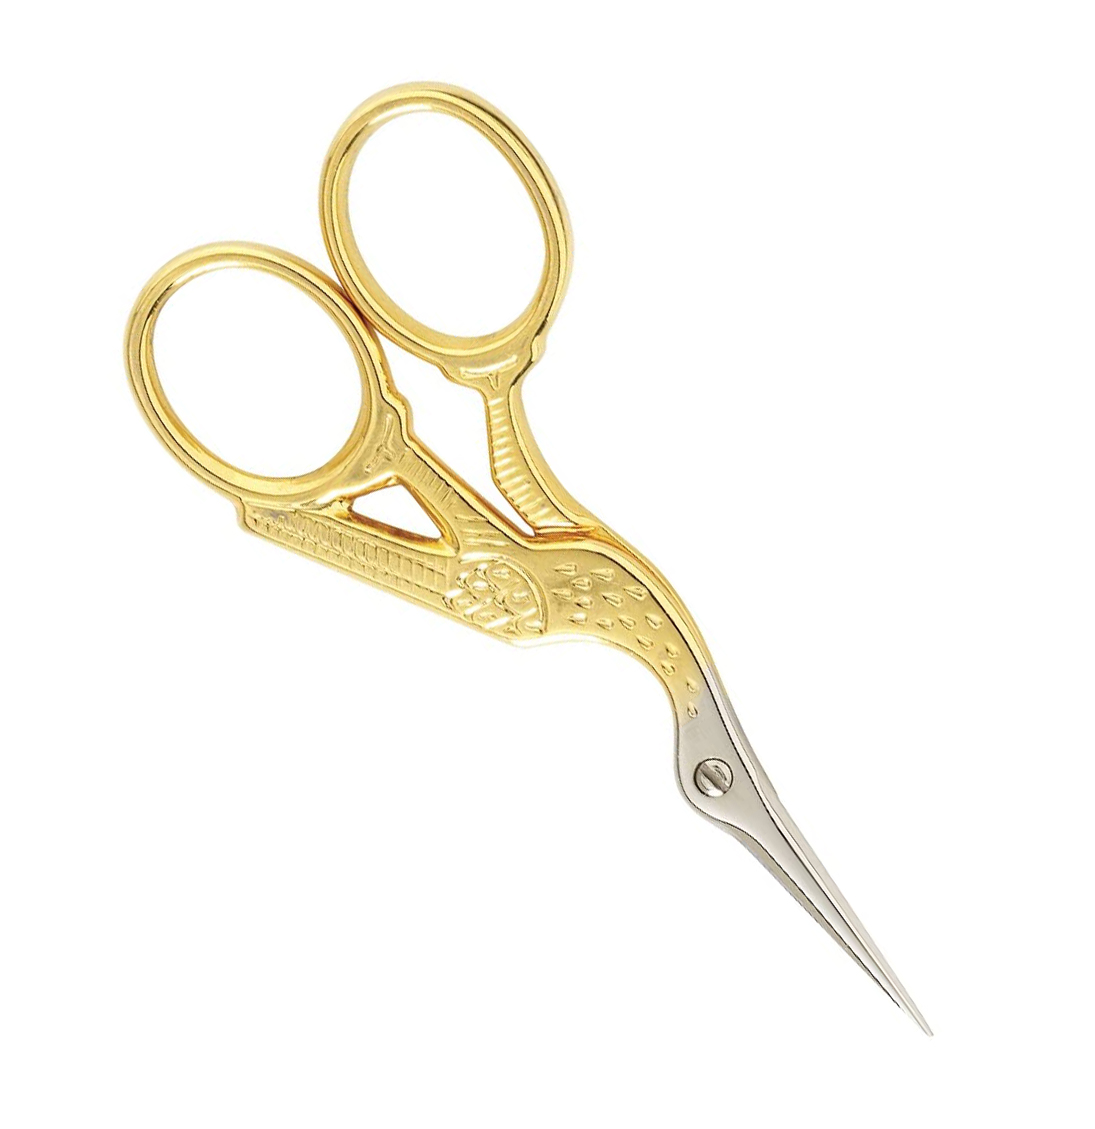
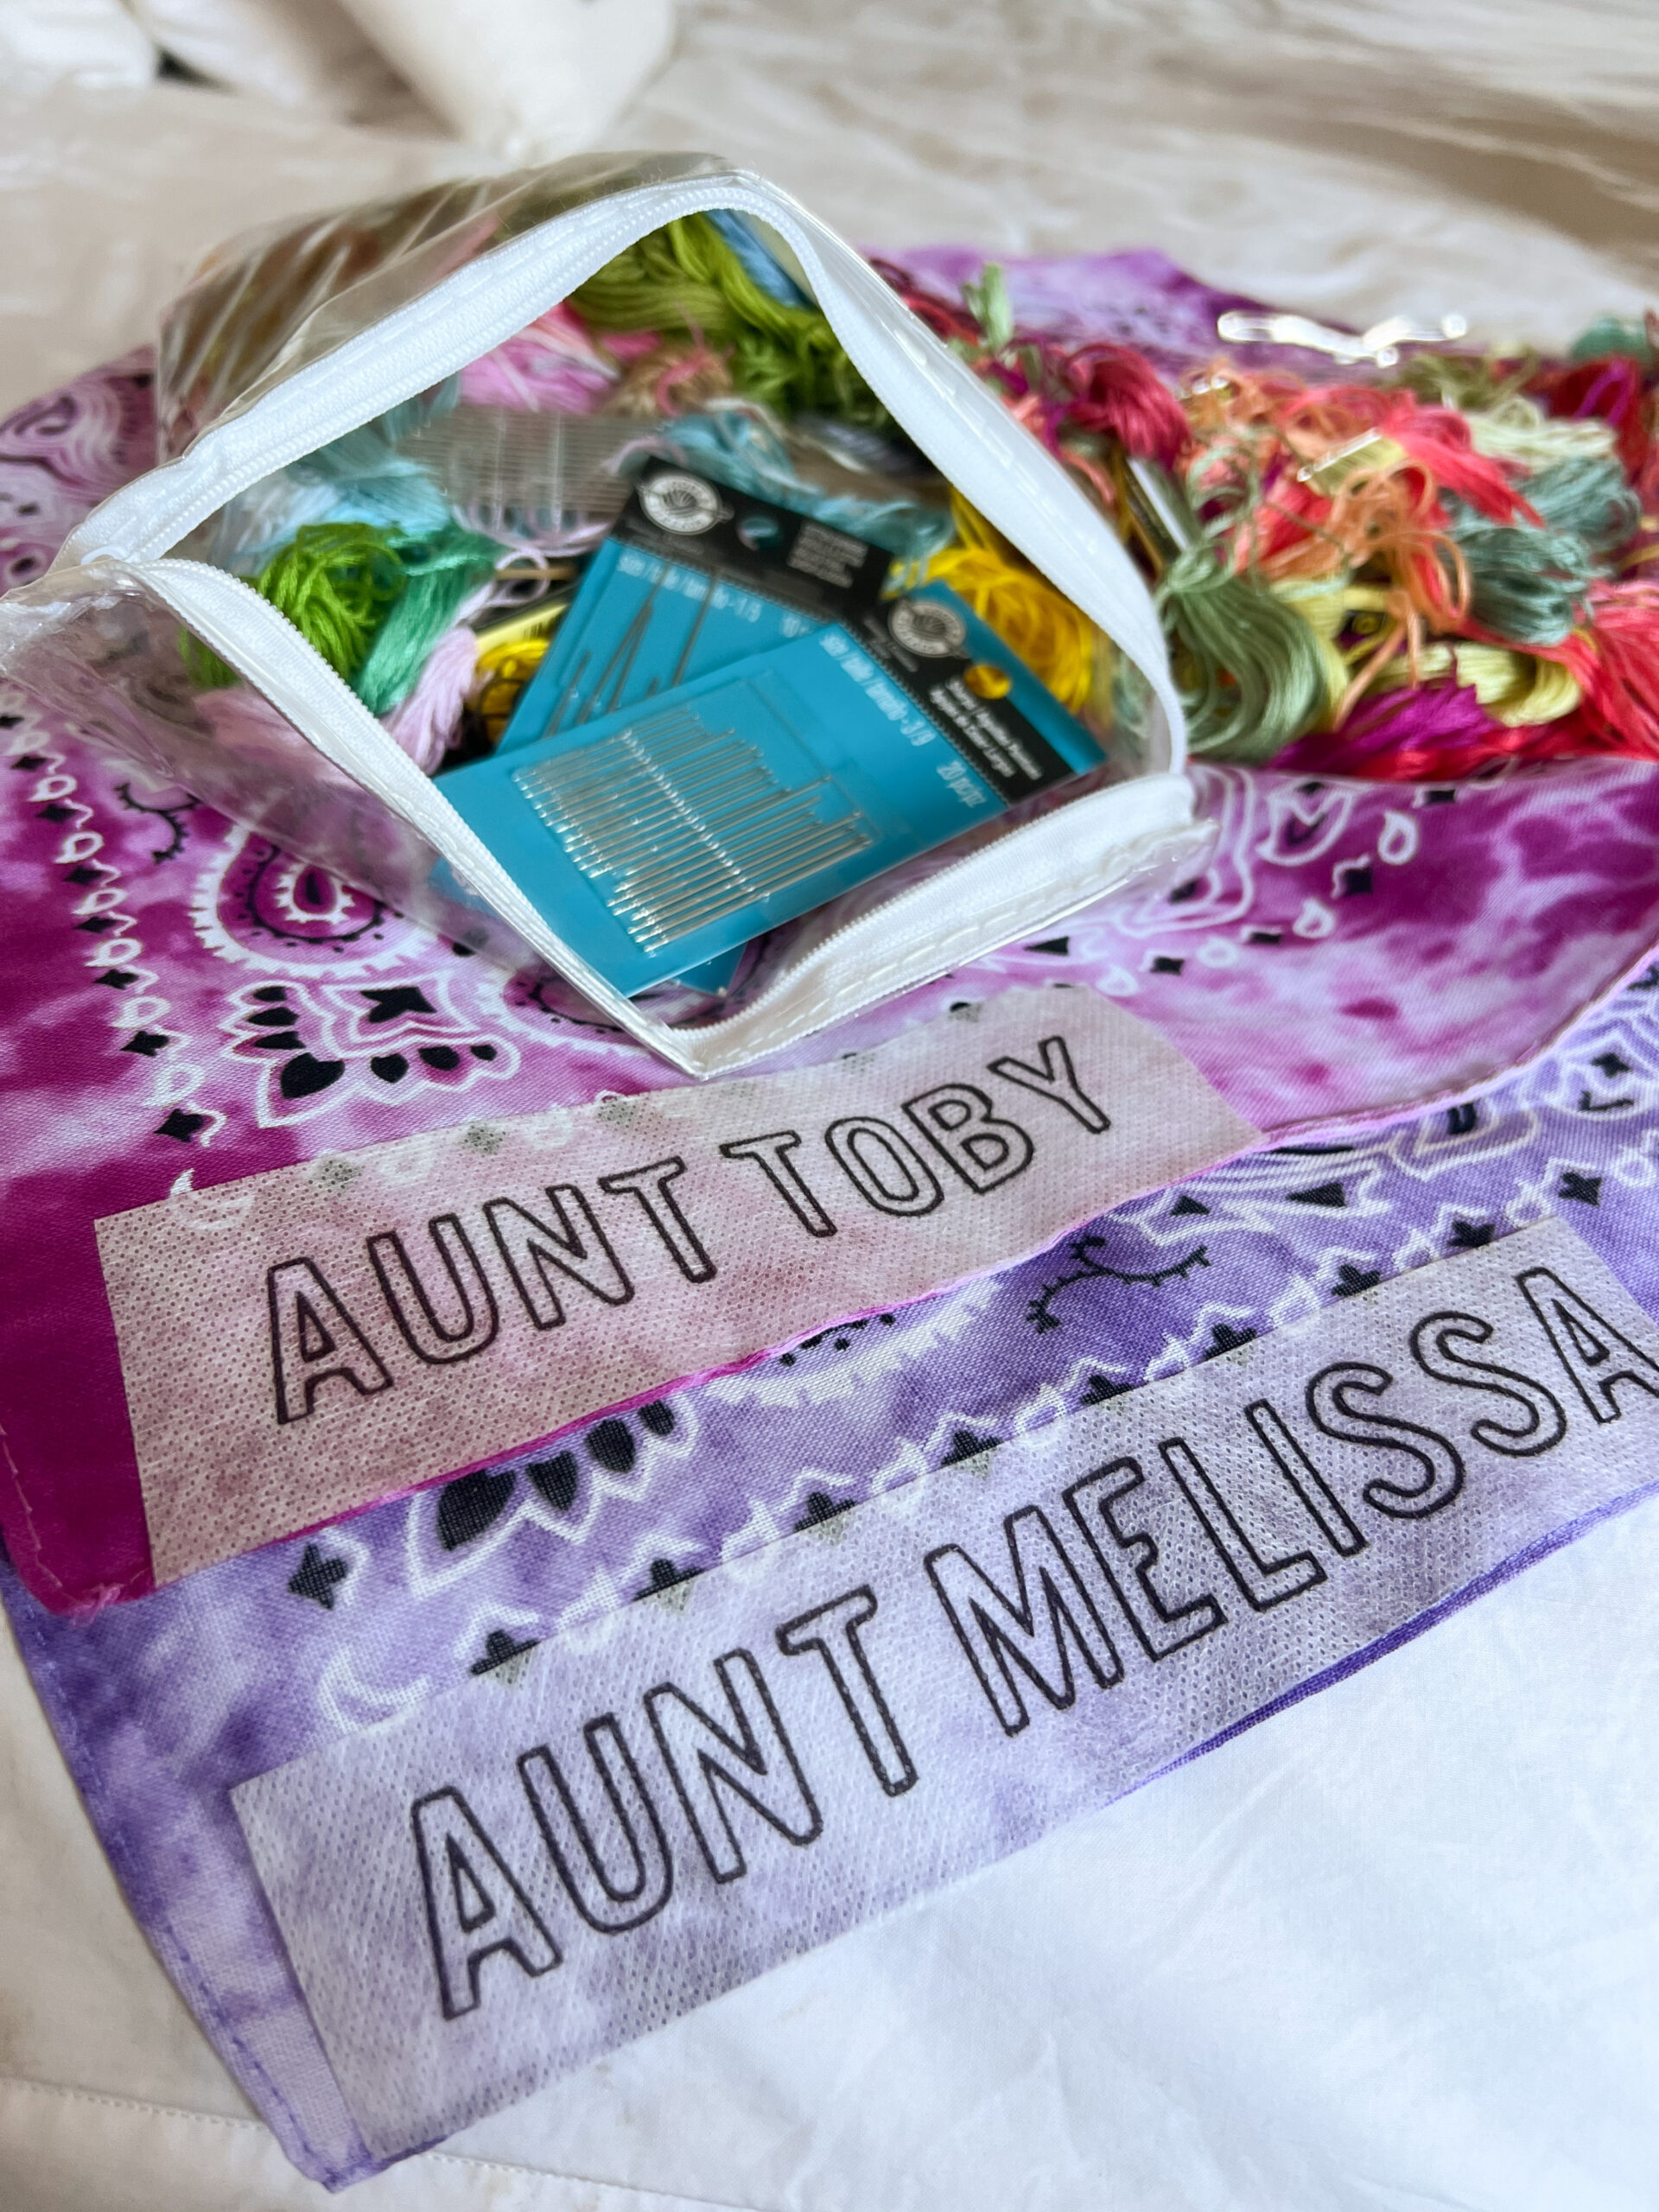
the supplies you need
You only need a few supplies and an afternoon with your needle and embroidery thread, and you'll be ready to make your sweet announcement.
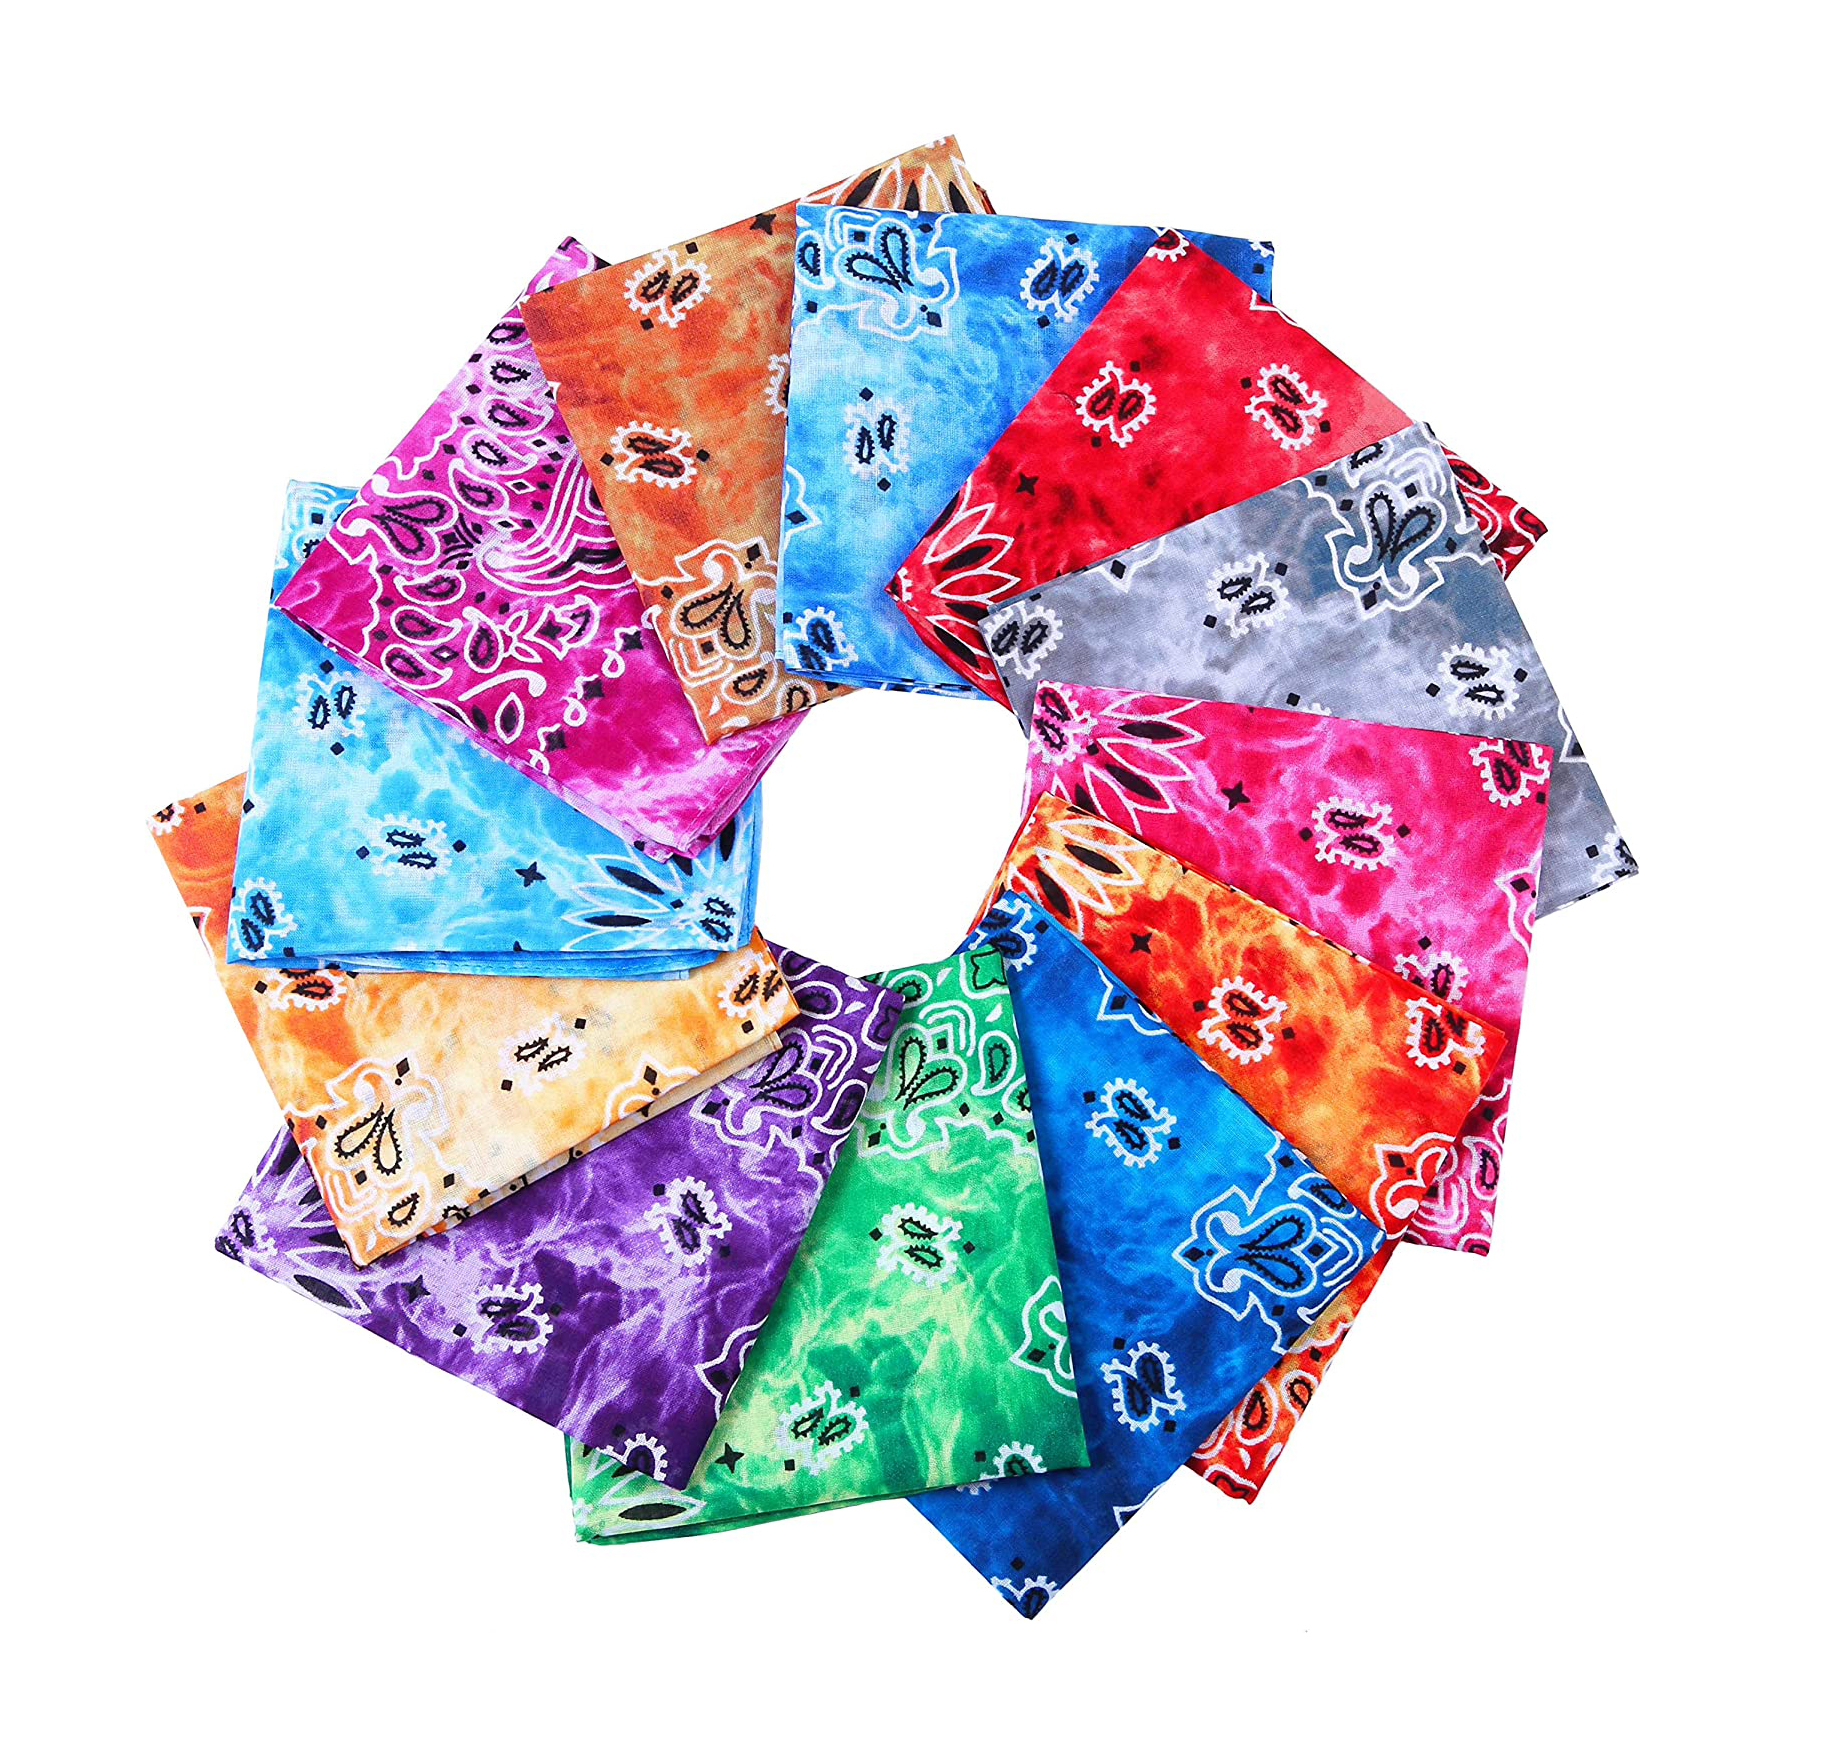
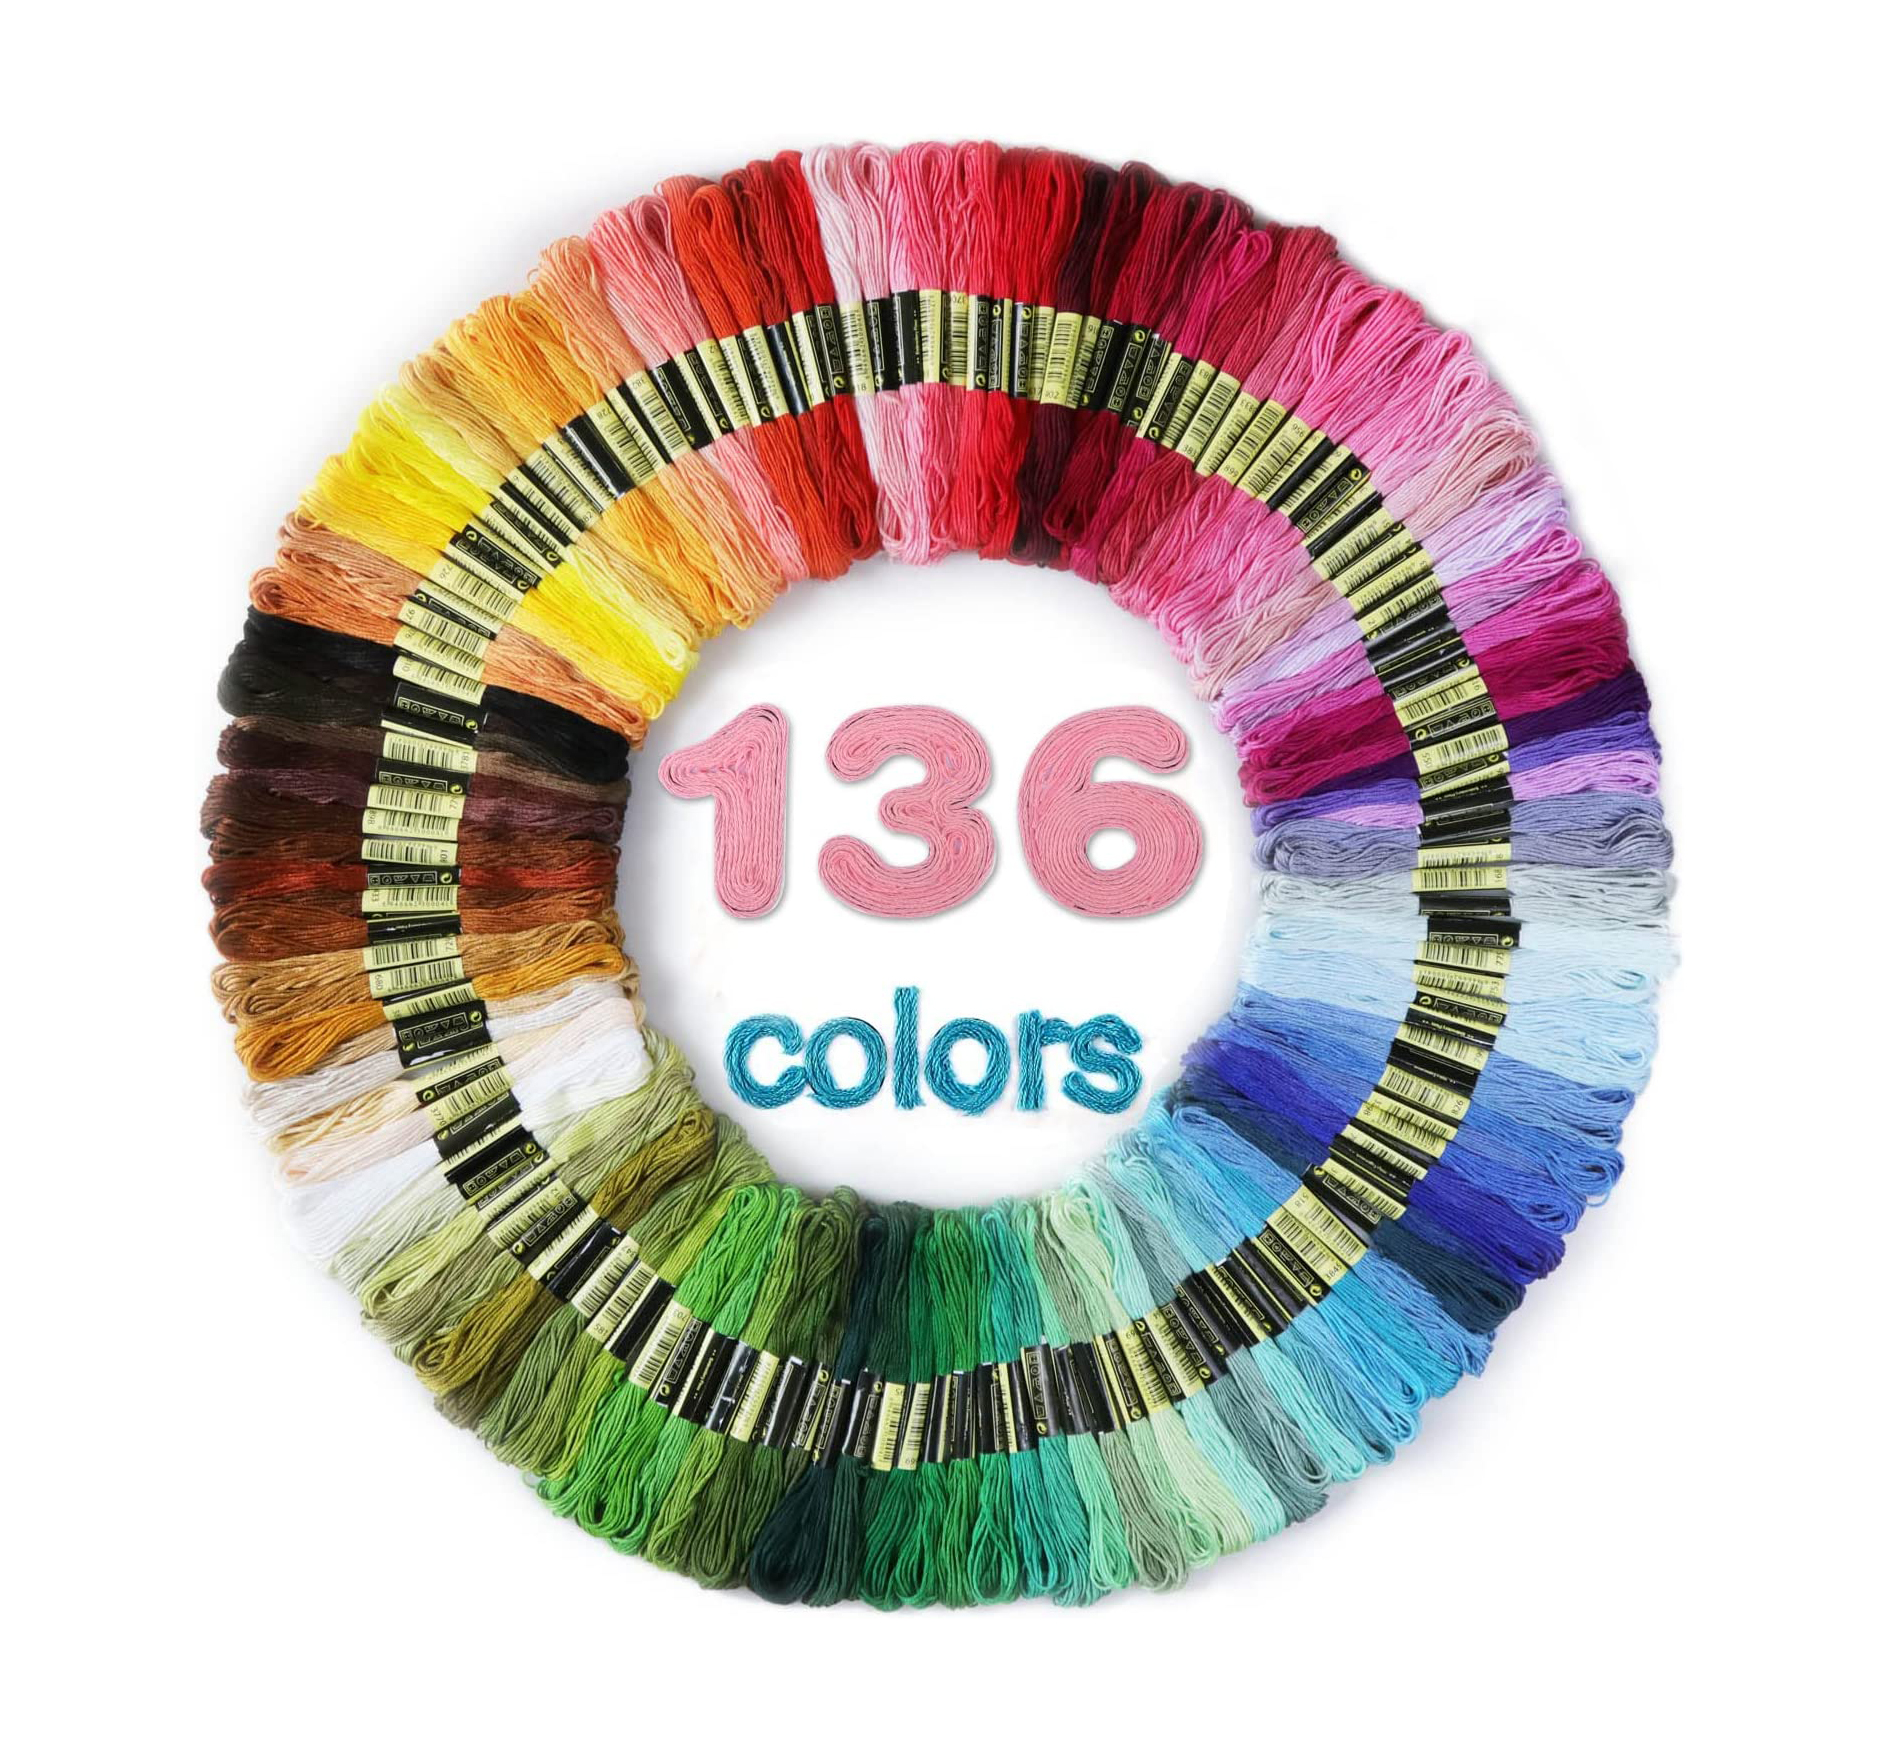
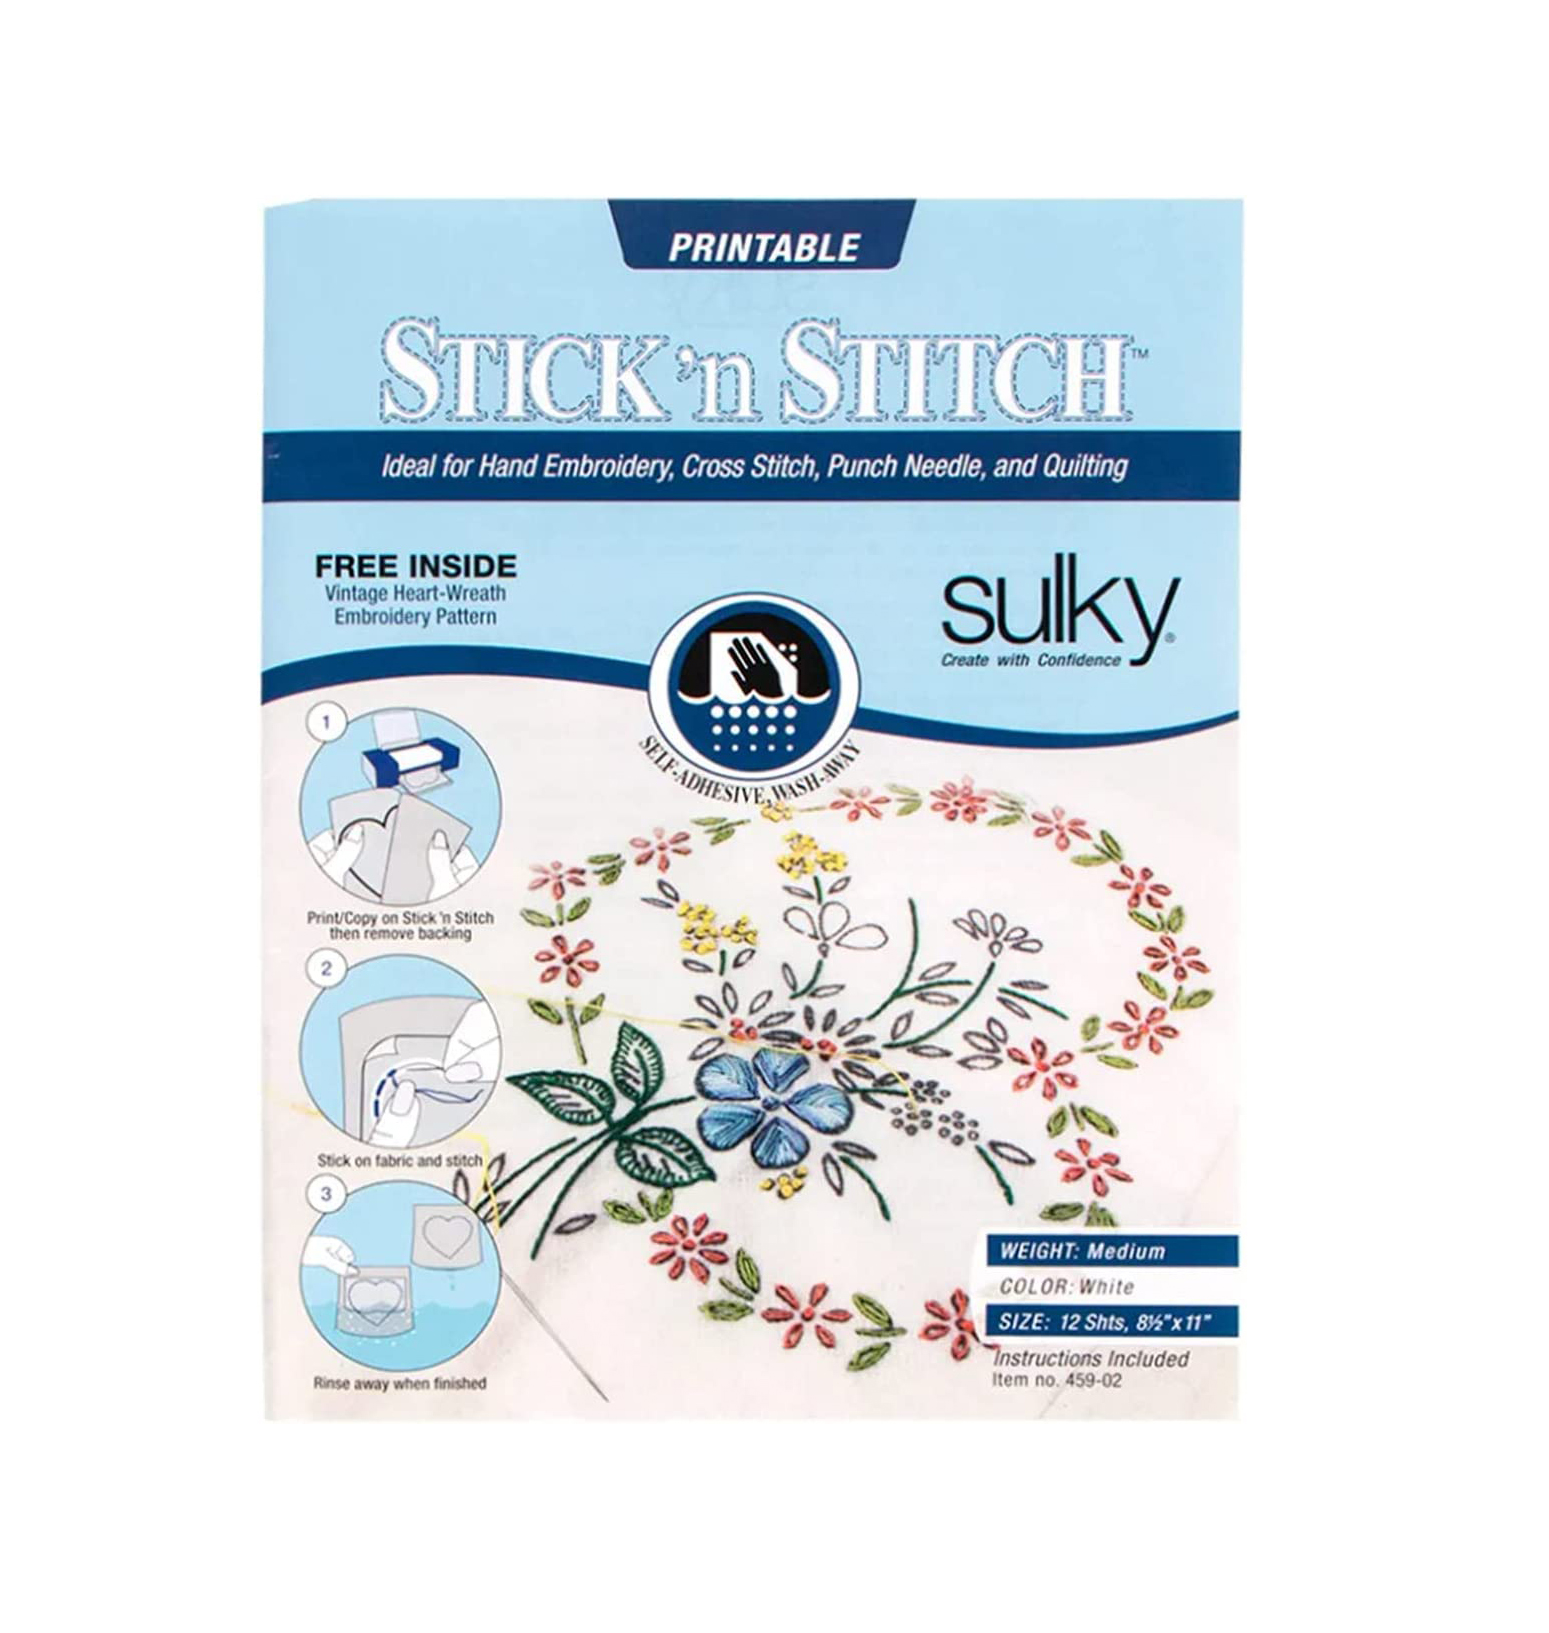
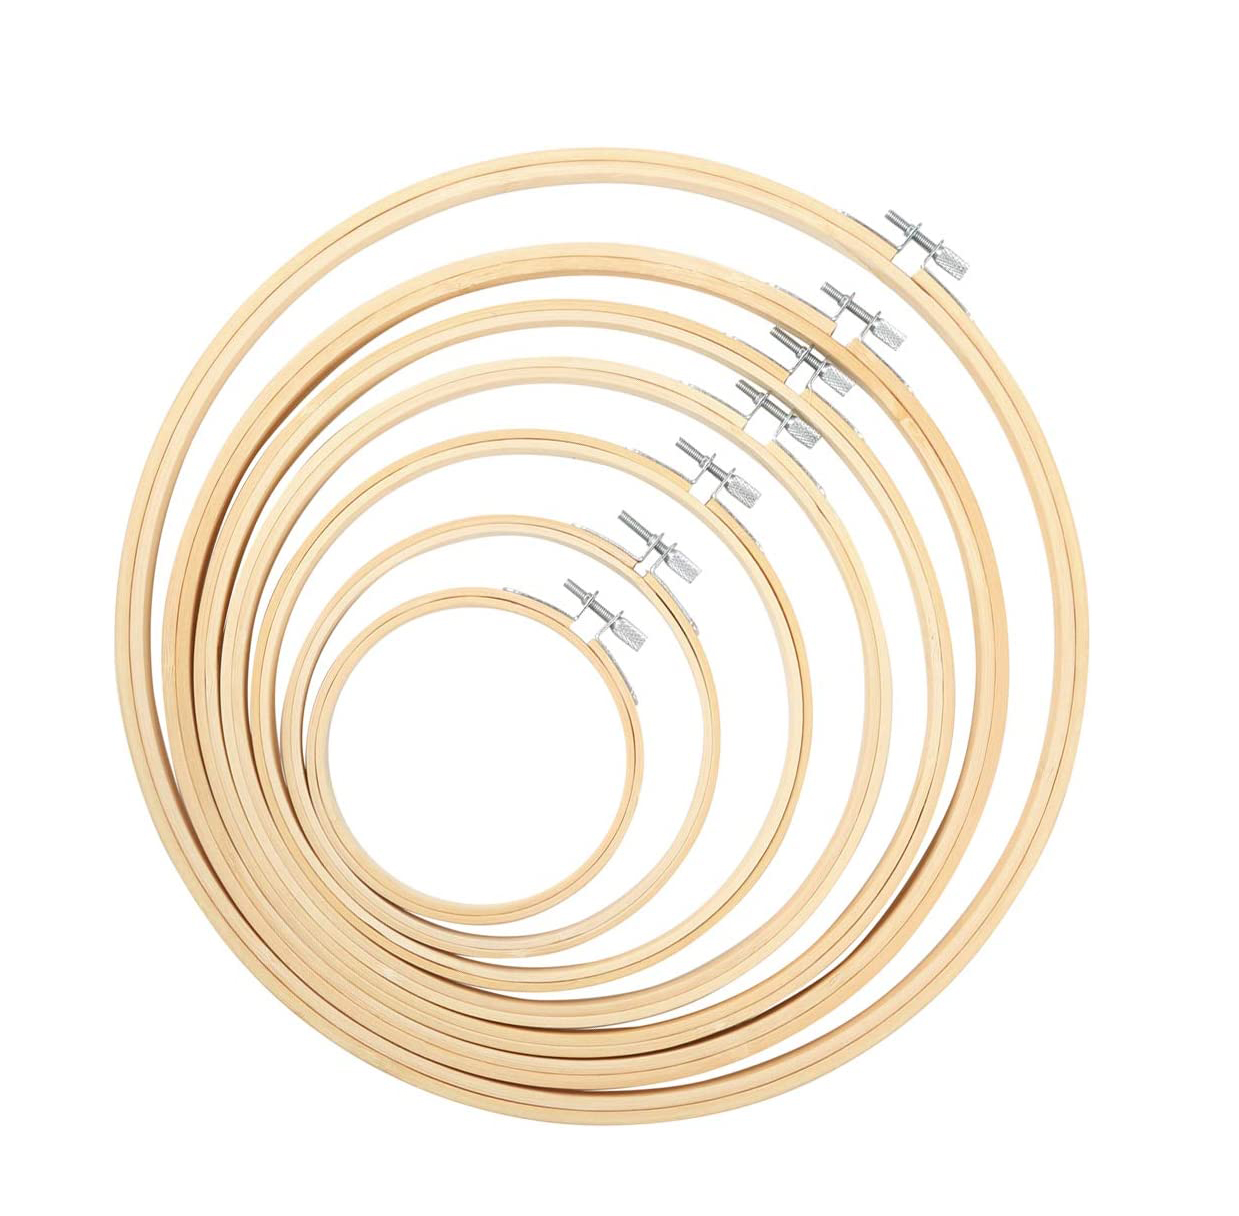
I used these supplies to create my embroidered bandanas for my pregnancy announcement.
prepare your bandana for embroidery
- Wash the bandana. When it's brand new, it will be very stiff and rigid. Washing it will make it softer and easier to work with.
- Fix the bandana into the embroidery hoop. Make sure it's tight and secure. Watch this video to learn how to put the fabric into a hoop.
CREATE A GUIDE WITH STICK AND STITCH PAPER
- Use Canva to find a blocky font. The blockier the font, the thicker the embroidered letters will be. (The letters won't be as visible if the font is too dainty.) I used this premium font. (You can import custom fonts into Canva.)
- Type out the name(s) you want to embroider on an 8.5 X 11" canvas.
- Print from Canva directly onto a Stick 'n Stitch sheet.
- Trim the paper around your letters leaving 1/4" - 1/2" border.
- Next, remove the backing and stick it onto your fabric wherever you want your embroidered name. (I suggest the edge.)
Stitch your letters onto your bandana!
- Lay out your colors for each letter before you start. I selected contrasting colors so the letters stood out on the bandana background.
- I used a simple straight stitch with doubled embroidery thread to quickly fill the space inside the letters.
- Embroider the letters from left to right so your hand doesn't keep brushing completed letters. (Unless you are left-handed.)
- Be sure not to pull the thread too tight, or it will cause the fabric to buckle.
- Double-knot the thread when you complete each letter and trim any excess thread.
- When you finish embroidering, rinse away the extra Stick and Stitch paper. It will melt away; it's so cool!
- Lay the bandana flat to dry; iron on low heat if necessary.
PUT SOME finishing touches on your DIY pregnancy ANNOUNCEMENT
Remember to wrap the embroidered bandana before you gift it. I folded my bandanas into squares and used embroidery thread to wrap them like a present, with a bow on top. Then, I put each in a round metal tin and filled the tin with confetti.
It took a little time for my sisters to unwrap their bandanas by wrapping them this way, which helped build the excitement.
NO TIME FOR EMBROIDERY? CONSIDER THE No sew OPTION
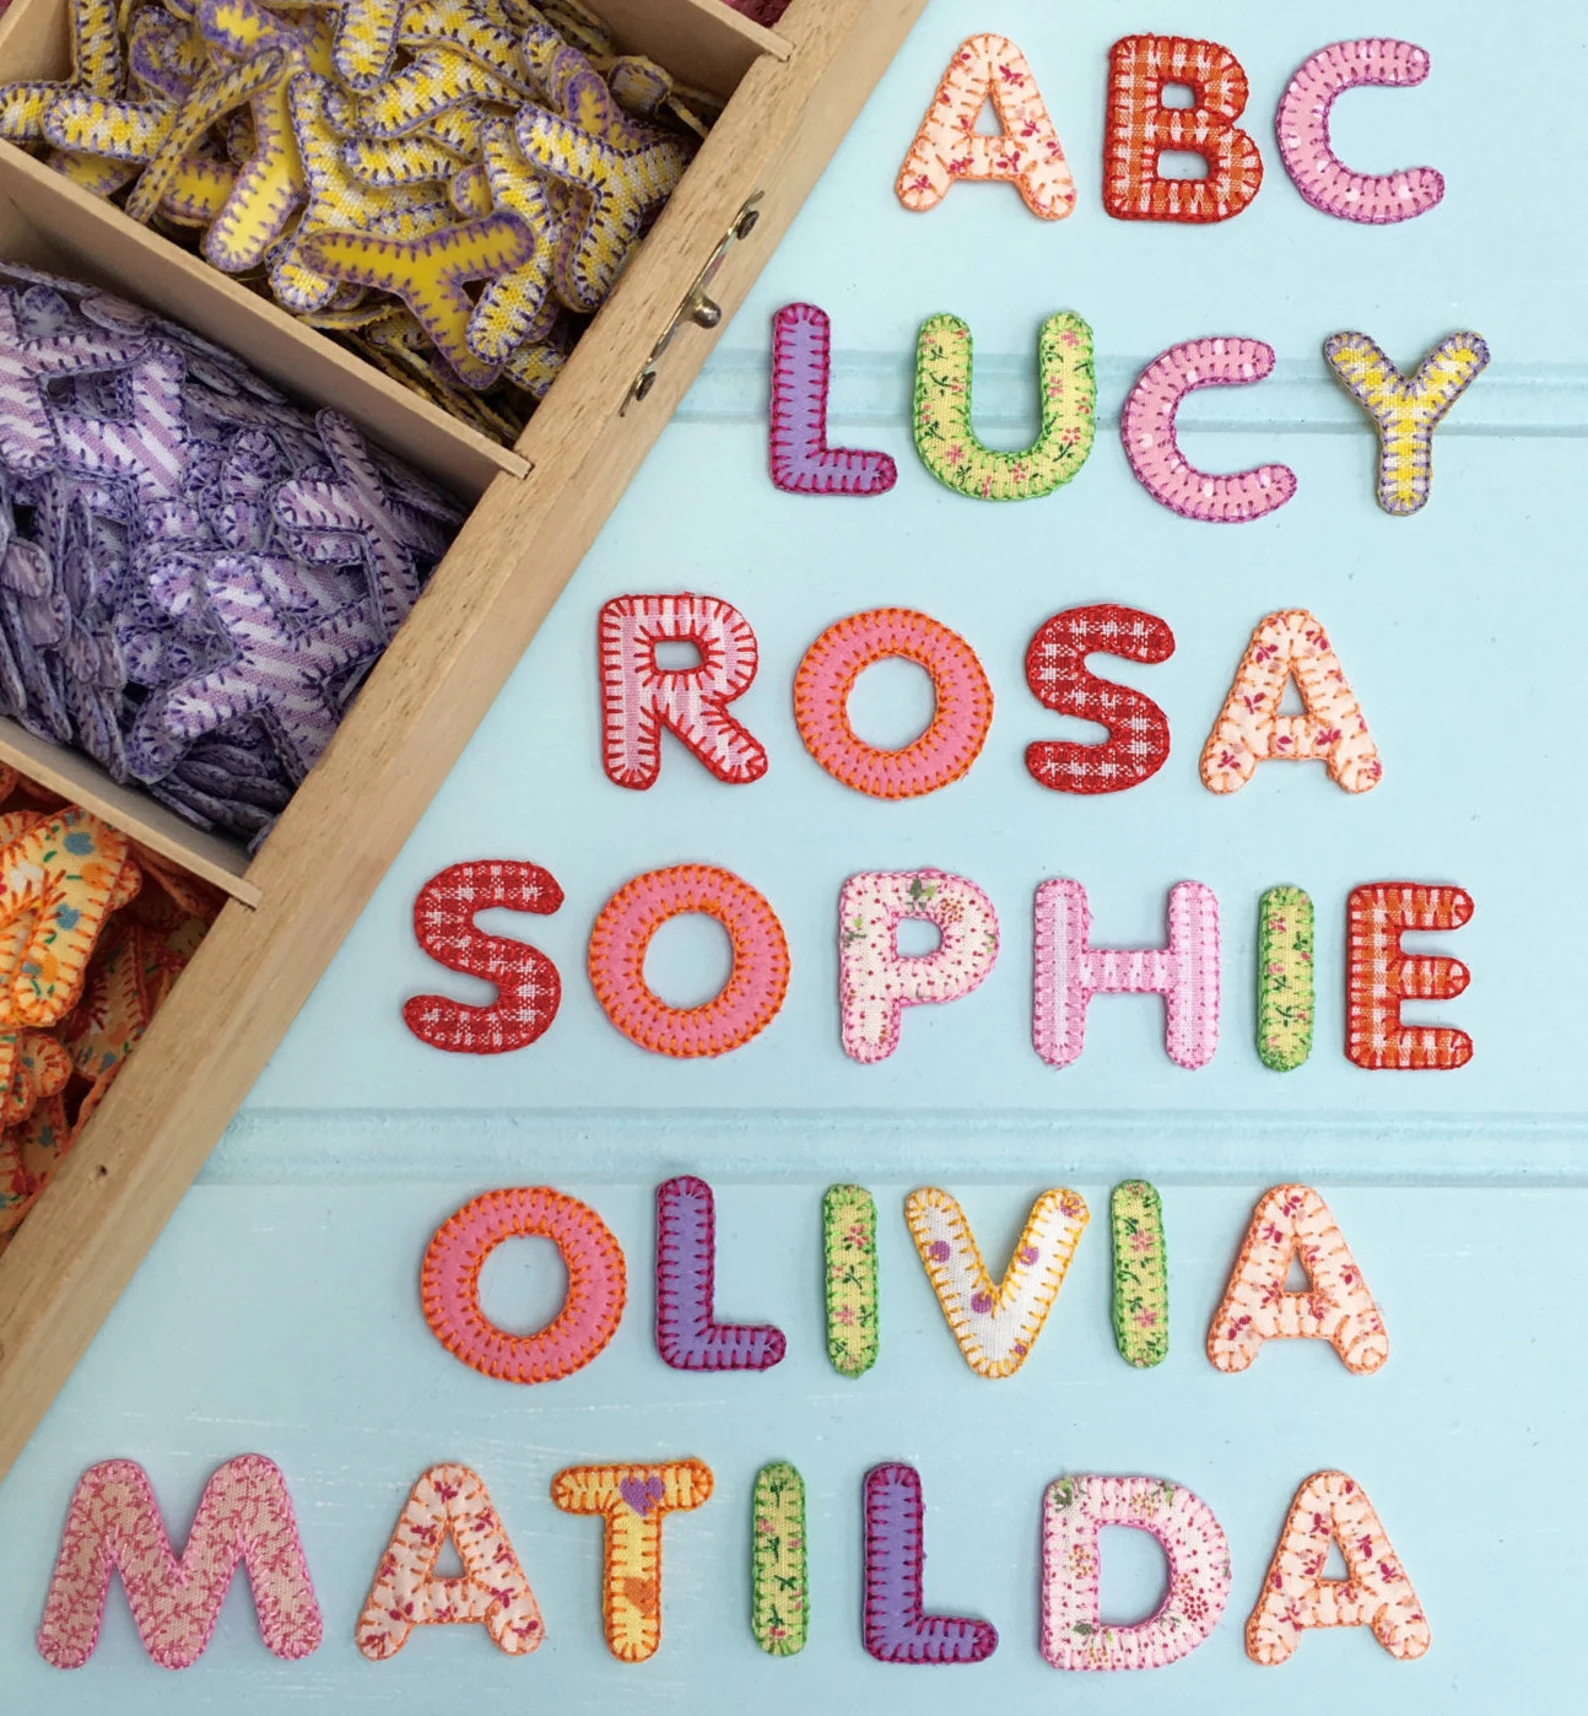
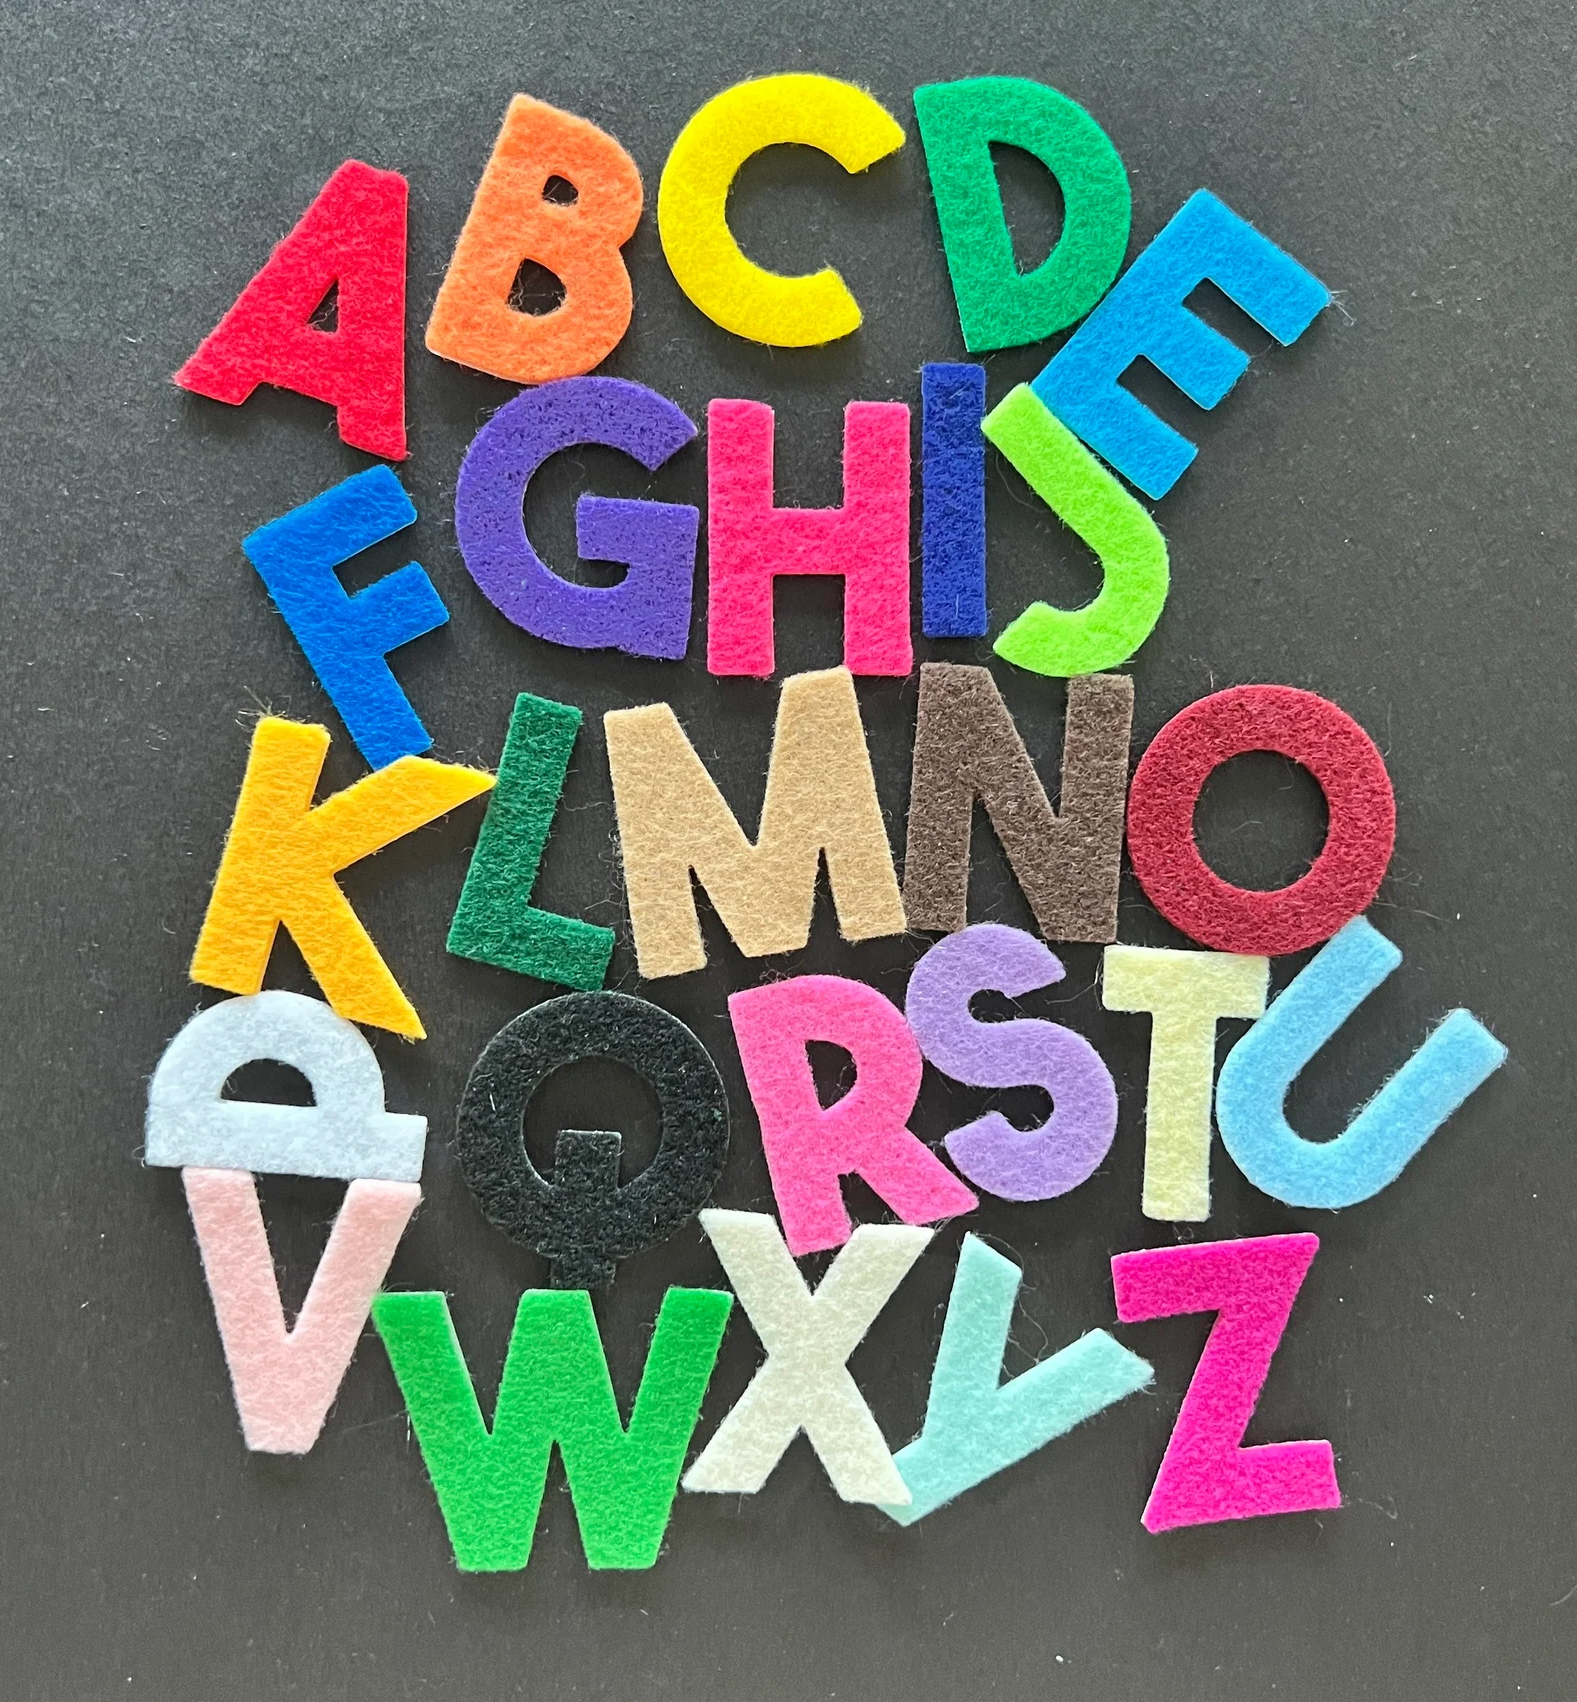
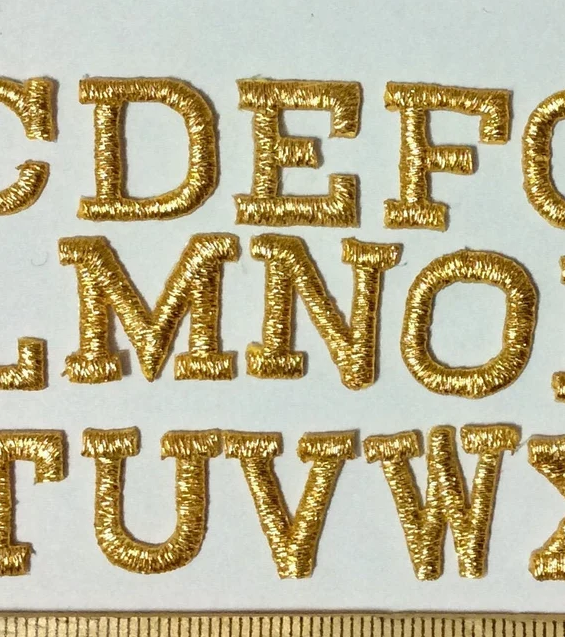
If you prefer a faster solution to the embroidered letters (or if you love this DIY idea but don't love embroidery), use embroidered iron on patchwork letters instead. Each shop has directions on how to apply the letters to the fabric.
Make sure to CAPTURE YOUR pregnancy announcement ON VIDEO
I'm so glad I secretly filmed my sisters' reaction with my iPhone. It's a video I love to rewatch. Their reactions are priceless and mean so much to me. I can't wait to show the video to my daughter one day.
I hope you can film your announcement too. It's a moment you will treasure forever.
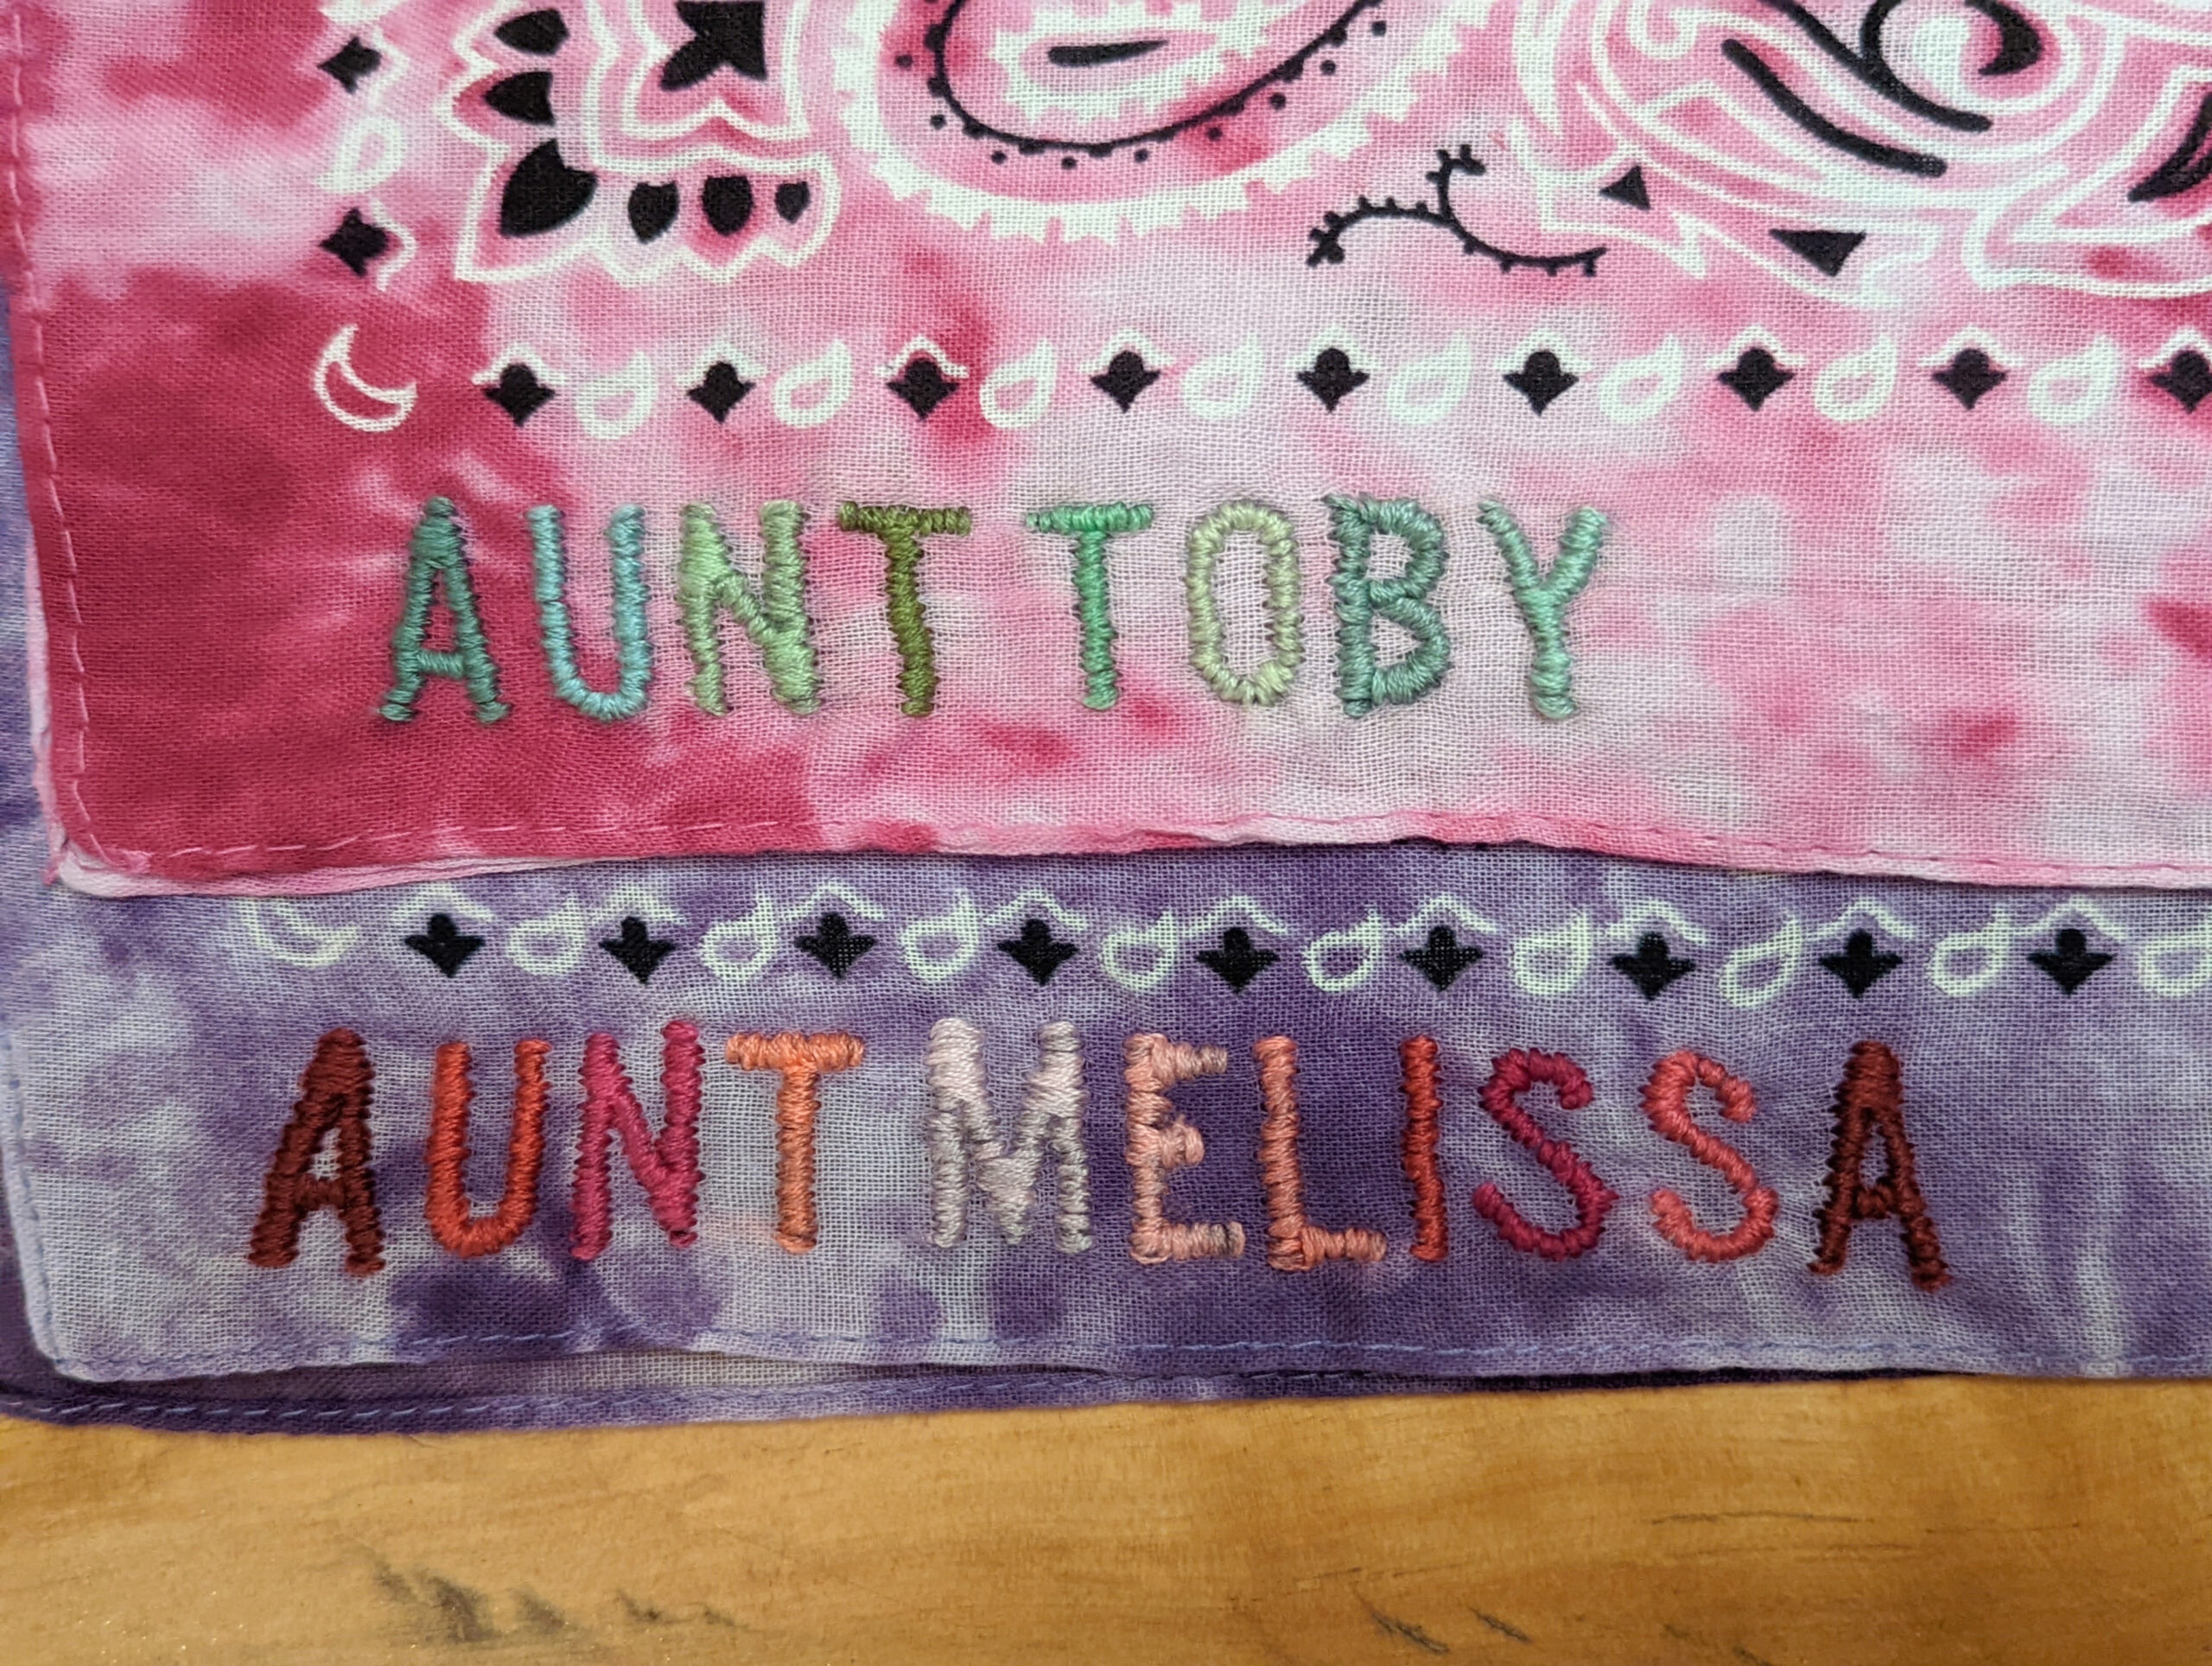


THIS POST WAS ALL ABOUT A DIY PREGNANCY ANNOUNCEMENT WITH AN EMBROIDERED BANDANA
If you're reading this, chances are you are pregnant. So congratulations, I hope you are feeling good! And I hope this post inspires you to do a special DIY pregnancy announcement.
MORE POSTS YOU'LL LOVE
This post may contain affiliate links, which means I'll receive a small commission if you purchase through my link. Please read full disclosure here.
