Want to learn how to make DIY name place cards?
I made these name place cards inspired by Almost Makes Perfect’s DIY calligraphy place cards.
Instead of calligraphy with a paint pen like Almost Makes Perfect suggests, I had my Silhouette Cameo in mind for this project from the start.
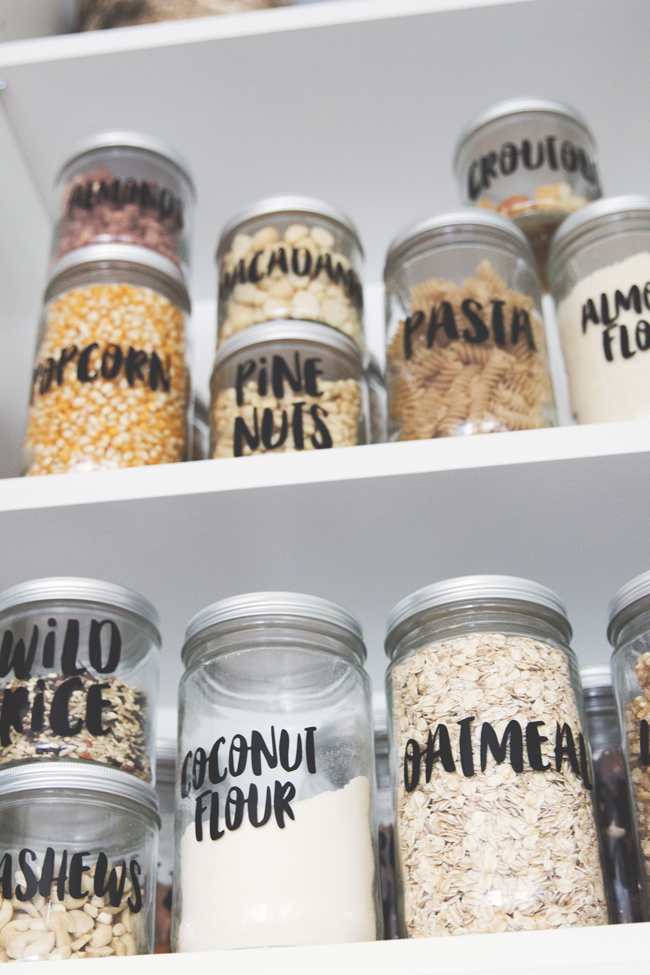
(I still love my pantry labels and how easy it is to cut and stick beautiful handwritten font on essentially anything!)
Once the acrylic rounds arrived, it took me TEN MINUTES to do six name place settings. I kid you not. Quickest DIY in DIY history.
How to Make DIY Name Place Cards

SUPPLIES YOU NEED FOR DIY NAME PLACE CARDS
- Silhouette Cameo cutting machine (or similar)
- Vinyl with adhesive backing (I used this black one)
- Clear Acrylic Plexiglass 6″ disks (see other sizes found here)
- Transfer paper to quickly transfer the cut names onto each disk

DIY NAME PLACE CARDS instructions
- Select a font in Photoshop or Canva, and create a name file for each place setting.
- Save each as a PNG file with a transparent background.
- Import the PNG files into the Silhouette software (or similar) and size them to the exact size you want on the acrylic disks.
- Load your cutting mat with black vinyl.
- Send it to your machine to cut with appropriate cut settings.
- Unload the media.
- Peel back the excess vinyl around each cut name.
- Use contact paper to transfer the names onto each round plexiglass.
If you don’t have a Silhouette, I strongly recommend investing in one for endless DIY possibilities!

What Font to use?
You will want to use an opaque, solid font. Don't use a brush font because it won't translate with a machine cutter.
Choose a font with some weight to it. A lightweight font looks elegant, but it will likely be harder to see the letters.
Here are two premium fonts I recommend for this project below. (I used the Amberlight font for my name place cards.)
Amberlight FONT

Hundergad FONT


Occasions to TRY NAME place CARDs
Here are some special occasions when it might be fun to make these name place cards:
- Birthday dinner party
- Holiday meal
- Bridal or baby shower
- Engagement party
- Celebratory brunch
BENEFITS OF USING NAME PLACE CARDS
- It allows for clarity over where people should sit.
- They are easy to reuse for more holiday meals.
- Guests can take them home as a keepsake.
- It takes only a few minutes to create but massively up-levels your table!

I hope you enjoy making these DIY name place card for your next big meal. Be sure to check out more entertaining ideas:
9 Tips for Hosting the Ultimate Birthday Dinner Party
How to Arrange Flowers Like a Professional
How to Put a Picture on a Cake – Everything You Need to Know
MORE POSTS YOU'LL LOVE
This post may contain affiliate links, which means I'll receive a small commission if you purchase through my link. Please read full disclosure here.