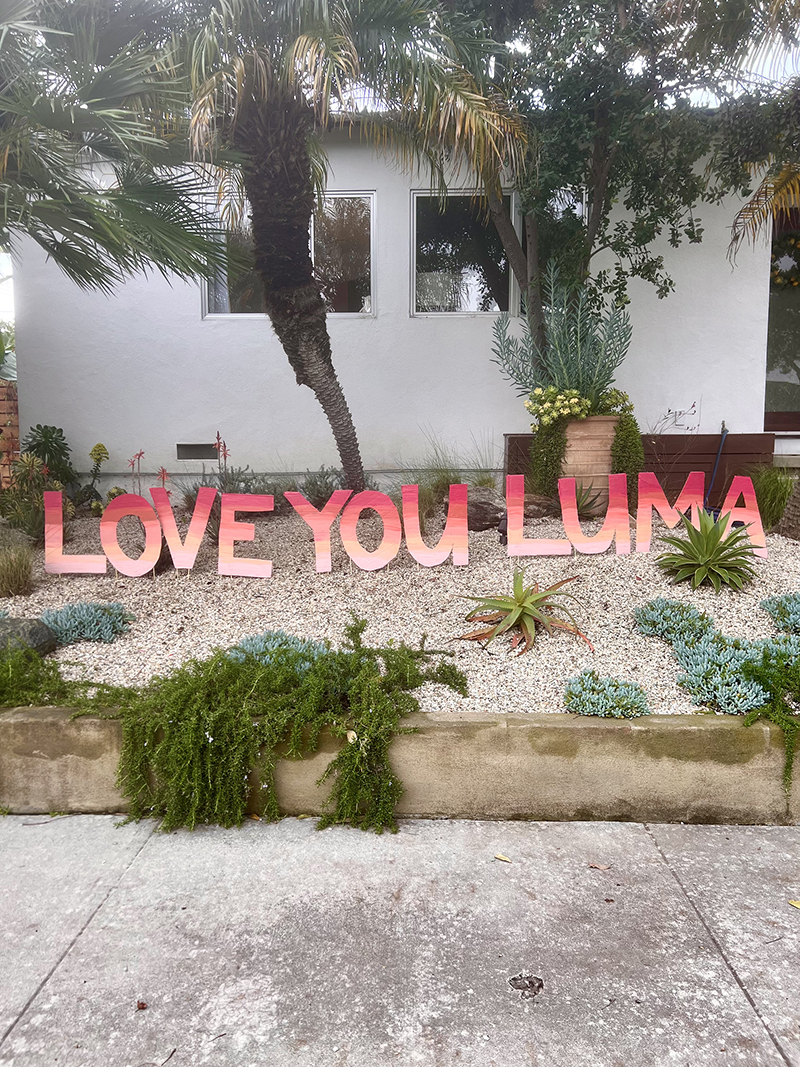


I created this DIY yard sign to welcome my new niece home from the hospital a few months ago. (Hooray, I'm an Auntie!)
I wanted to surprise my sister and brother-in-law when they came home from the hospital with something they would never forget.
Also, I wanted my niece, Luma, to see a picture of this sign one day and feel the immense love and celebration we all felt when she was born—so much joy that we shared it with the entire neighborhood. 
I already had all the supplies, so it cost me $0.00 to make! I hoarded large Amazon boxes for many weeks before her arrival, but otherwise, it only took me a few hours to complete.
This yard sign is one of my favorite new DIY projects. I recommend it from a DIY perspective; it's easy and quick. And if you enjoy surprising people you love, this project is for you!
This post is all about how to MAKE A DIY YARD SIGN
Why make DIY Yard sign?
1. IT's an easy (AND cheap!) surprise for any occasion
DIY yard signs are a great way to surprise someone special for their birthday, graduation, or any other special event.
Not only are yard signs a creative gift idea, but they’re also surprisingly easy and inexpensive. You only need a few supplies. (See below for the full tutorial.)
You don’t need to be an advanced artist to create a beautiful personalized yard sign that will make your loved one feel special.
You can make the sign as simple or elaborate as you want, all while staying low-cost.
Plus, you'll be satisfied knowing you made it yourself – a truly unique gift.
2. You CAN PERSONALIZE any message or name
You can create a yard sign that is fully personalized by adding a name or custom message. Create as many letters as you need in whatever sizes, colors, and styles you see fit.
Additionally, it can be fun to show off your creative side and customize any yard for different reasons, seasons, or holidays.
3. reuse THE SIGN each year if you like
Reusing your DIY yard sign can be a great way to create a tradition, save money, reduce waste, and make a statement for years to come.
Whether you're a holiday decorator, environmental enthusiast, or just looking to decorate someone's yard with something unique, reusing your DIY yard sign can be a great way to make a lasting impression.
4. Make AN announcement in YOUR neighborhood
A yard sign is a perfect way to inform your community of a special celebration or an important event.
With a few simple materials and creativity, you can make a sign that stands out and shows everyone in your area that something important is happening.
Not only will it get the word out, but it will also be fun to make something that will make your neighbor smile.
MAKE A YARD SIGN FOR ANY SPECIAL OCCASION
- birthday
- anniversary
- retirement
- new baby
- engagement
- welcome home
- graduation
- holidays
- school sports
- promotions
- and more!
Materials needed fOR A DIY Yard sign
Instructions
1. Decide what your sign will say
I recommend being efficient with your letters. The more letters, the longer the project will take you. Also, be mindful of how big the yard is where you will put the sign. More letters need more space!
I chose "LOVE YOU LUMA" over "WELCOME HOME LUMA" because the former was four letters shorter, and I knew it would fit better in my sister's urban front yard.
2. Collect and flatten boxes
I saved large Amazon delivery boxes for several weeks. You will want larger boxes to avoid any creases in your letters.
You can buy several extra large cardboard boxes in an office supply store if you don't get many deliveries.
Use the sturdiest cardboard you can find; this will help your DIY yard sign endure the elements. If you use weakened cardboard, your letters are more prone to bend and fold if wind or rain contacts them.
3. Draw letters on your boxes
- Use a Sharpie so you can see where to cut.
- Make sure your letters don't extend beyond the creases, as this will make the letter less sturdy.
- Make sure all your letters are the same height. (I did all my letters about 18” tall.)
- I drew my block letters free hand, but if you need a guide, print letters out, tape them onto your cardboard and then trace them with a tracing wheel.

4. Cut out letters with A utility knife
- Always be careful and cut away from your body.
- Leave a flattened box underneath to protect the below surface.
- Clean any rough edges with scissors.
- I used the edge of a scissor (pictured below) which worked fine, but a utility knife will be the best tool for this job.


5. Paint frontside of THE letters
- Remove any stickers or tape so the paint goes on smoothly.
- If your cardboard has dark marks, you might need a second coat of paint to cover them (especially if using a light color).
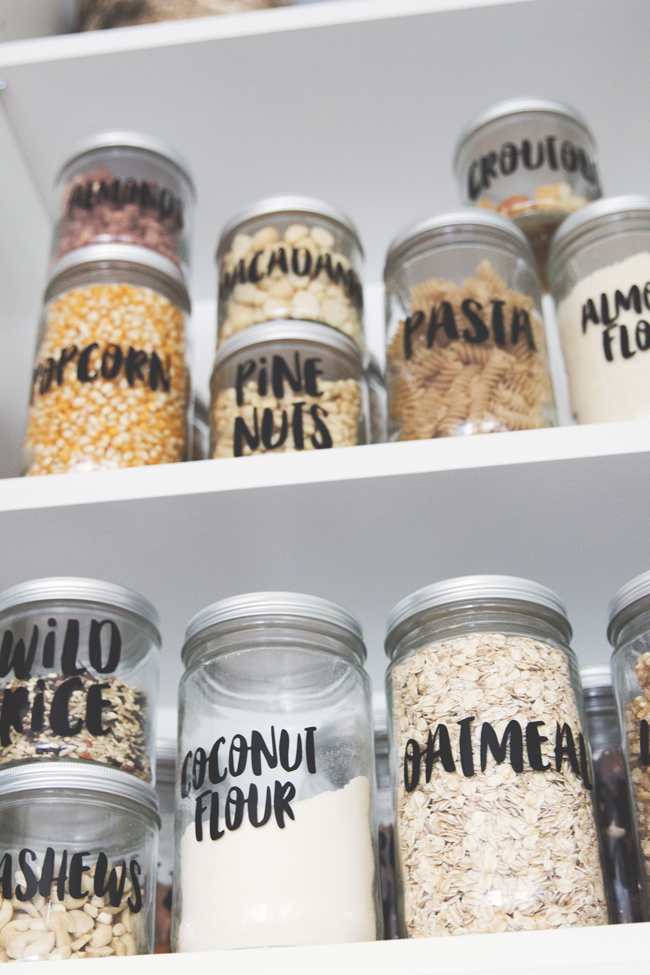
- I created an ombré effect by overlapping the paint colors below. I used Mondo Llama satin acrylic paints from Target. (I love these little jars of paint, be sure to check out my pretty paint organization post too.)


6. Let dry THOROUGHLY
Put cardboard pieces below your letters and give them ample time to dry before handling them.


7. USE a hot glue gun TO secure A skewer stick ONTO the back OF EACH LETTER
- First, ensure the skewer's pointed side is at the bottom. This side is the part that will be stuck into the ground.
- Measure half of the skewer, and glue the top half onto the bottom piece of your letter.
- Glue two skewers per letter for extra support.

8. Let dry and secure with tape
Brace the glued skewers with additional mailing or duct tape for extra support.

9. Place your yard sign
- Lay flat on the ground first to plan the spacing of the letters; leave about an inch in between the letters.
- Gently work the pointed ends into the soil, be careful not to push too hard and break the skewers.
- Step back and check how it looks; keep adjusting until it looks how you like it!


Hope you enjoy this fun DIY project. I know your yard sign will bring a lot of smiles to the neighborhood!
MORE POSTS YOU'LL LOVE
This post may contain affiliate links, which means I'll receive a small commission if you purchase through my link. Please read full disclosure here.