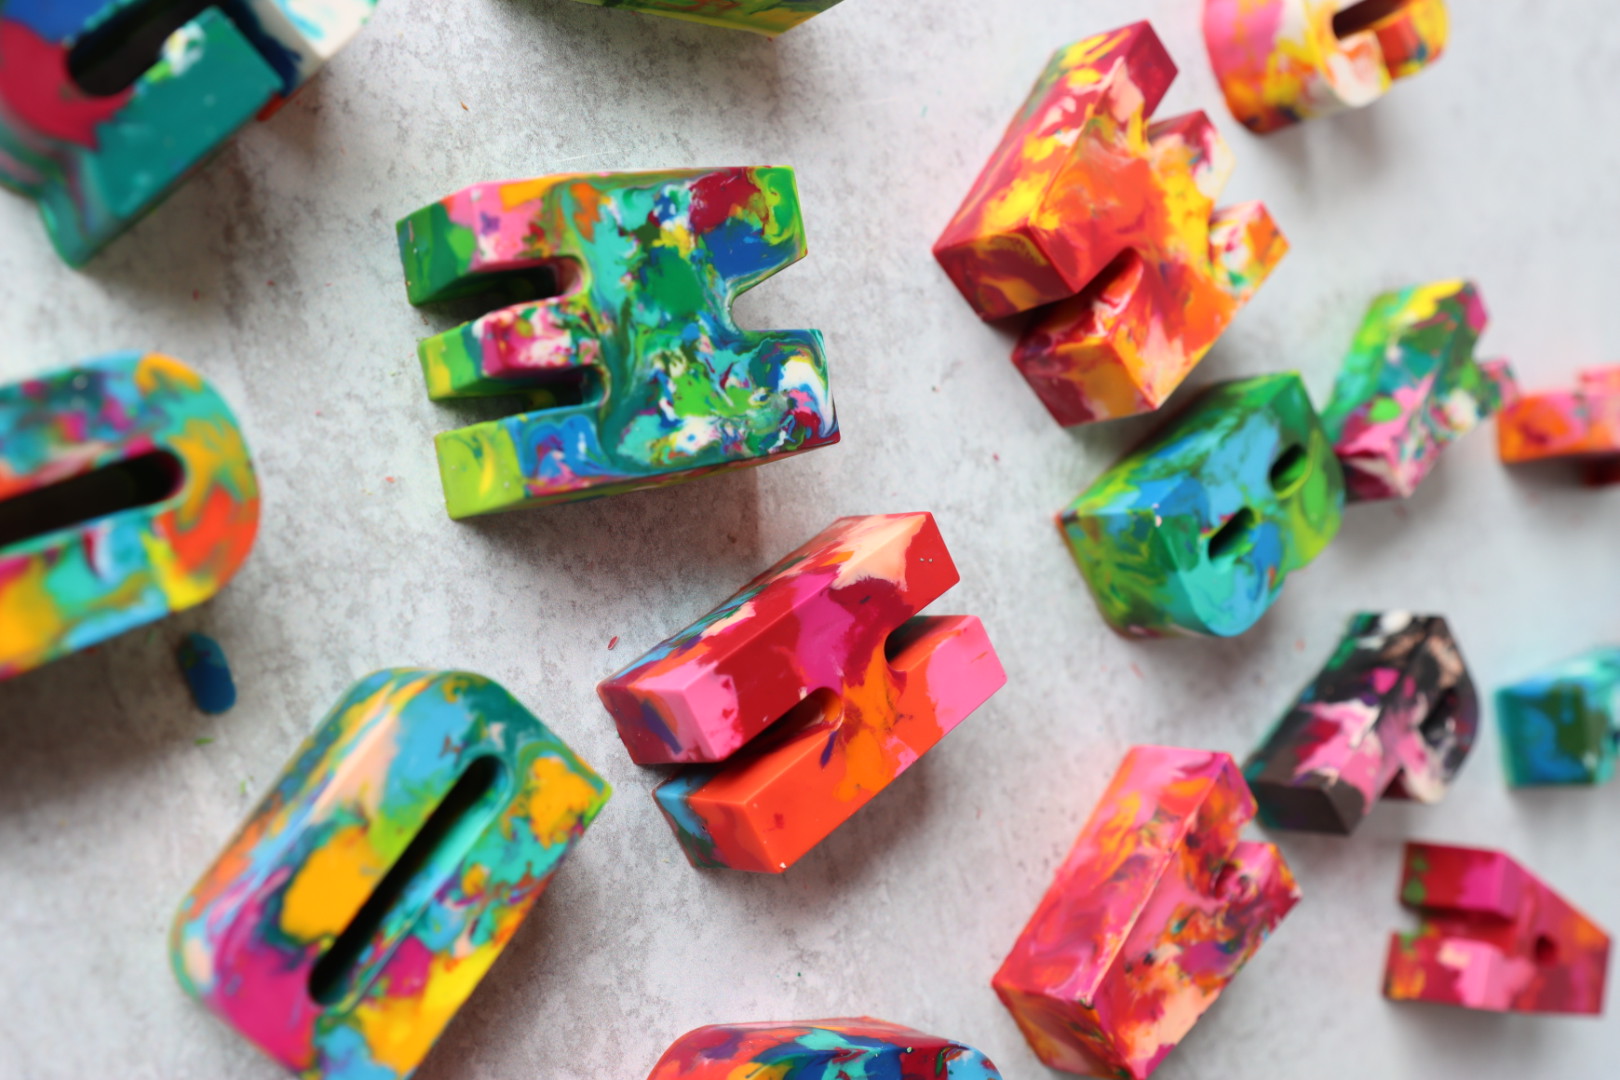


Want to learn how to make crayon letters? I saw this crayon name set on Etsy and immediately had to figure out how to make them.
They are easier to make than you might guess.
I wanted to learn how to make them for my daughter to play with, plus they'd make great handmade gifts for other kids, too.
The results of this project exceeded my expectations. Read on to learn the best method to make crayon letters for your little one!
READ ON TO LEARN HOW TO MAKE AMAZING CRAYON LETTERS

Supplies NEEDED TO MAKE CRAYON LETTERS
- Unwrapped bulk crayons set (removing the wrappers off of Crayola crayons will make your fingers soon hurt! Trust me, get the pre-unwrapped ones)
- Alphabet silicone mold
- Old baking sheet
- Sharp knife
- A cutting surface like an old cardboard box
STEP-BY-STEP InSTRUCTIONS
STEP 1 - PREHEAT OVEN
Preheat oven to 275 degrees.
STEP 2 - REMOVE CRAYON WRAPPERS
If you didn't purchase pre-unwrapped crayons like I did, your first step is to remove the wrappers from your crayons.
Wrapper removal can take great patience and hurt my nails after a while, so I recommend buying the unwrapped set!

STEP 3 - SELECT COLORS FOR EACH LETTER AND CHOP
Pull several colors for one letter, line them up together, and, using a sharp knife, chop them into small pieces.
(Your cutting surface will see some crayon markings, so I recommend cutting on top of a piece of cardboard.)
How you chop your crayons is an essential step for the final result. The smaller the pieces you cut, the more interesting the marbling of the crayon letters will look.
You will see less marbling if you use mostly larger pieces.
I cut my pieces about 1/4" long.

STEP 4 - PLACE ALPHABET MOLD ON AN OLD COOKIE TRAY
Before the next step, you will want to place your alphabet mold onto an old baking sheet.
Do this now so you don't have to pick up the alphabet mold and transfer it when it is full of crayon pieces that can spill out.
I suggest using an old tray because you will likely melt wax on it. It's easy to clean off with hot water, but you might want to avoid eating food off of it afterward.
STEP 5 - FILL LETTER CAVITIES WITH CHOPPED CRAYON PIECES
Next, fill each letter with your chopped crayon pieces. Be sure to mix plenty of colors to create attractive marbling. Gently press down on the pieces to best fill the cavities.

STEP 6 - PLACE IN OVEN UNTIL CRAYONS ARE MELTED
Bake the crayons for about 10-15 minutes at 275 degrees. Keep an eye on how they melt, as all ovens and crayons differ.
STEP 7 - LET COOL AND REPEAT PROCESS
Remove the tray once they are melted. You will find that once melted, the crayons only fill about halfway to the top of the mold.
For awesomely thick crayons, let the wax cool, and then fill them with more chopped crayon pieces again and cook for another 10-15 minutes. Remove from oven and let cool again.
When you remove it from the oven the second time, the wax will be filled to the top of the mold!

STEP 8 - LET COOL AGAIN AND CAREFULLY REMOVE CRAYONS FROM EACH LETTER MOLD
Don't try to remove the letters if they are still warm. Let the crayon letters cool in the mold for several hours.
You might even put the mold in the fridge to speed up the cooling process.
Be very gentle when removing each letter from the mold. (The "U" cracked for me, and I had to redo it!)
Enjoy YOUR NEW HANDMADE CRAYON LETTERS
Some more crayon letter ideas:
- Make them for your little one to color and play with
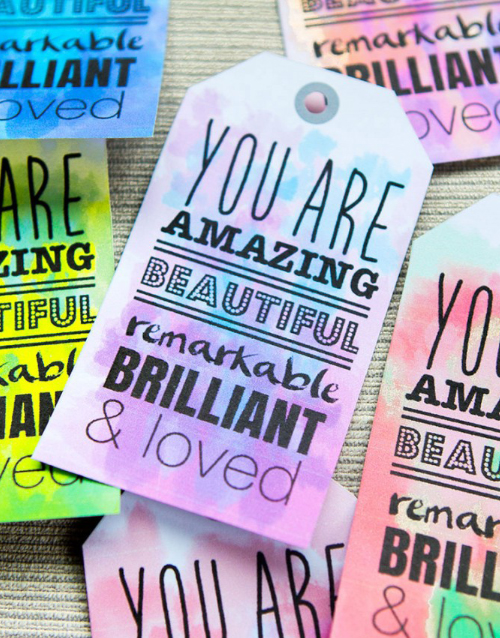
- Offer them as favors at a birthday party
- Gift them to a new mom
- Try this DIY project with your child


I gifted the letter crayons in this cool square tin box!
MORE POSTS YOU'LL LOVE
This post may contain affiliate links, which means I'll receive a small commission if you purchase through my link. Please read full disclosure here.