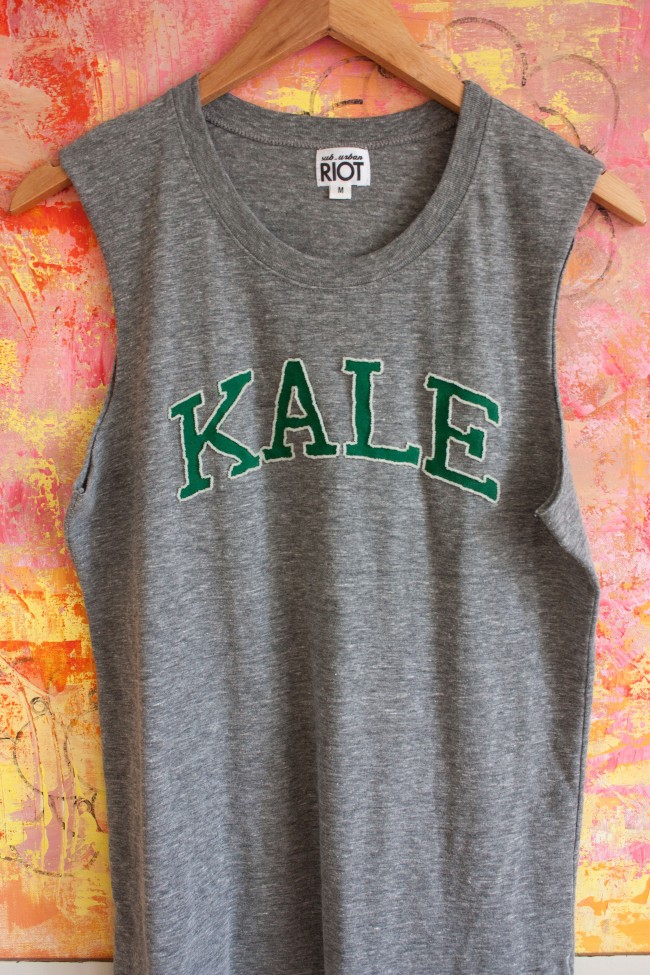


Looking to learn how to create a beaded t-shirt?
As a former fashion designer, I often get "itchy fingers" to get a needle and thread back in my hand.
I love to alter my existing wardrobe in creative ways, and of course make new pieces too (like my custom wedding dress!).
This beaded embroidery project is a quick and easy one that you could do in single evening while watching your Netflix show.
I love the subtle detail and dimension it adds to an old casual tee shirt.
HOW TO MAKE A BEADED T-SHIRT


WHAT YOU NEED
THE INSTRUCTIONS
1. Start with a long piece of thread and tie a triple knot on one end, and thread a tiny headed needle at the other end.
2. Start under your first letter, and pull the thread through the underside of the shirt so the knot doesn’t show.
3. You will create a loop stitch through 3 beads at a time, and then down the underside of the shirt, and then back up to the start of the 3 beads, and then BACK through the beads again with your needle and thread. (So you finish where the 3 beads left off and can start again.)
TIP: I wouldn’t add more than three beads at a time, because they will get loose and floppy. Three beads sits nicely and securely. Sometimes you’ll use just one or two beads when you are coming to an angle in the letter. Here is a diagram to better explain the stitch.
4. When you come to the end of a letter sew down to the underside of the shirt and tie a few knots by grabbing just a few fibers of the t-shirt, so it doesn’t show through on the front.
5. Start the next letter with a new long piece of thread until you've finished all the letters.


I love how the beads make the letters more defined from far away, and up close, you can see the beaded texture.
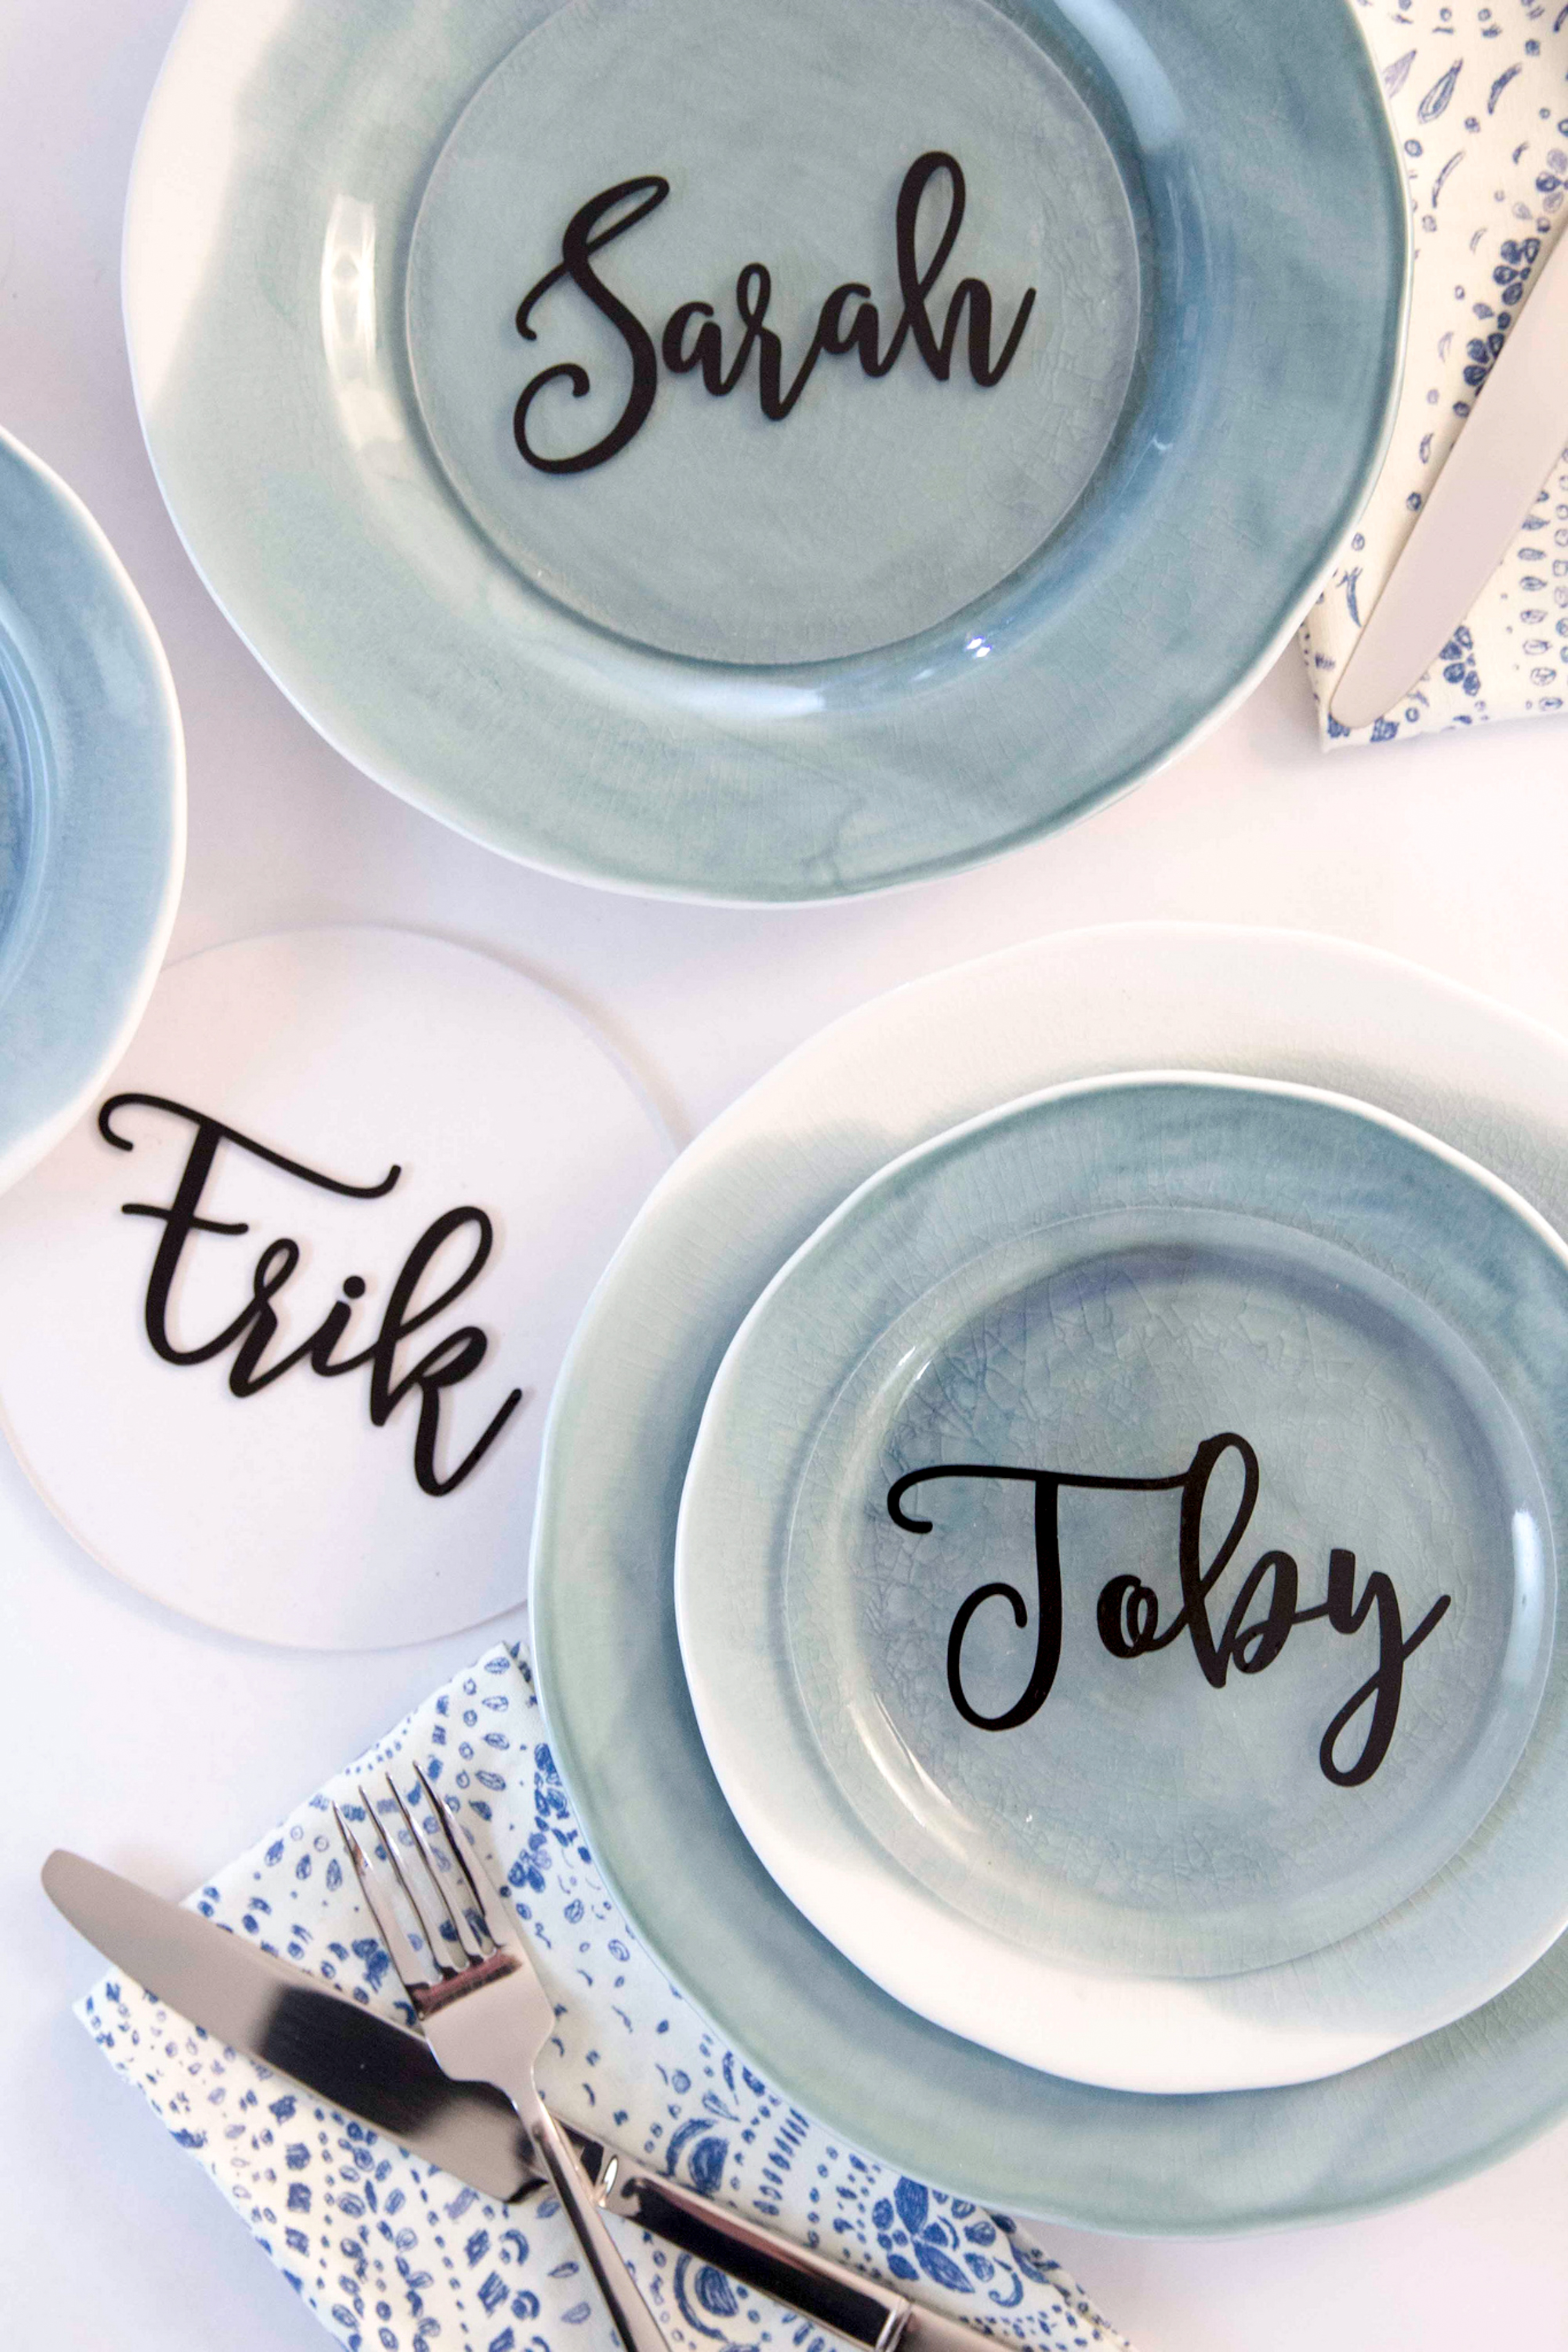
I really want to do this next on this tee shirt. That’s a lot of letters!
I don’t think the beads would do well in the washing machine so I am hand-washing this tee from now on (with my favorite soap in the world).
Another idea would be to not only outline the letters, but to fill them in with beads completely. It would take more time but look so bonkers beautiful in my opinion!

MORE POSTS YOU'LL LOVE
This post may contain affiliate links, which means I'll receive a small commission if you purchase through my link. Please read full disclosure here.